Sewing the Photinia Top by Wear We're Going + a Bias Tape Trick
I can't wait to make more!
I've had this pattern in my sewing queue for ages, ever since I saw Gyasti make her own in...2021! Has it been that long?!
Anyhow, I'm glad I waited because her alterations have been included in the latest version of the pattern. That's a win!
Tools
- Photinia Top pattern
- Fabric
- Scissors
- Fabric marker
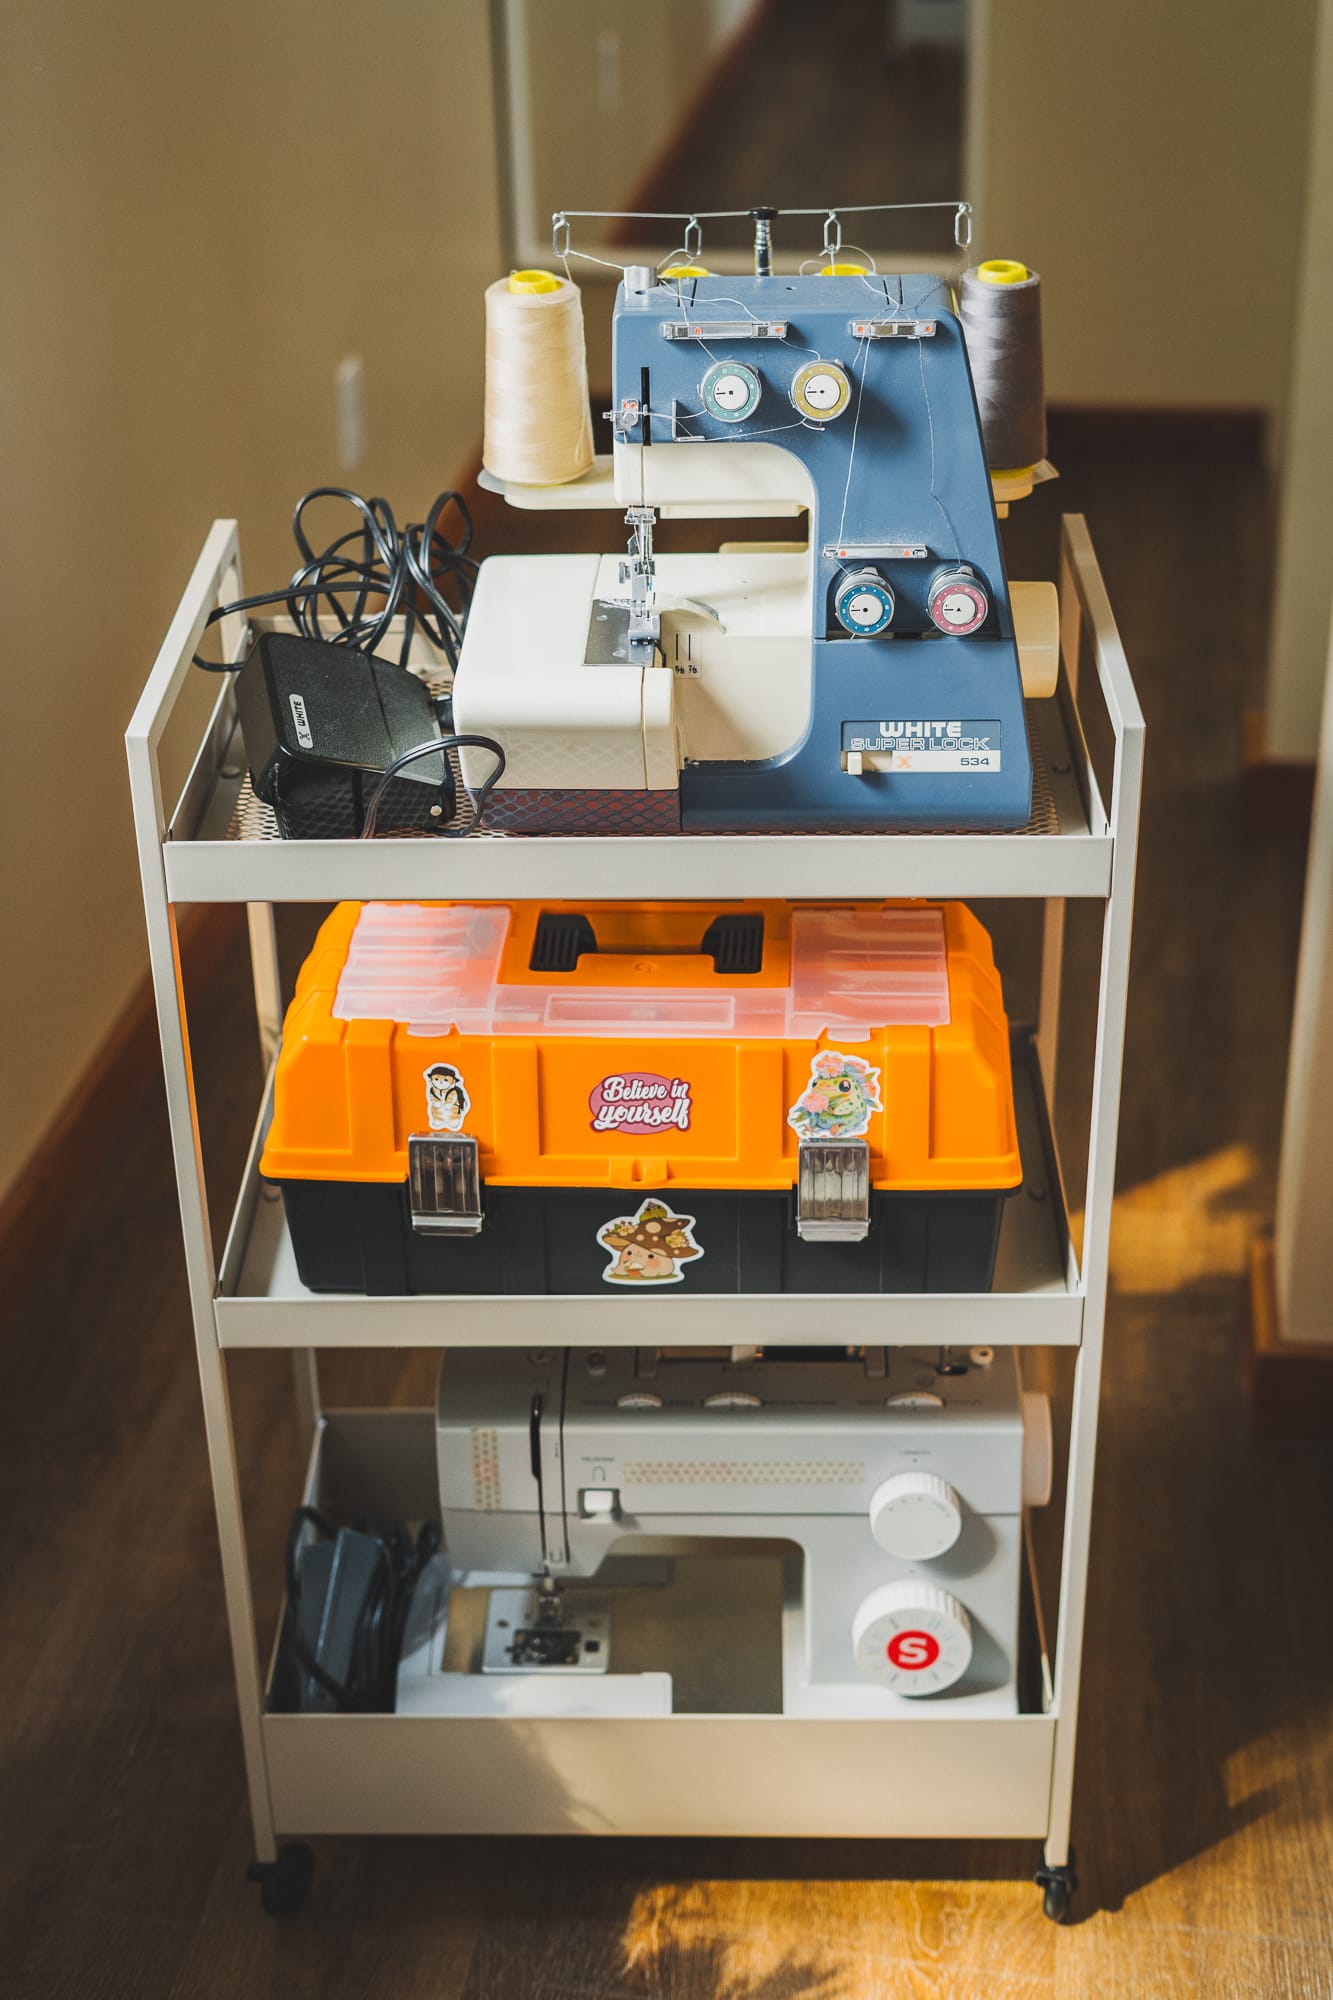
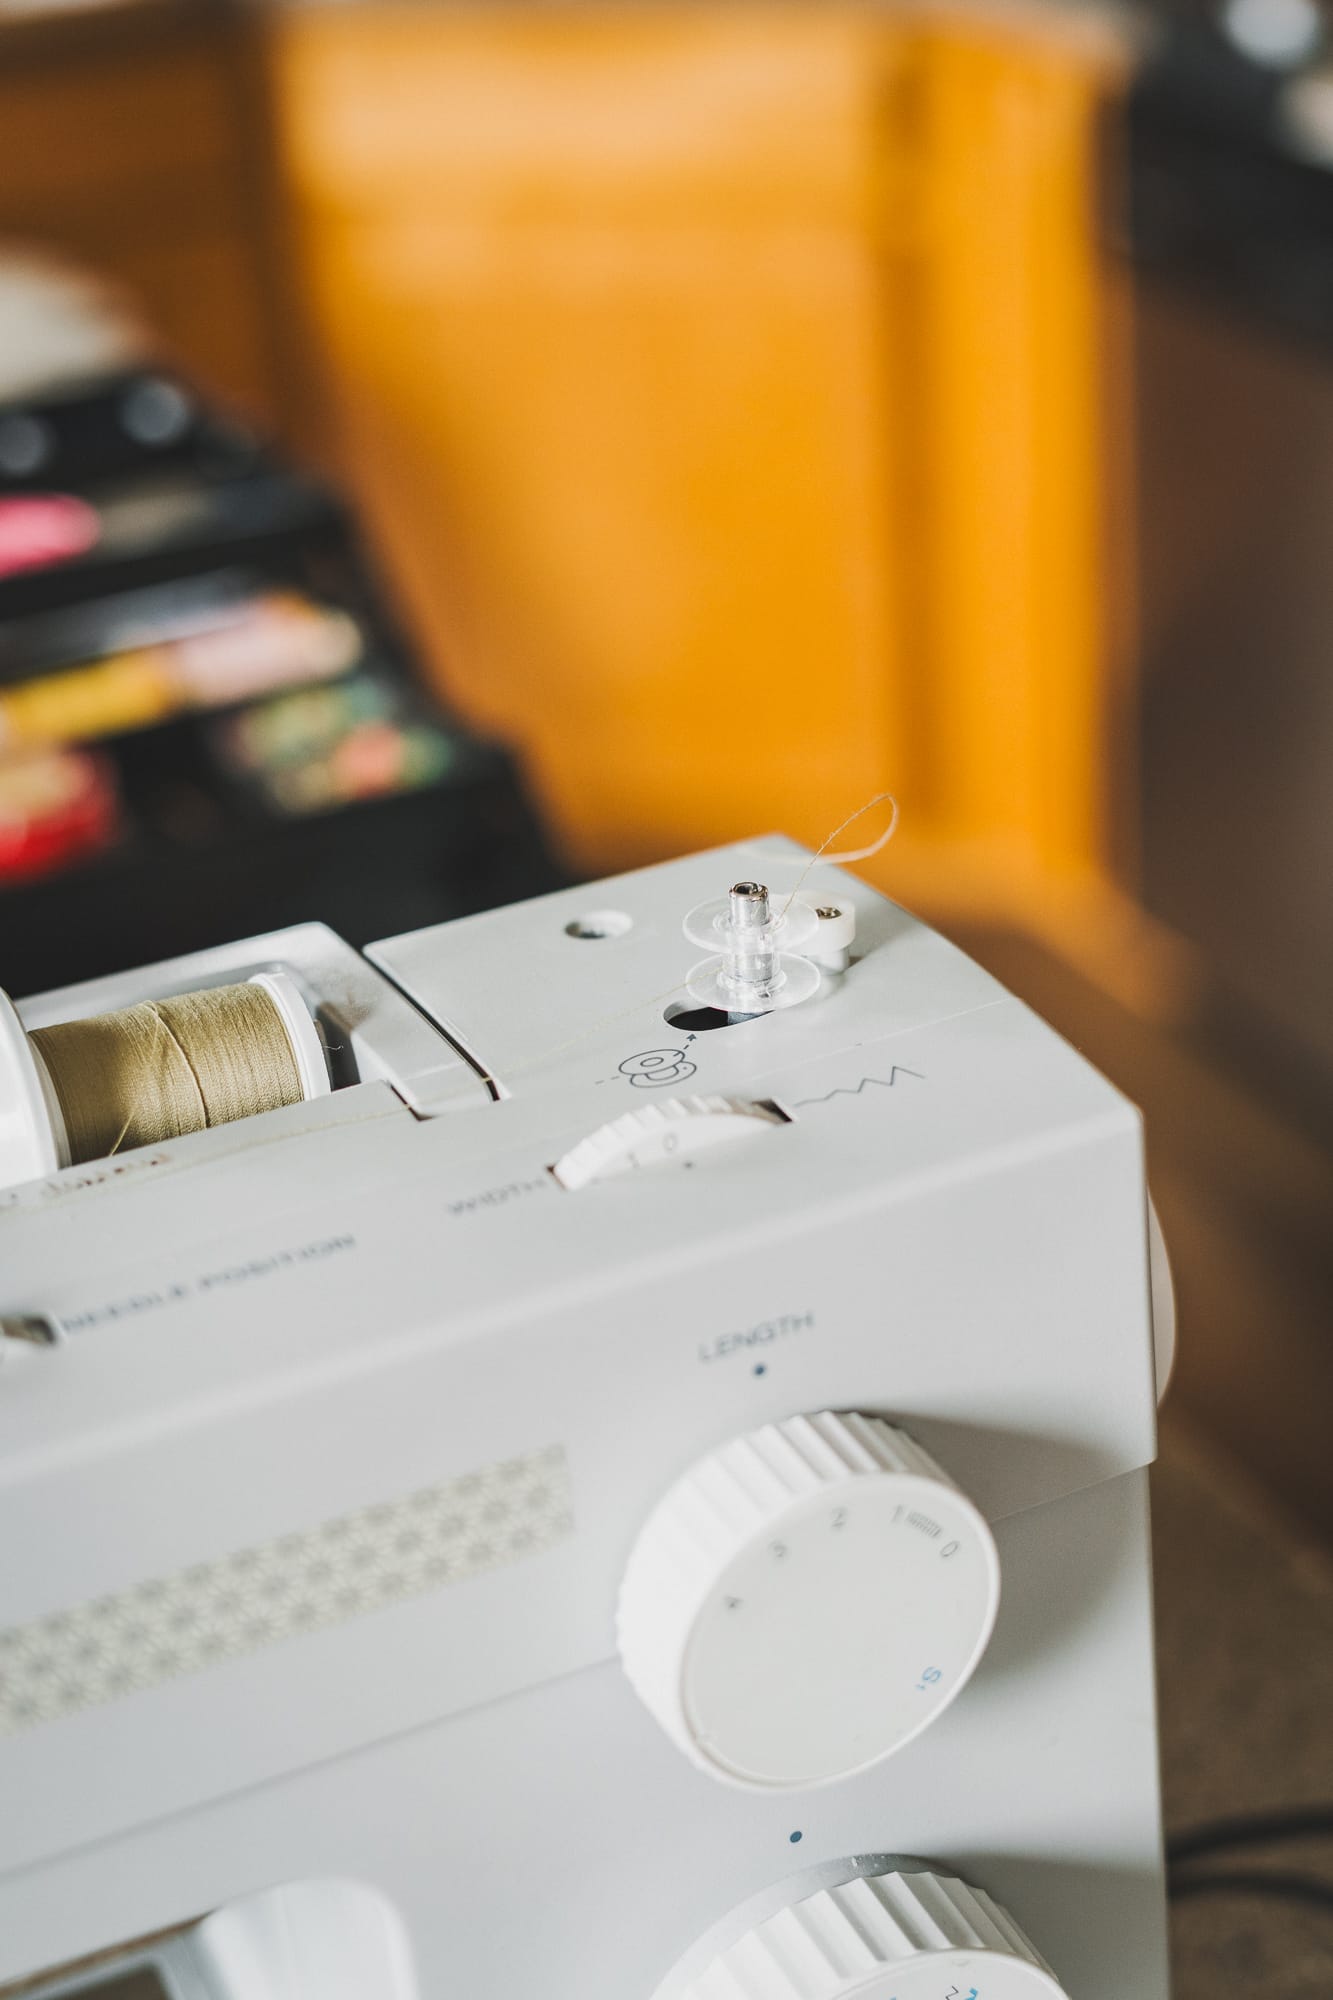
- Sewing machine
- Serger
- Thread
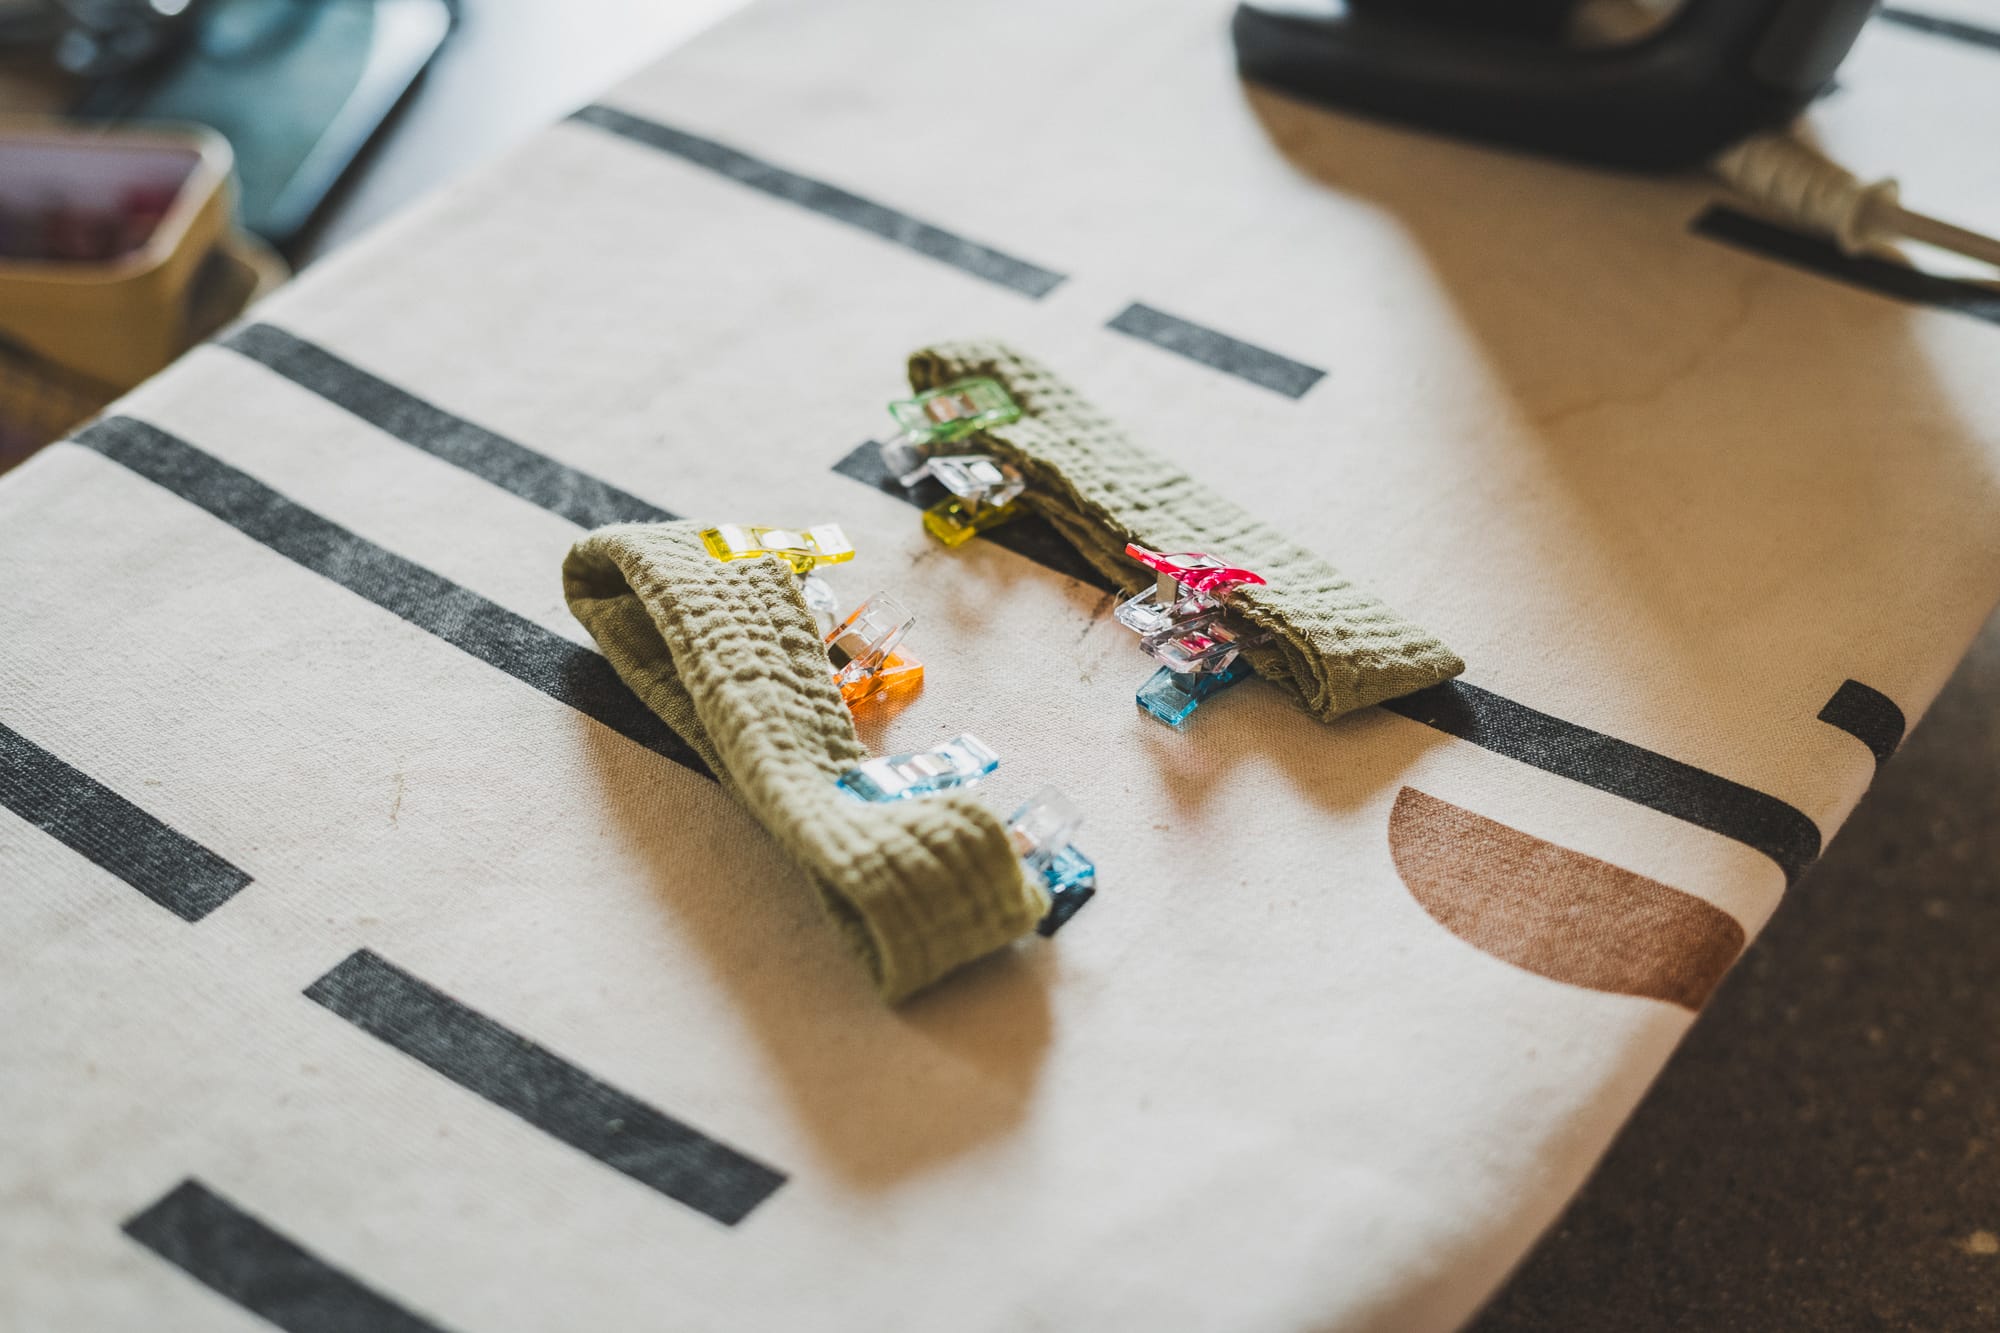
- Sewing clips
- Thread cutter
- Stamp
Check out my List of Sewing Essentials!
Pattern & Printing
I downloaded the Photinia Top pattern and sent the A0 file to print at The Plotted Pattern.
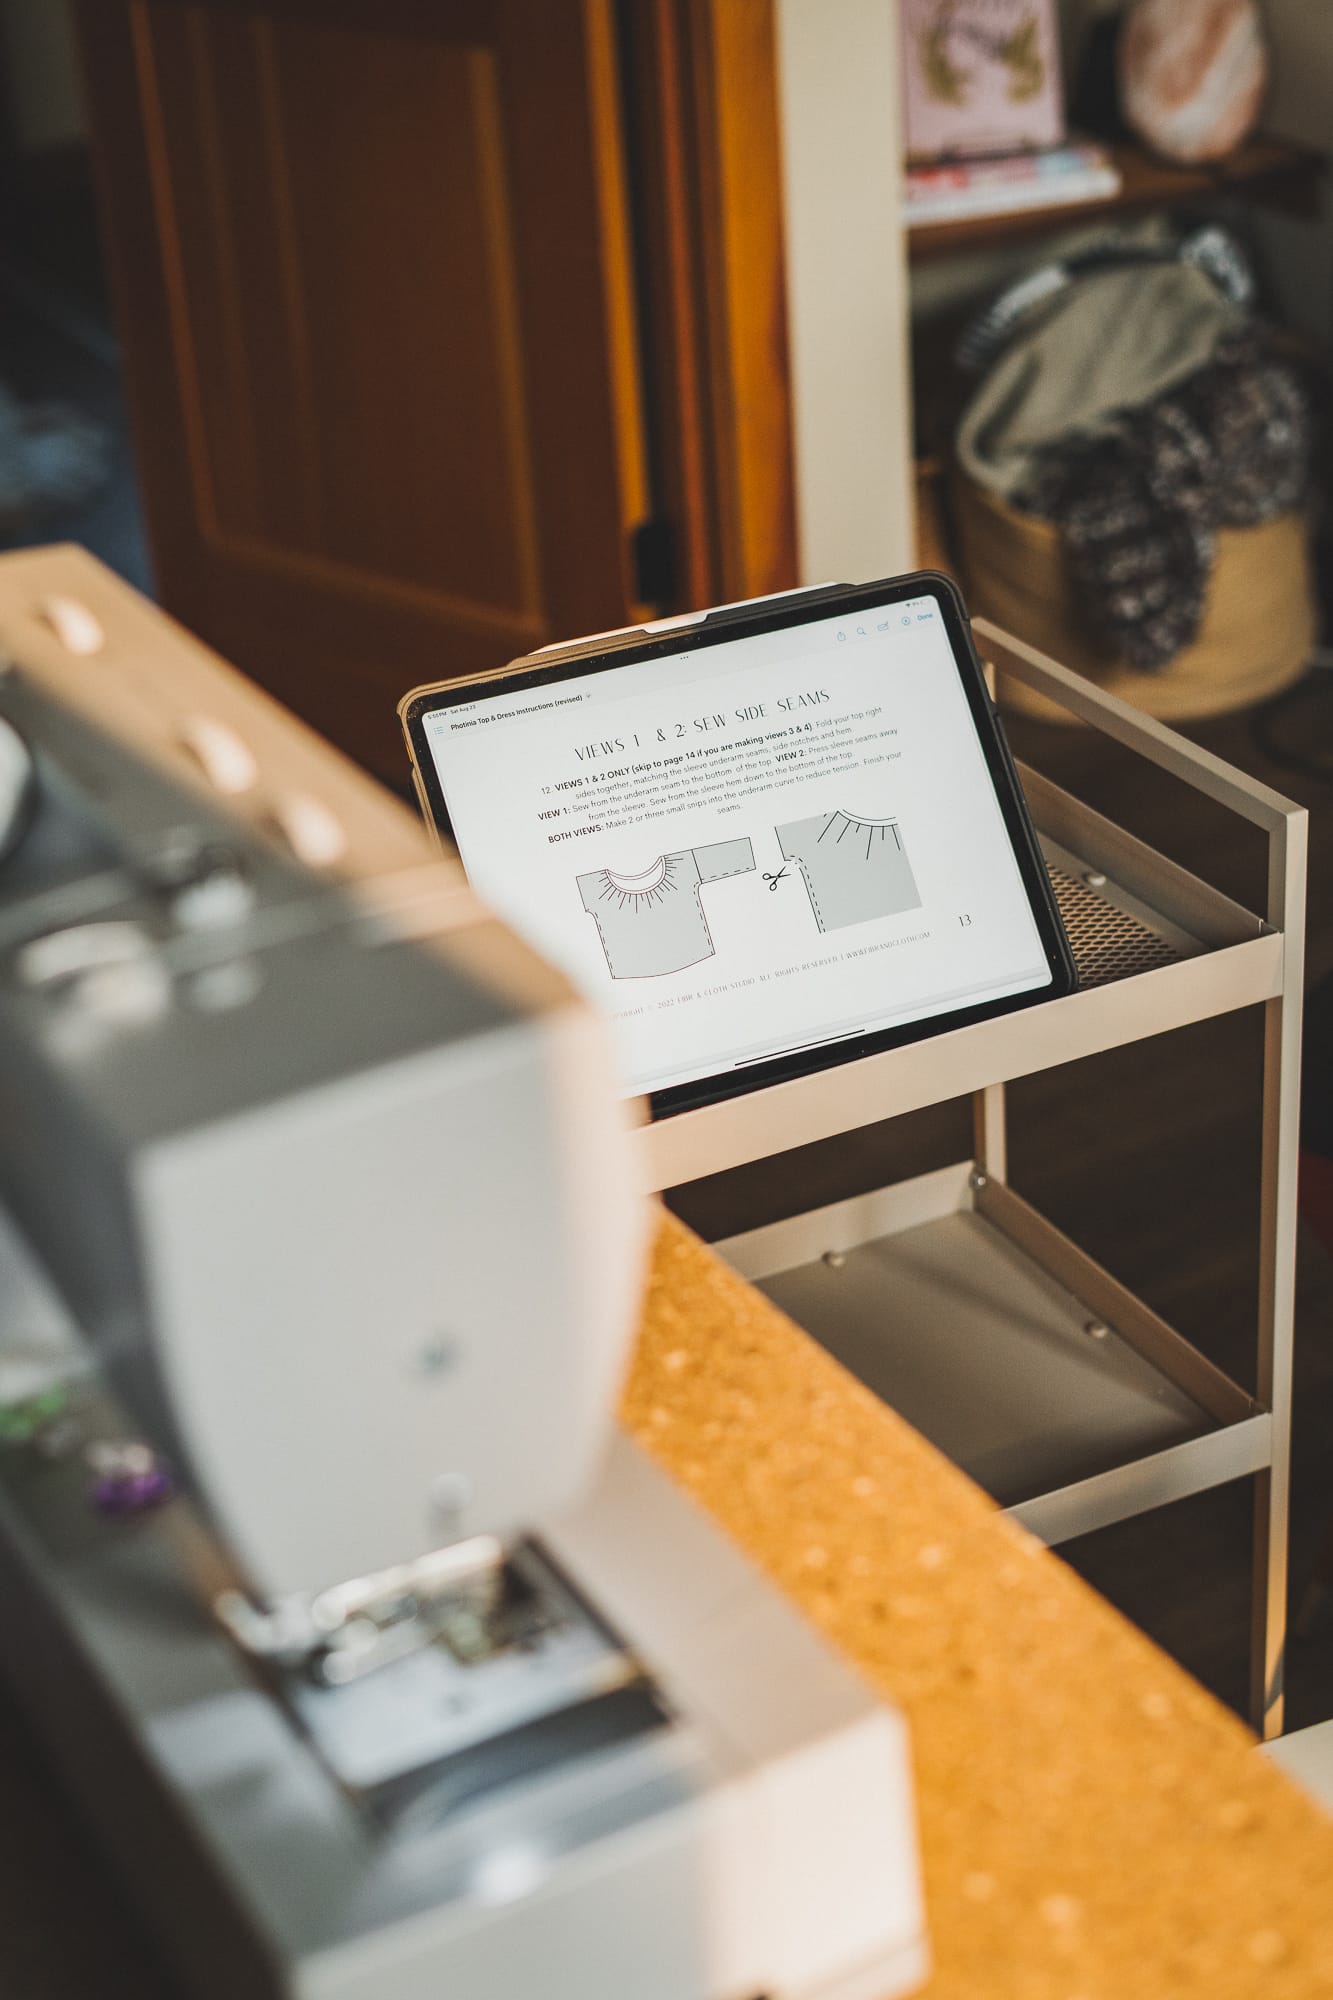
I followed the instructions on my iPad.
Style & Measurements
I must have taken measurements when I sent the pattern to print, and also checked other sewists' size recommendations via the #FCPhotinia.
I ultimately went with size B.
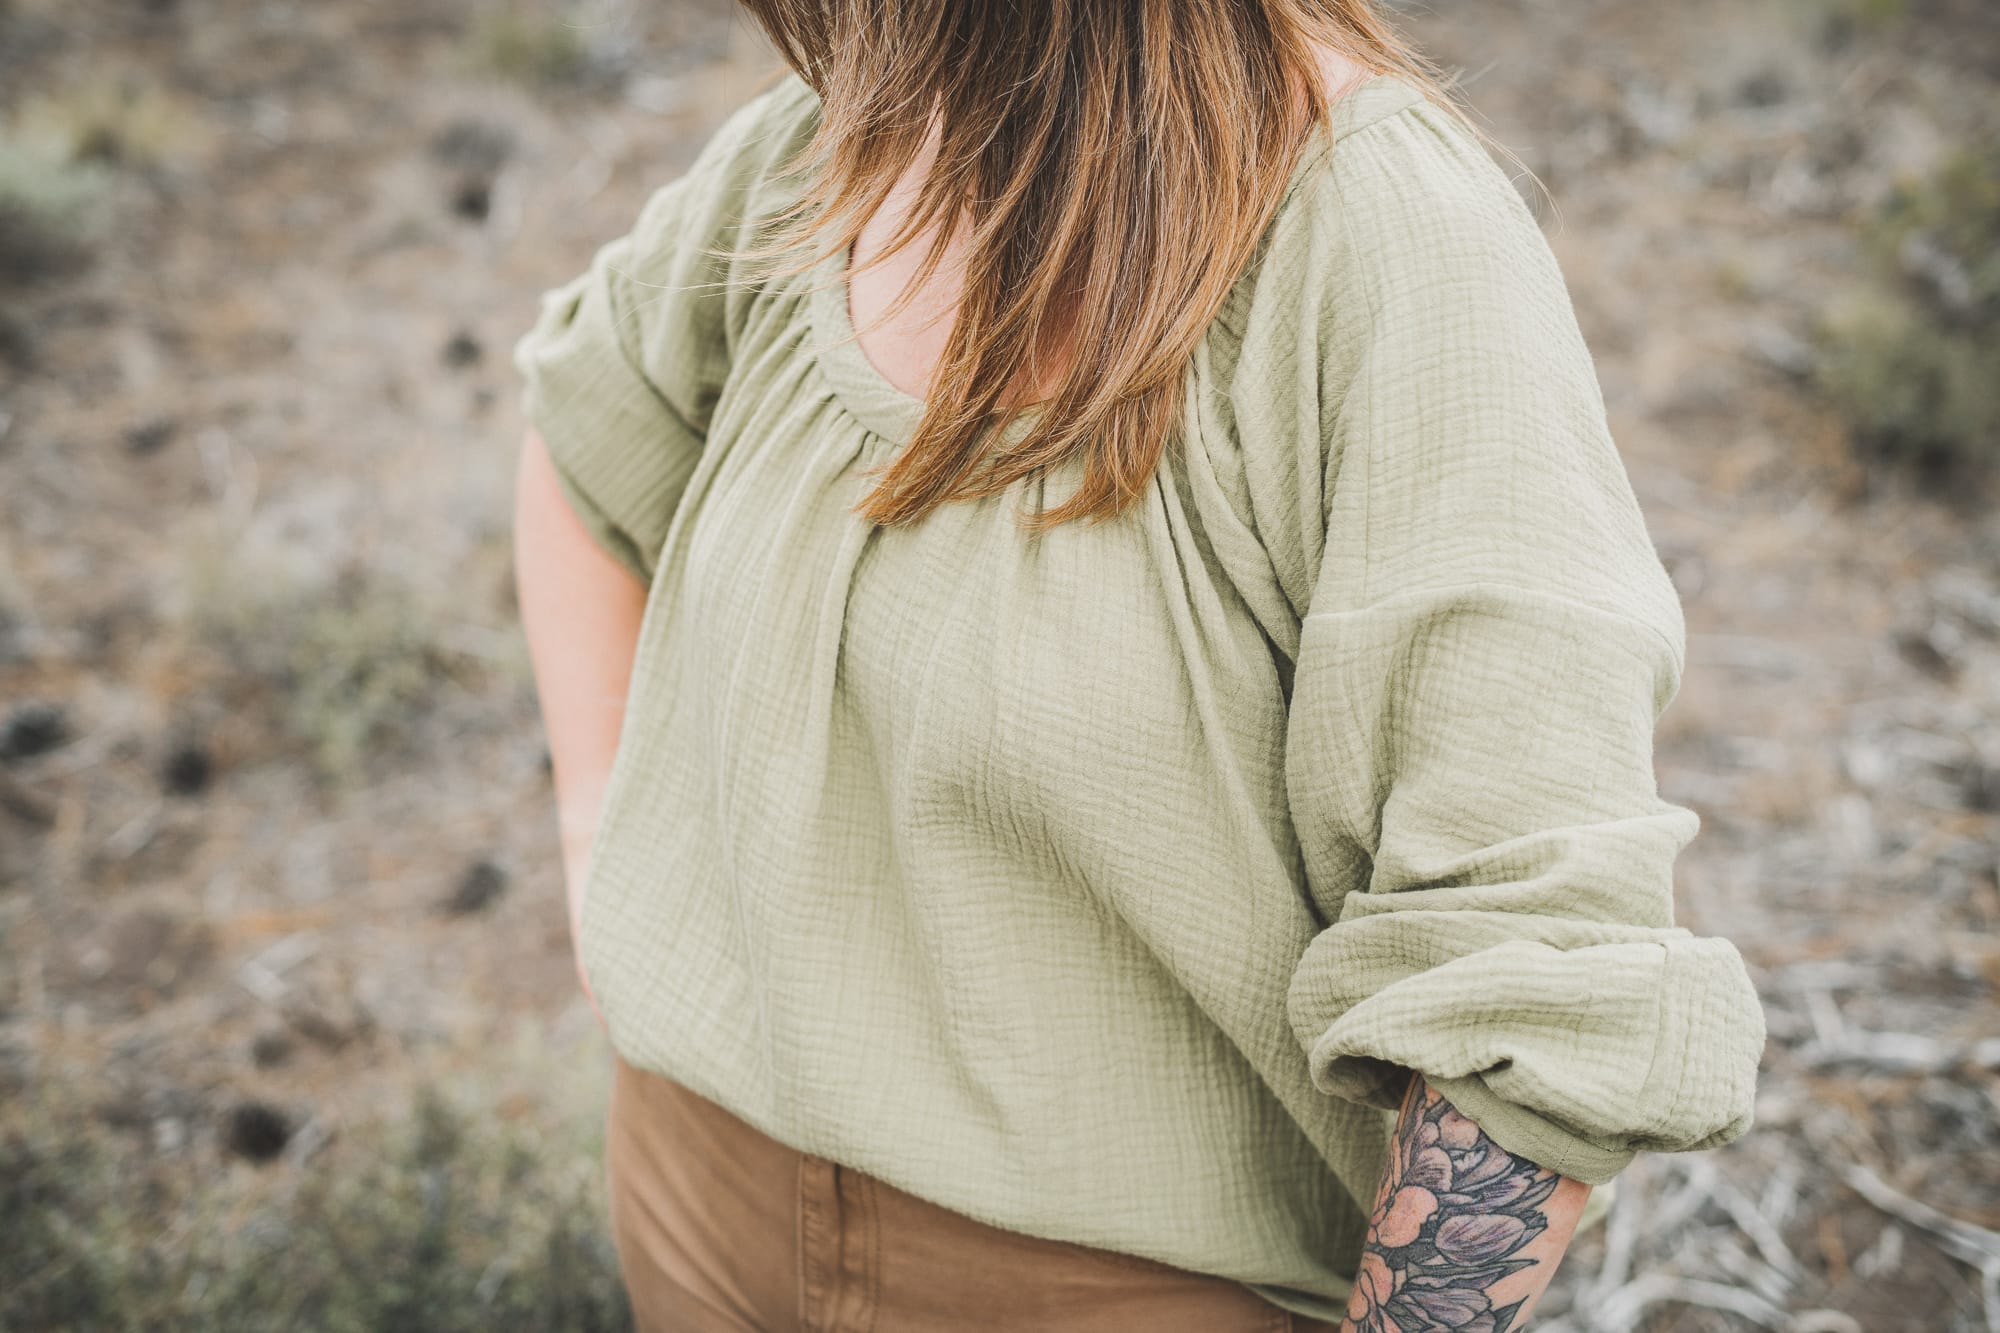
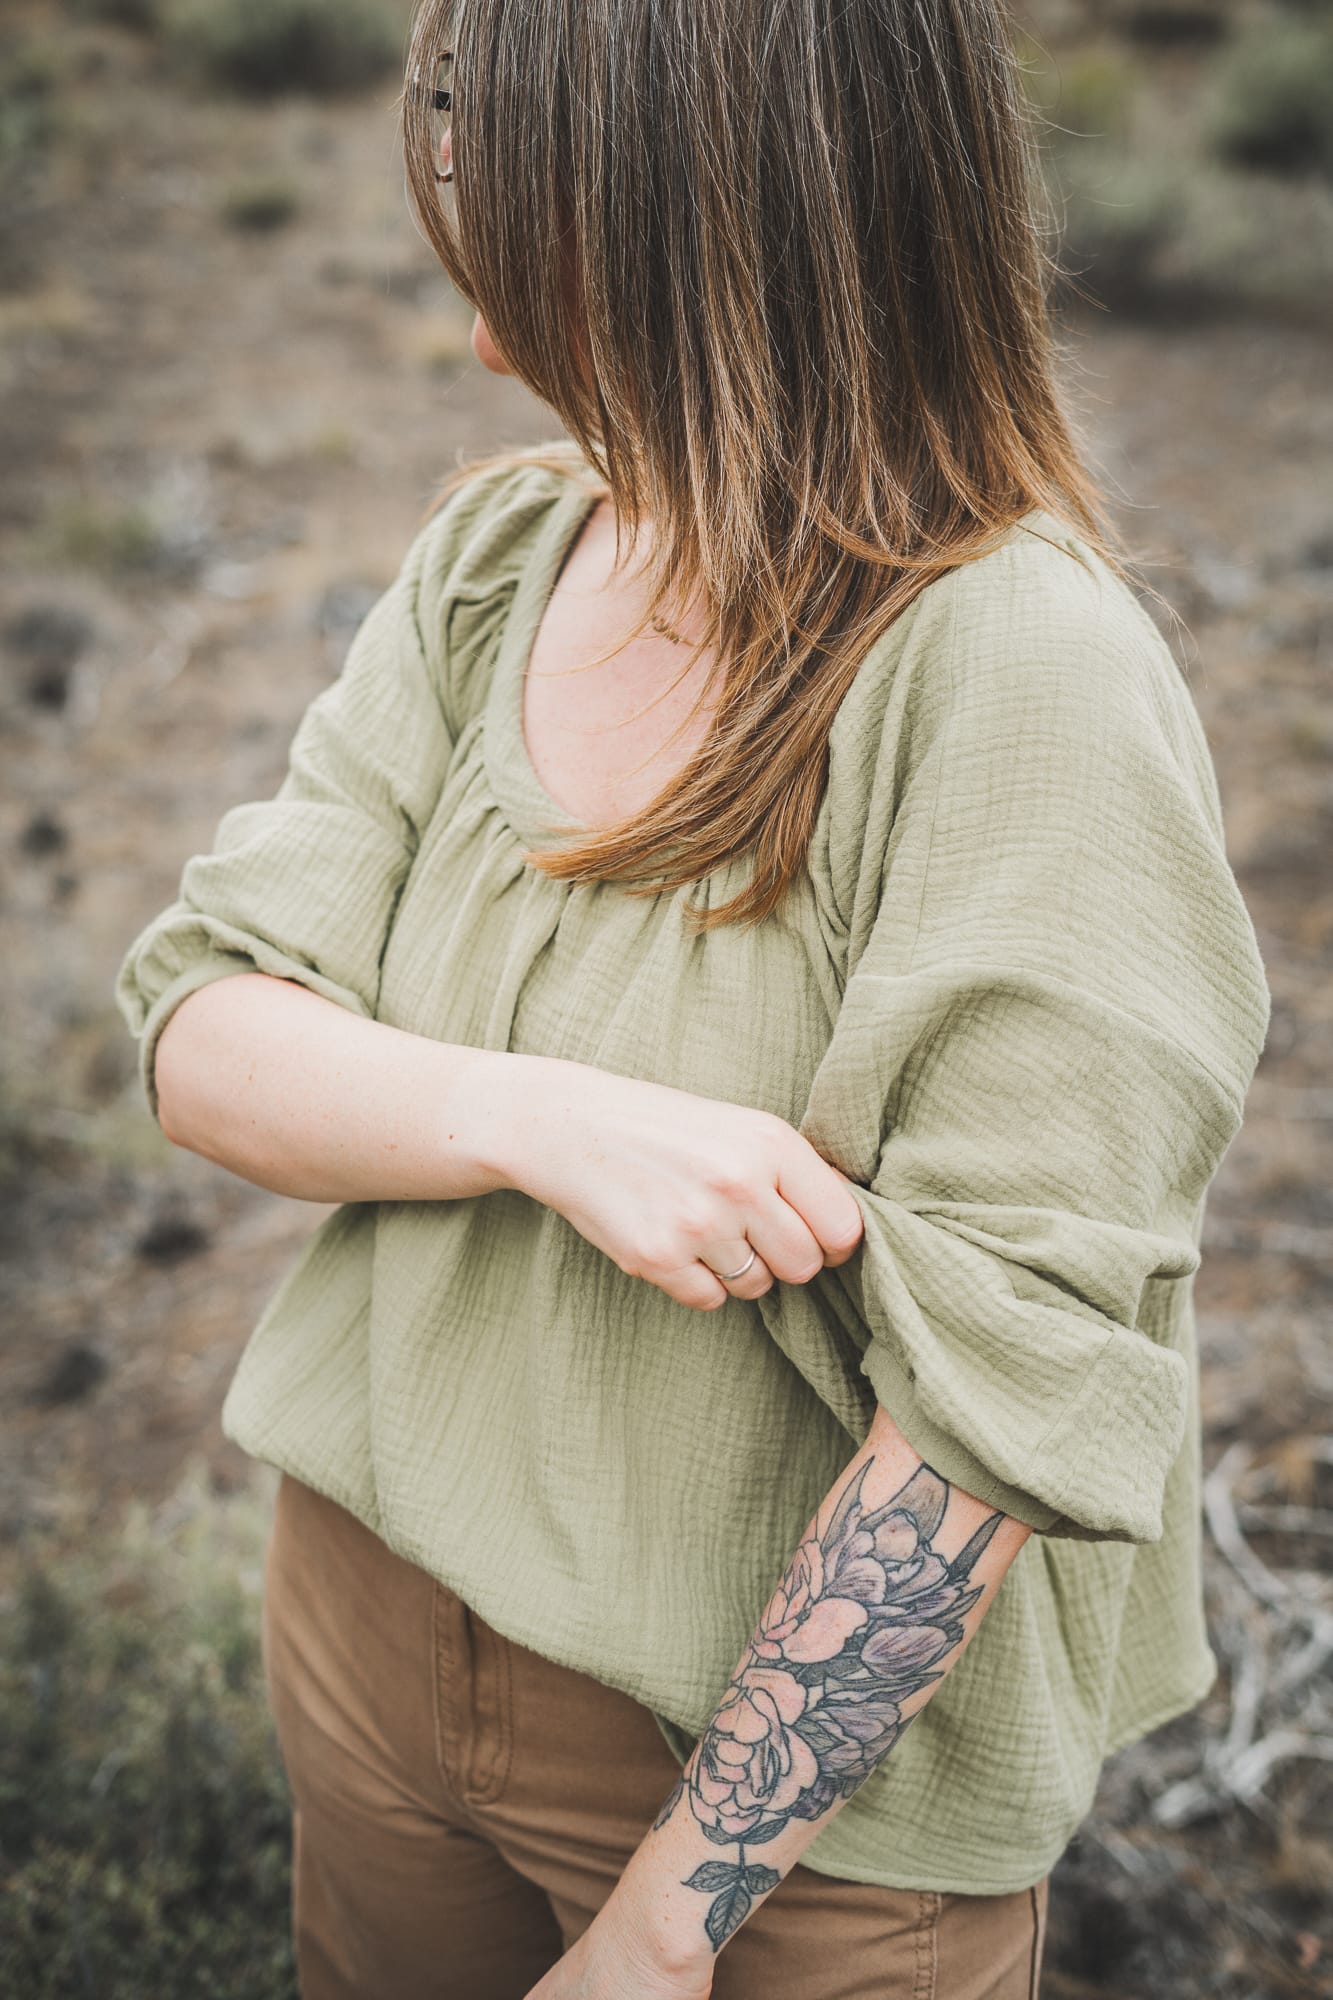
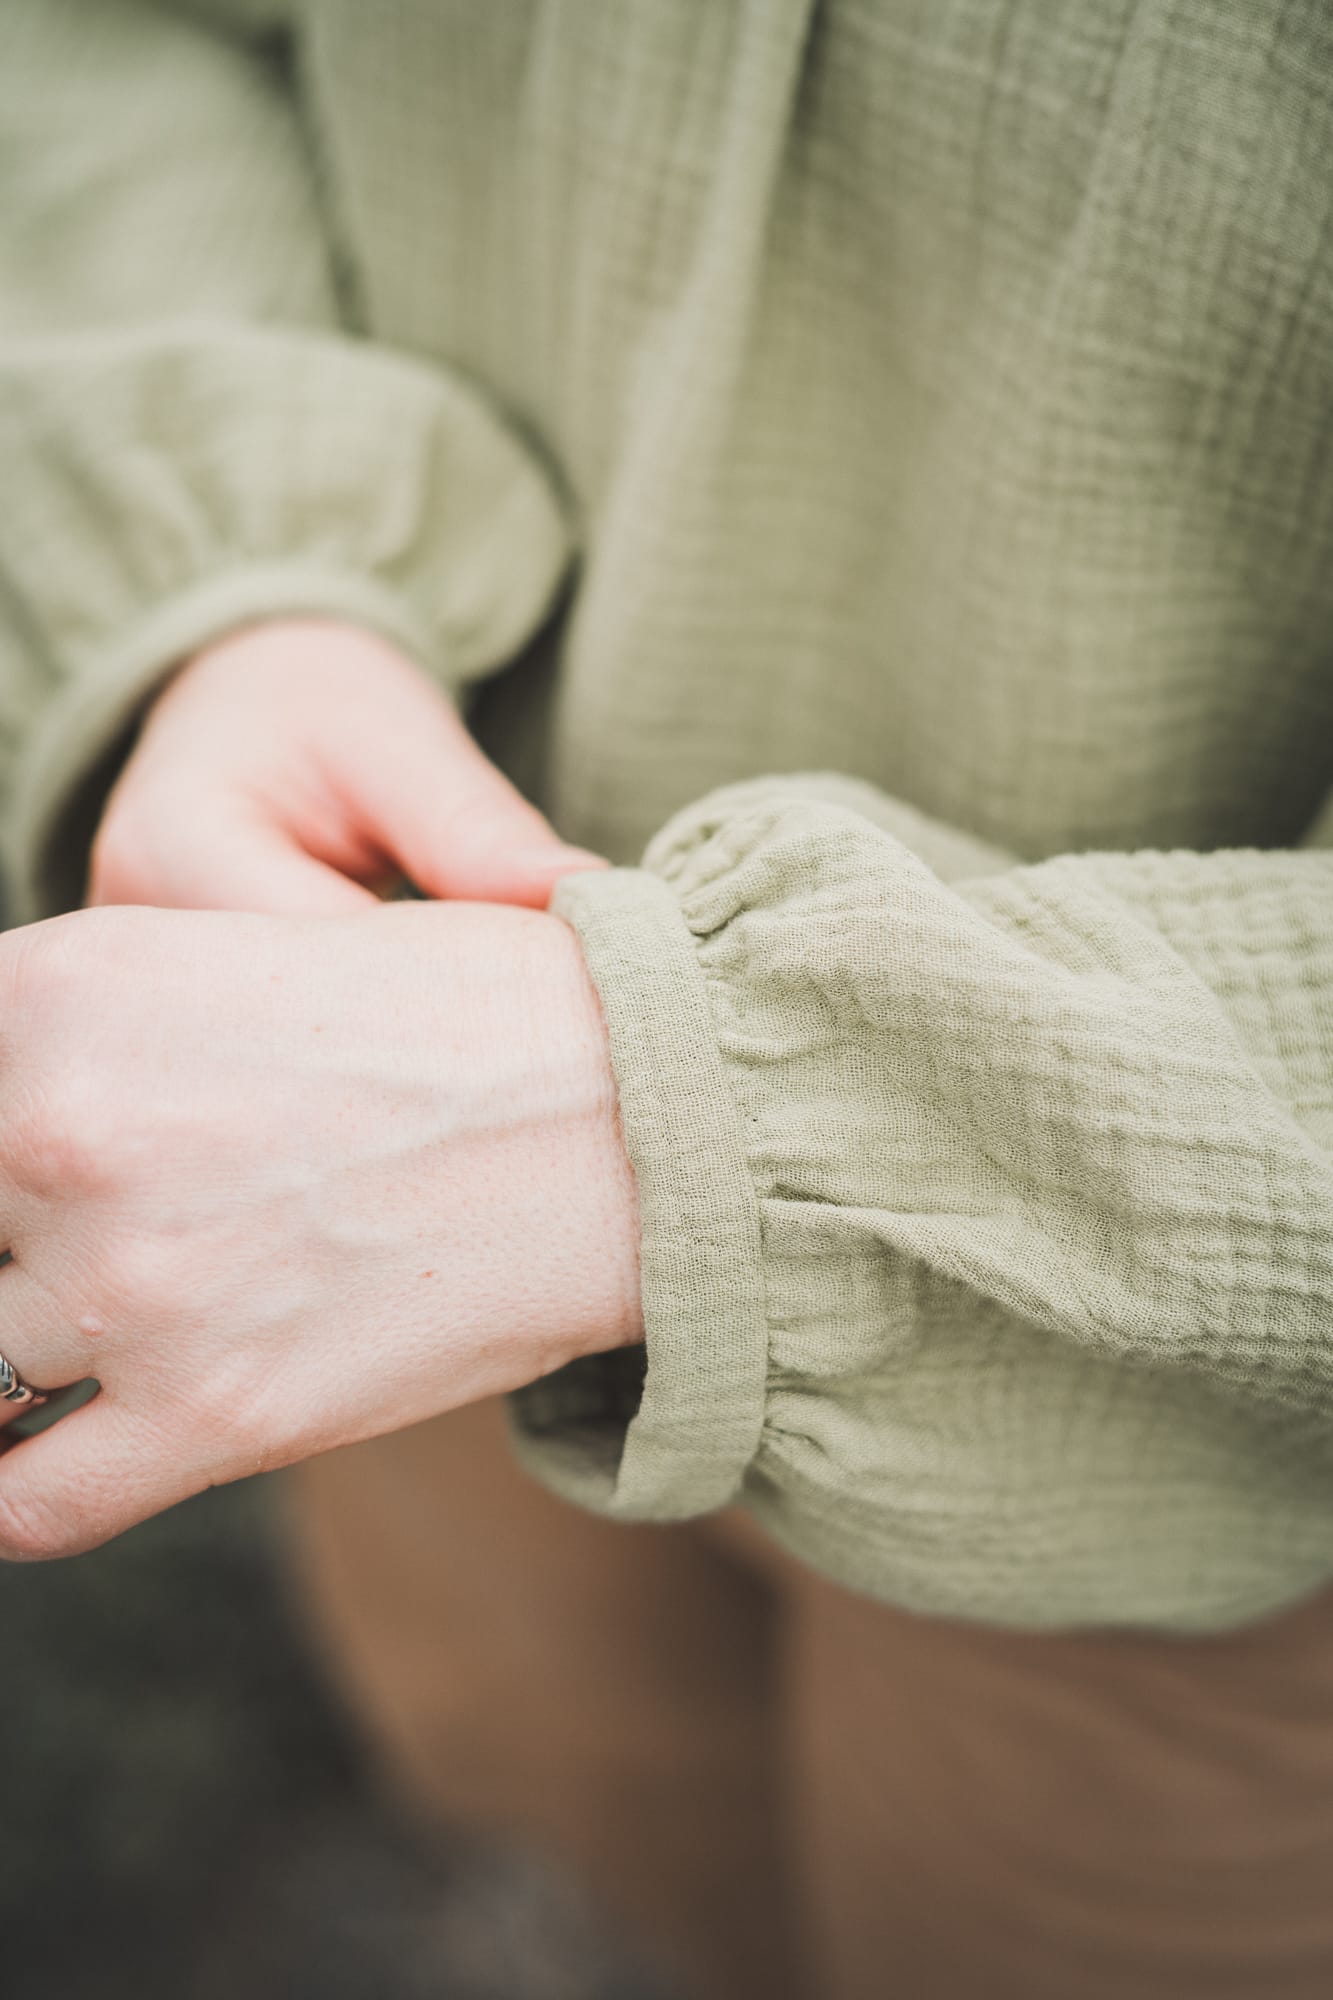
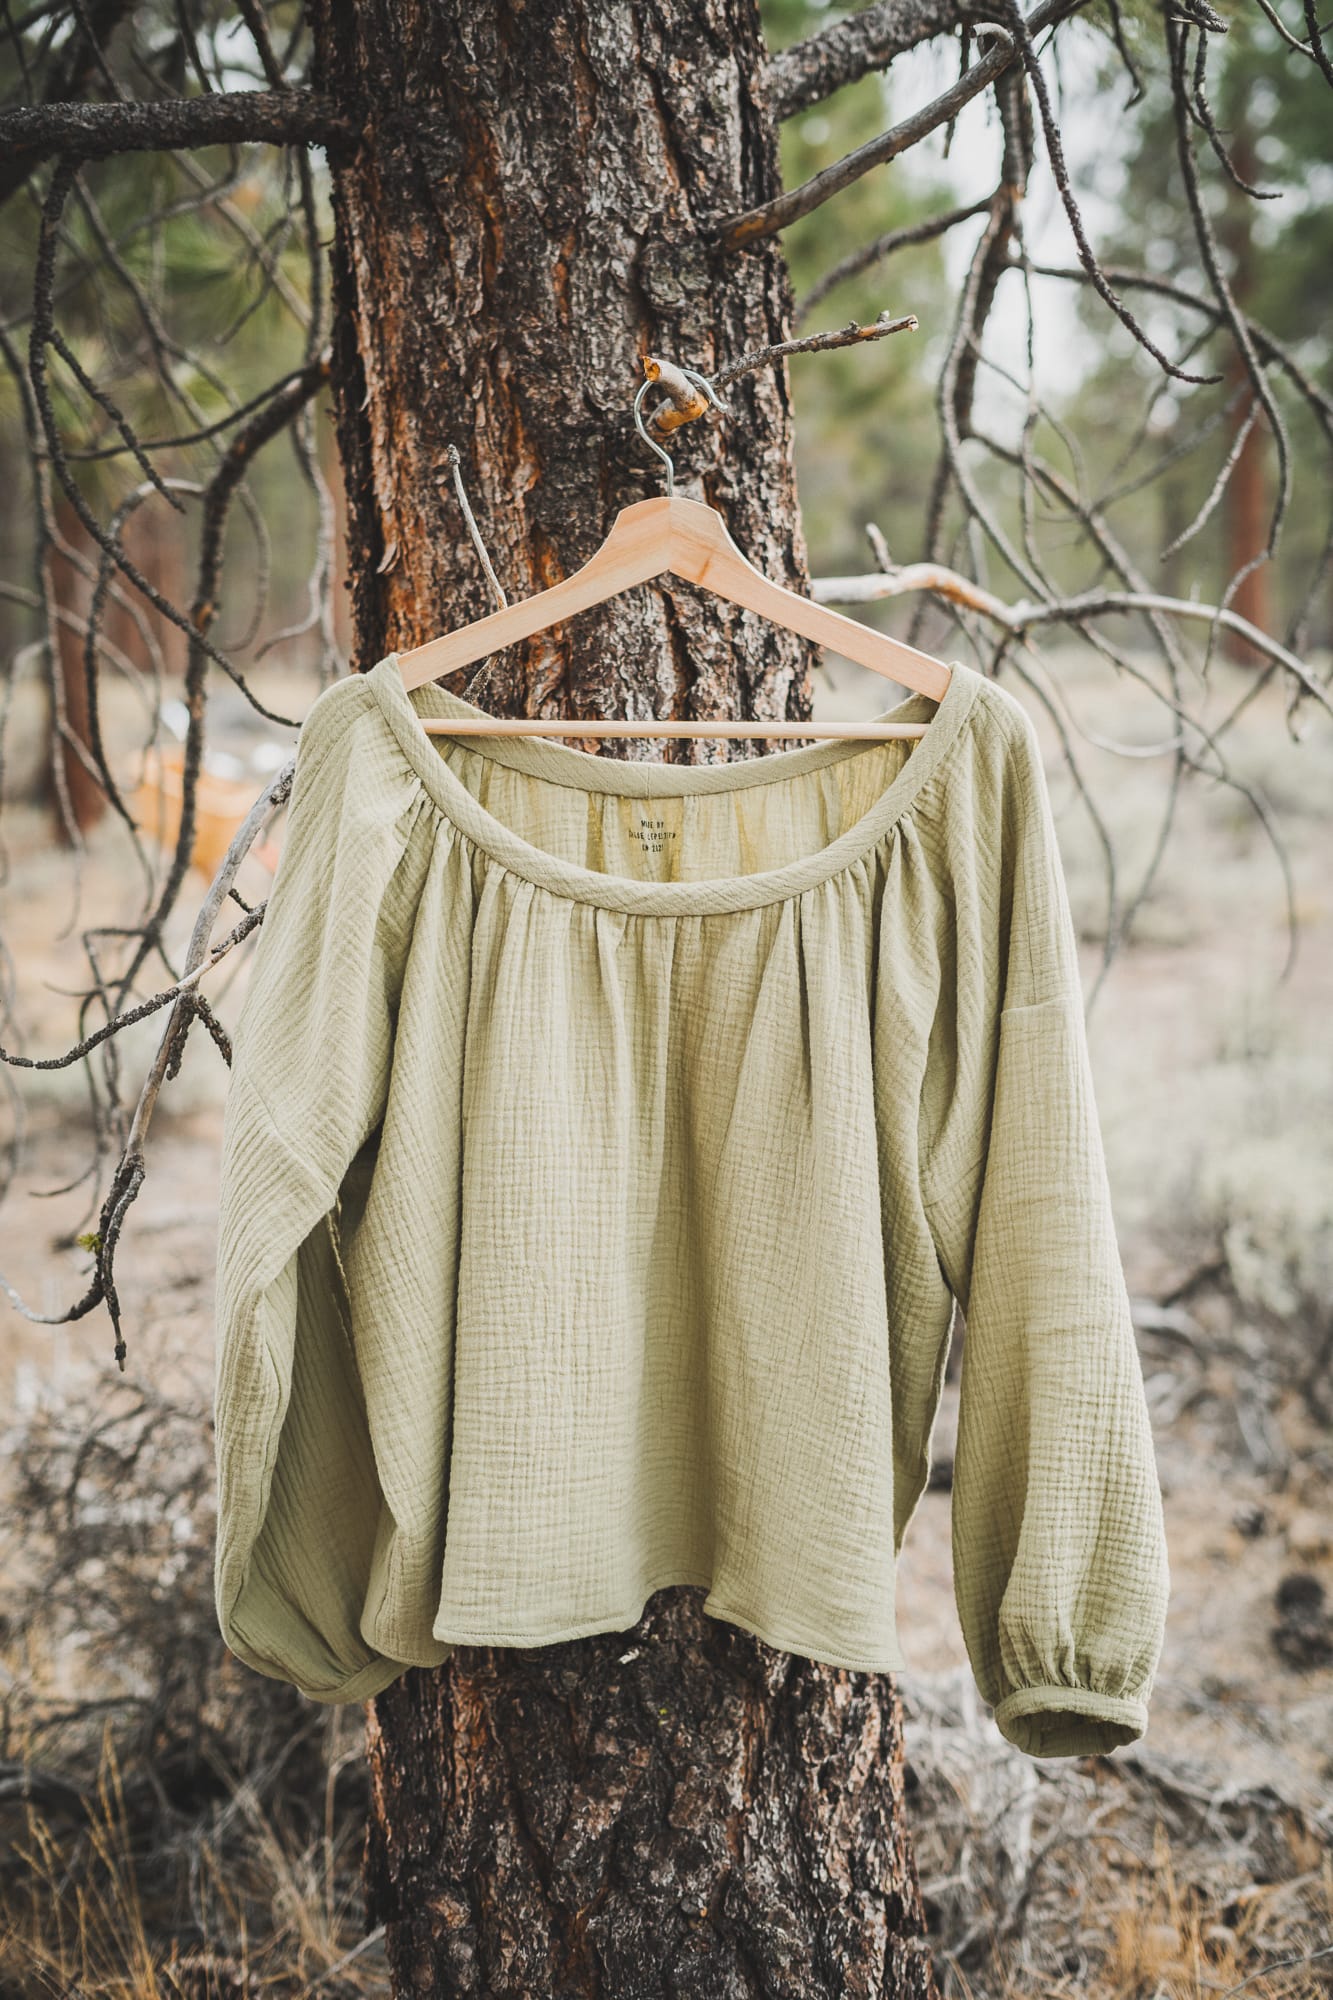
As for the style, I opted for View 2, with the bias bound neckline (option 2) and the gathered sleeve with cuff variation (aka "The Gyasti Hack"), no elastic needed!
Fabric
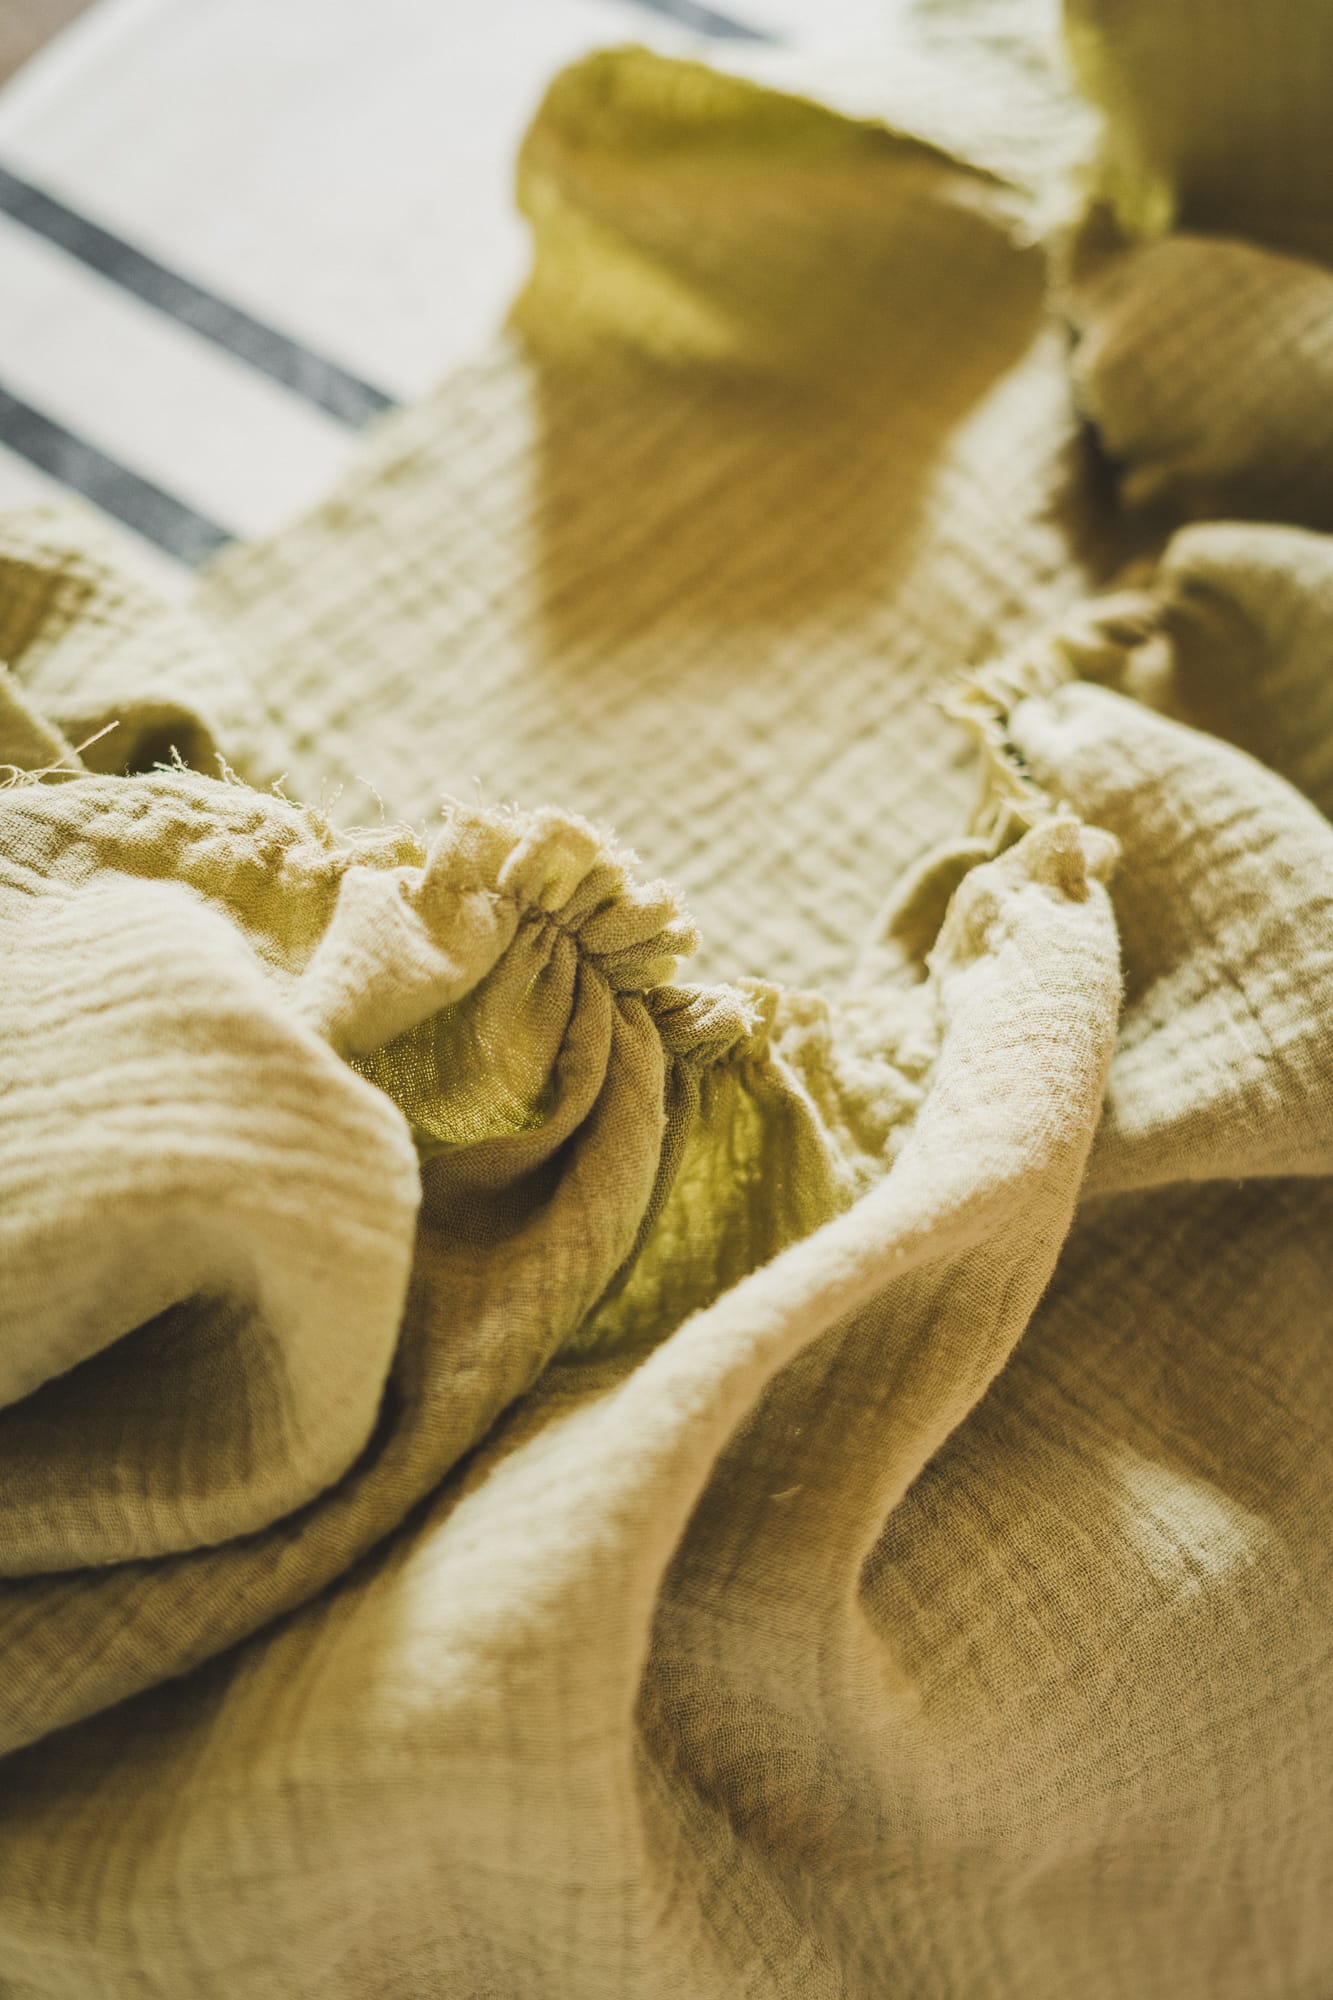
I had bought this soft and airy cotton gauze muslin months ago for another project and ultimately decided to use it for this blouse. It was my first time using such light and three dimensional fabric and it hasn't been as hard to manipulate as I thought it would be.
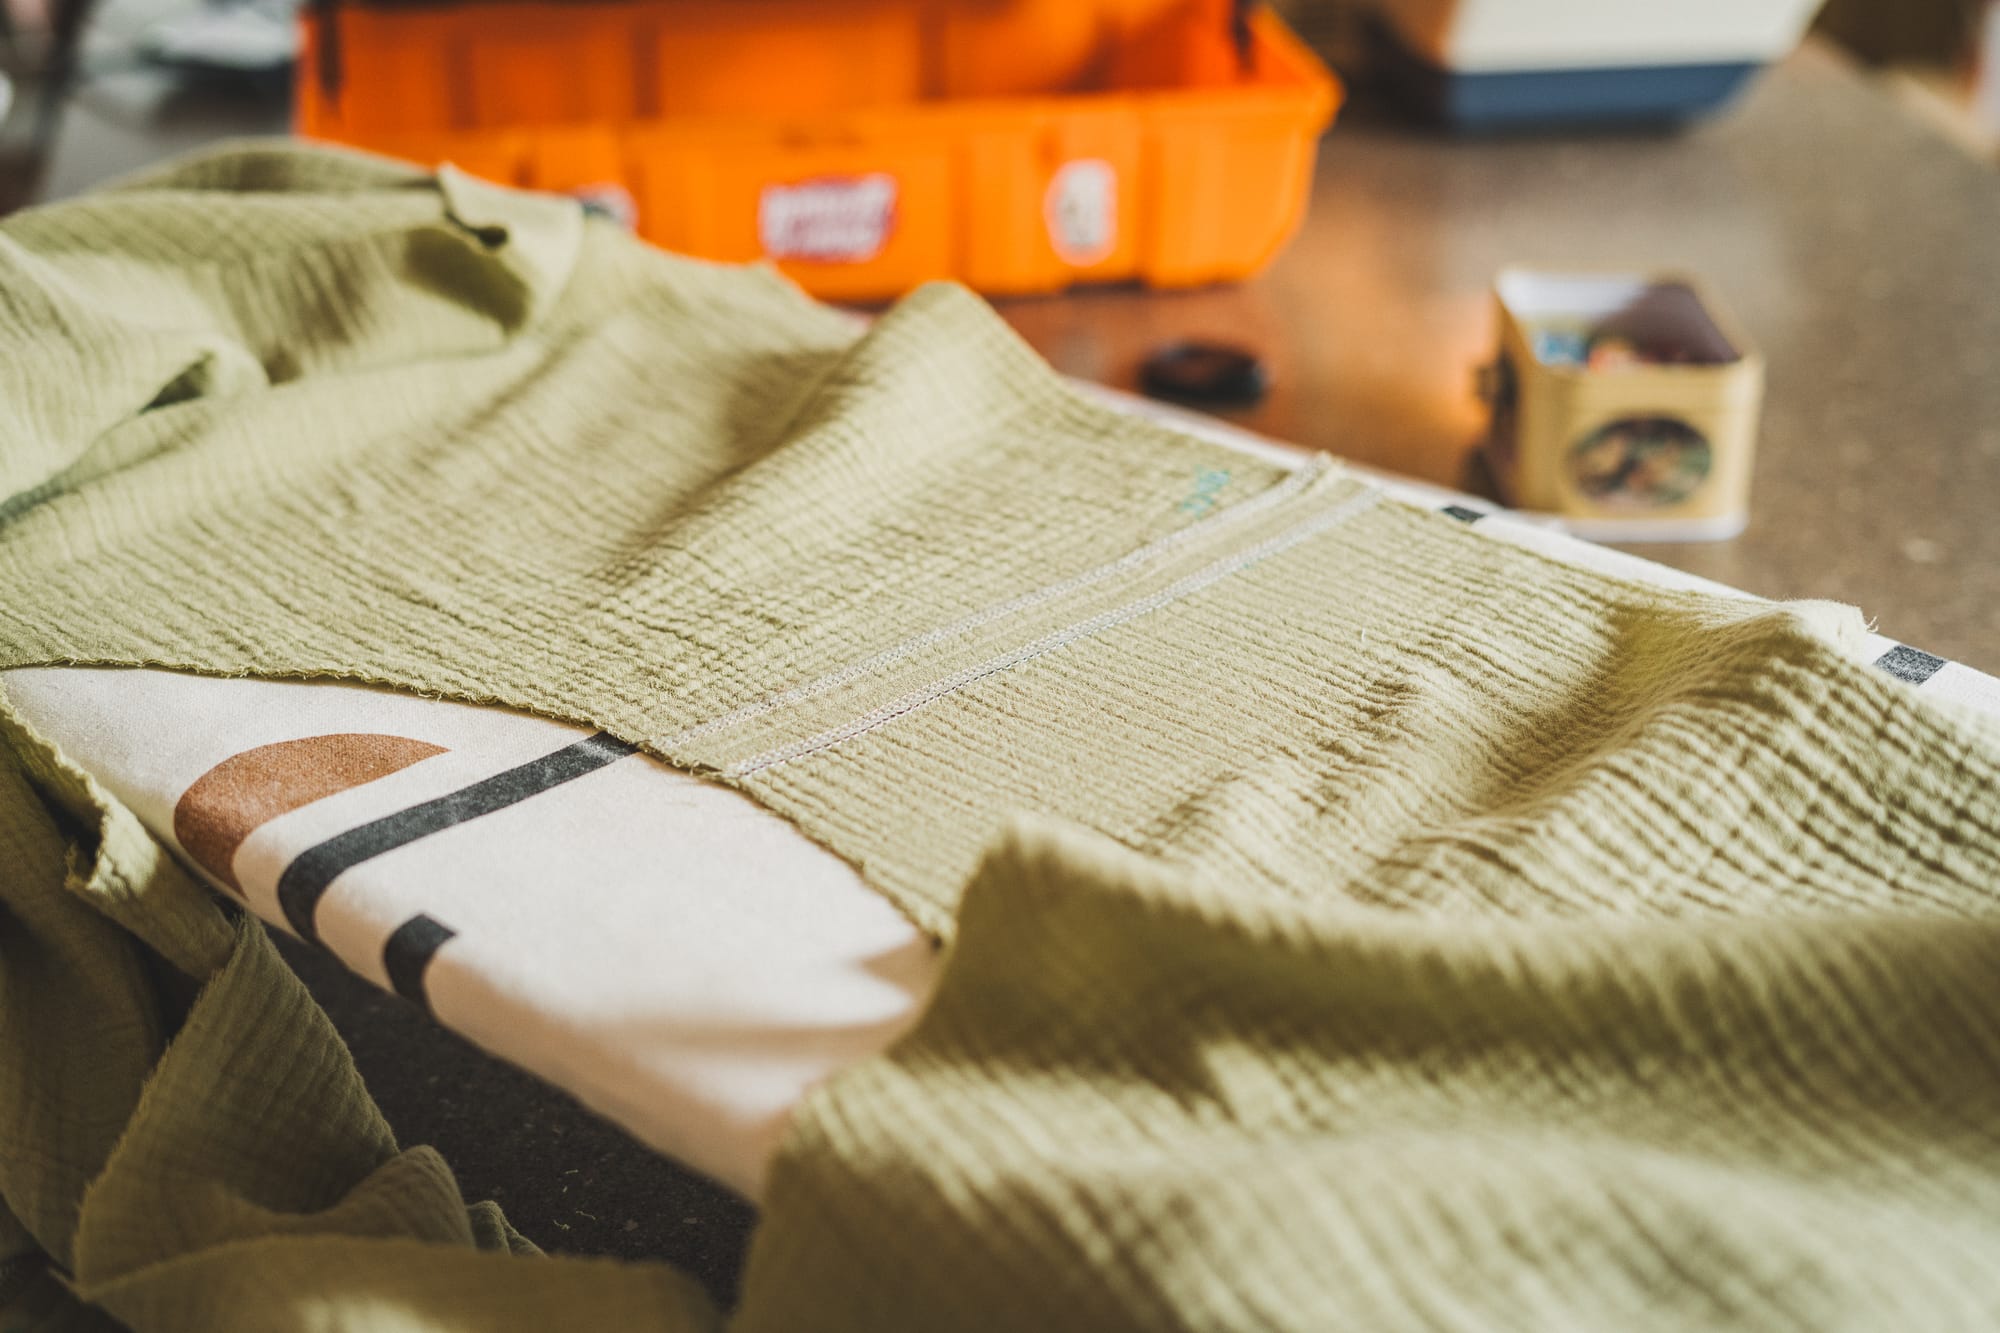
I made sure I finished the raw ends, washed, dried, and ironed my fabric before cutting it (pats myself on the back).

Cutting
On the first day of the project, before the fire even started. I cut the pattern pieces and identified the ones that matched the style I had selected.
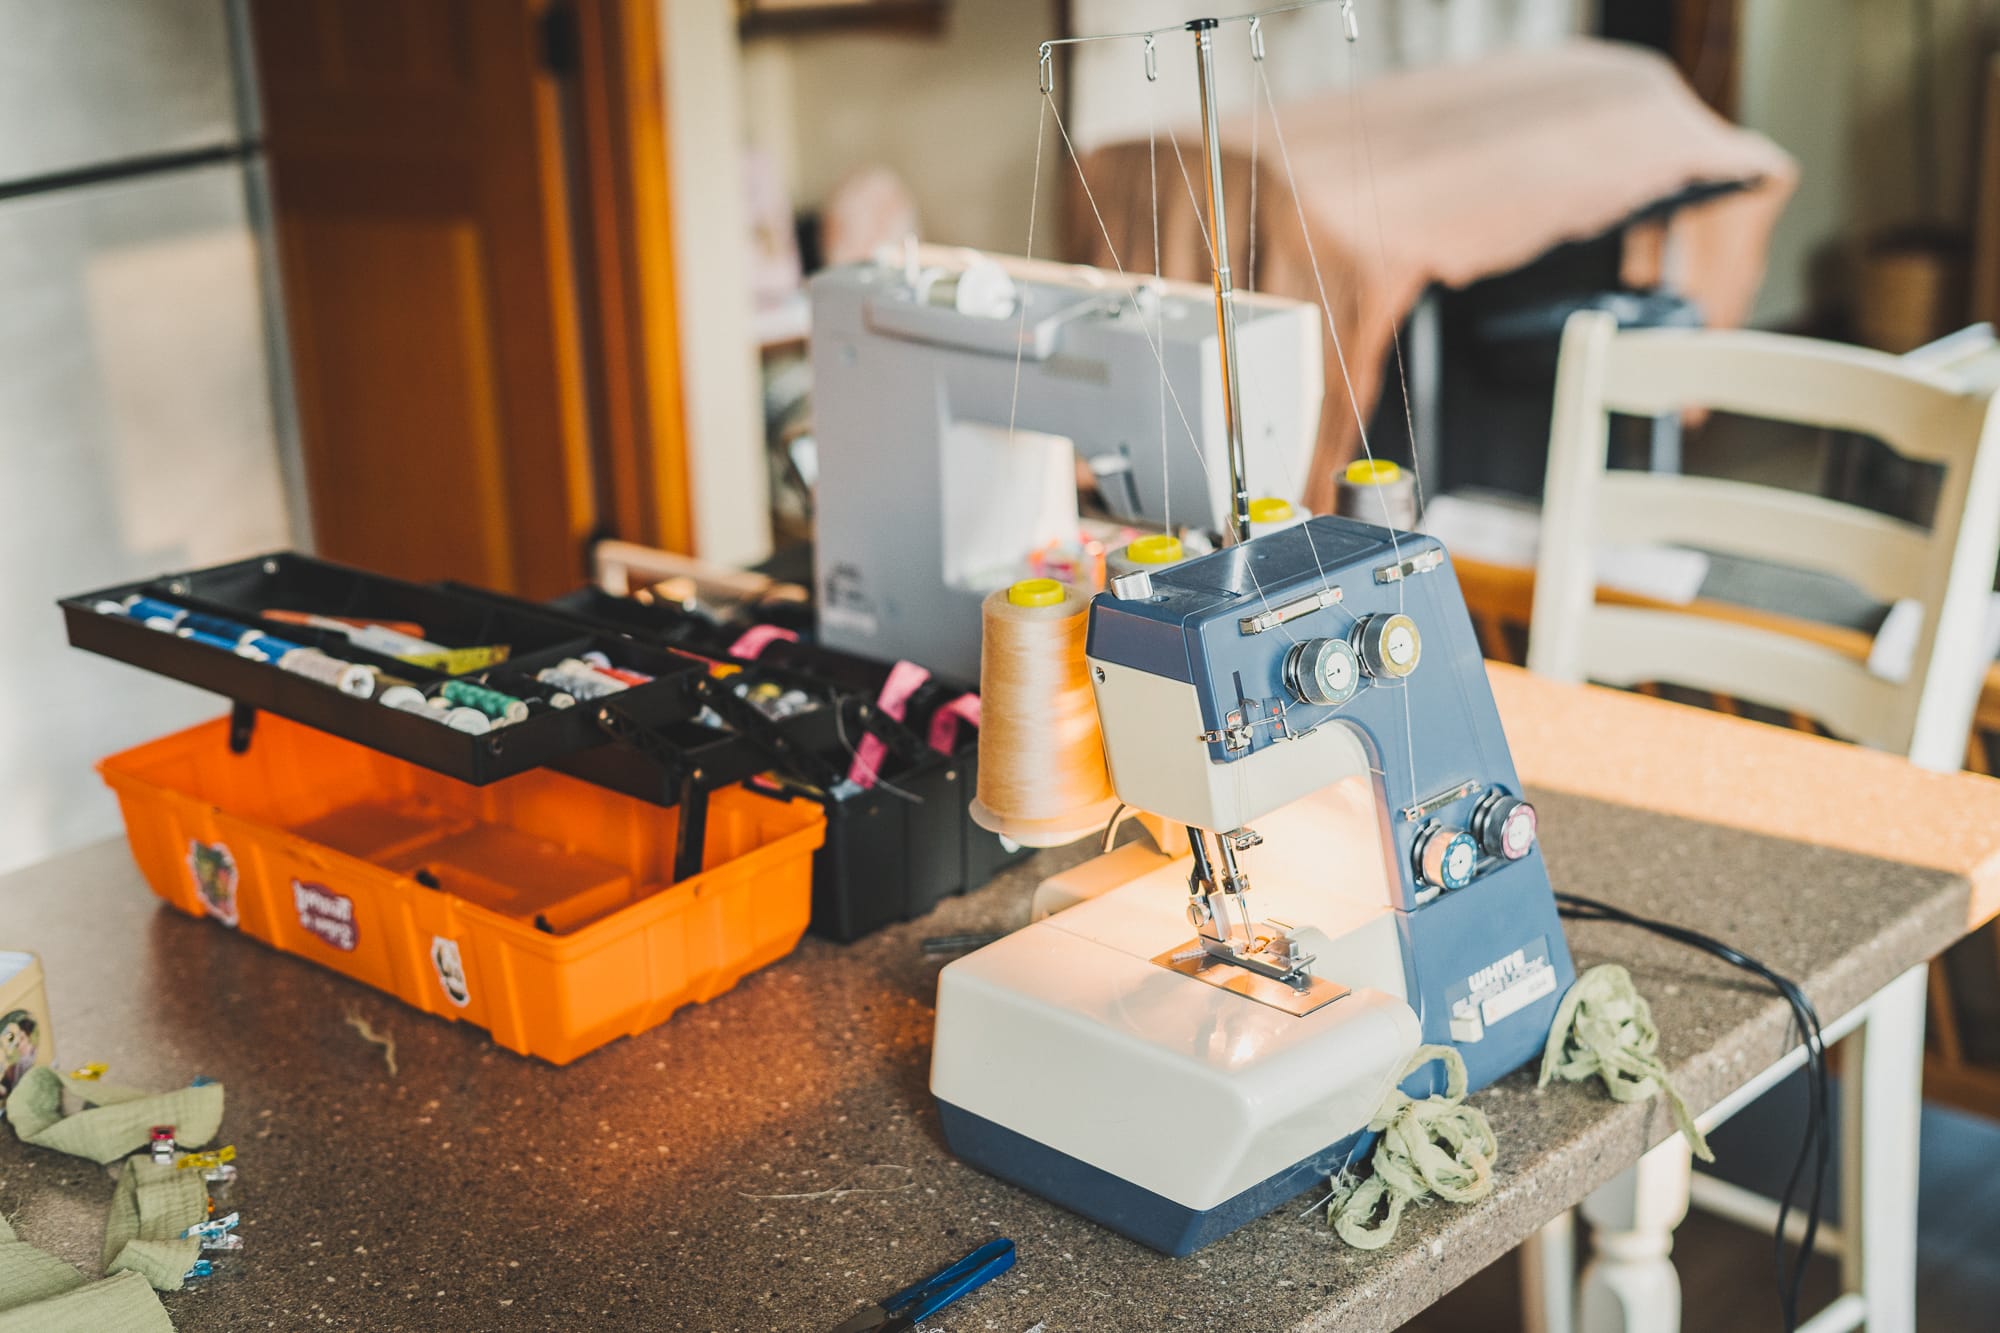
Sewing
This blouse was a breeze to sew. I cannot believe I managed to finish it in one afternoon!
I have to say the pattern instructions are a little hard to navigate.
The cutting layouts don't include all the pieces for all the sleeve options. This might be explained by the fact that they were a later addition.
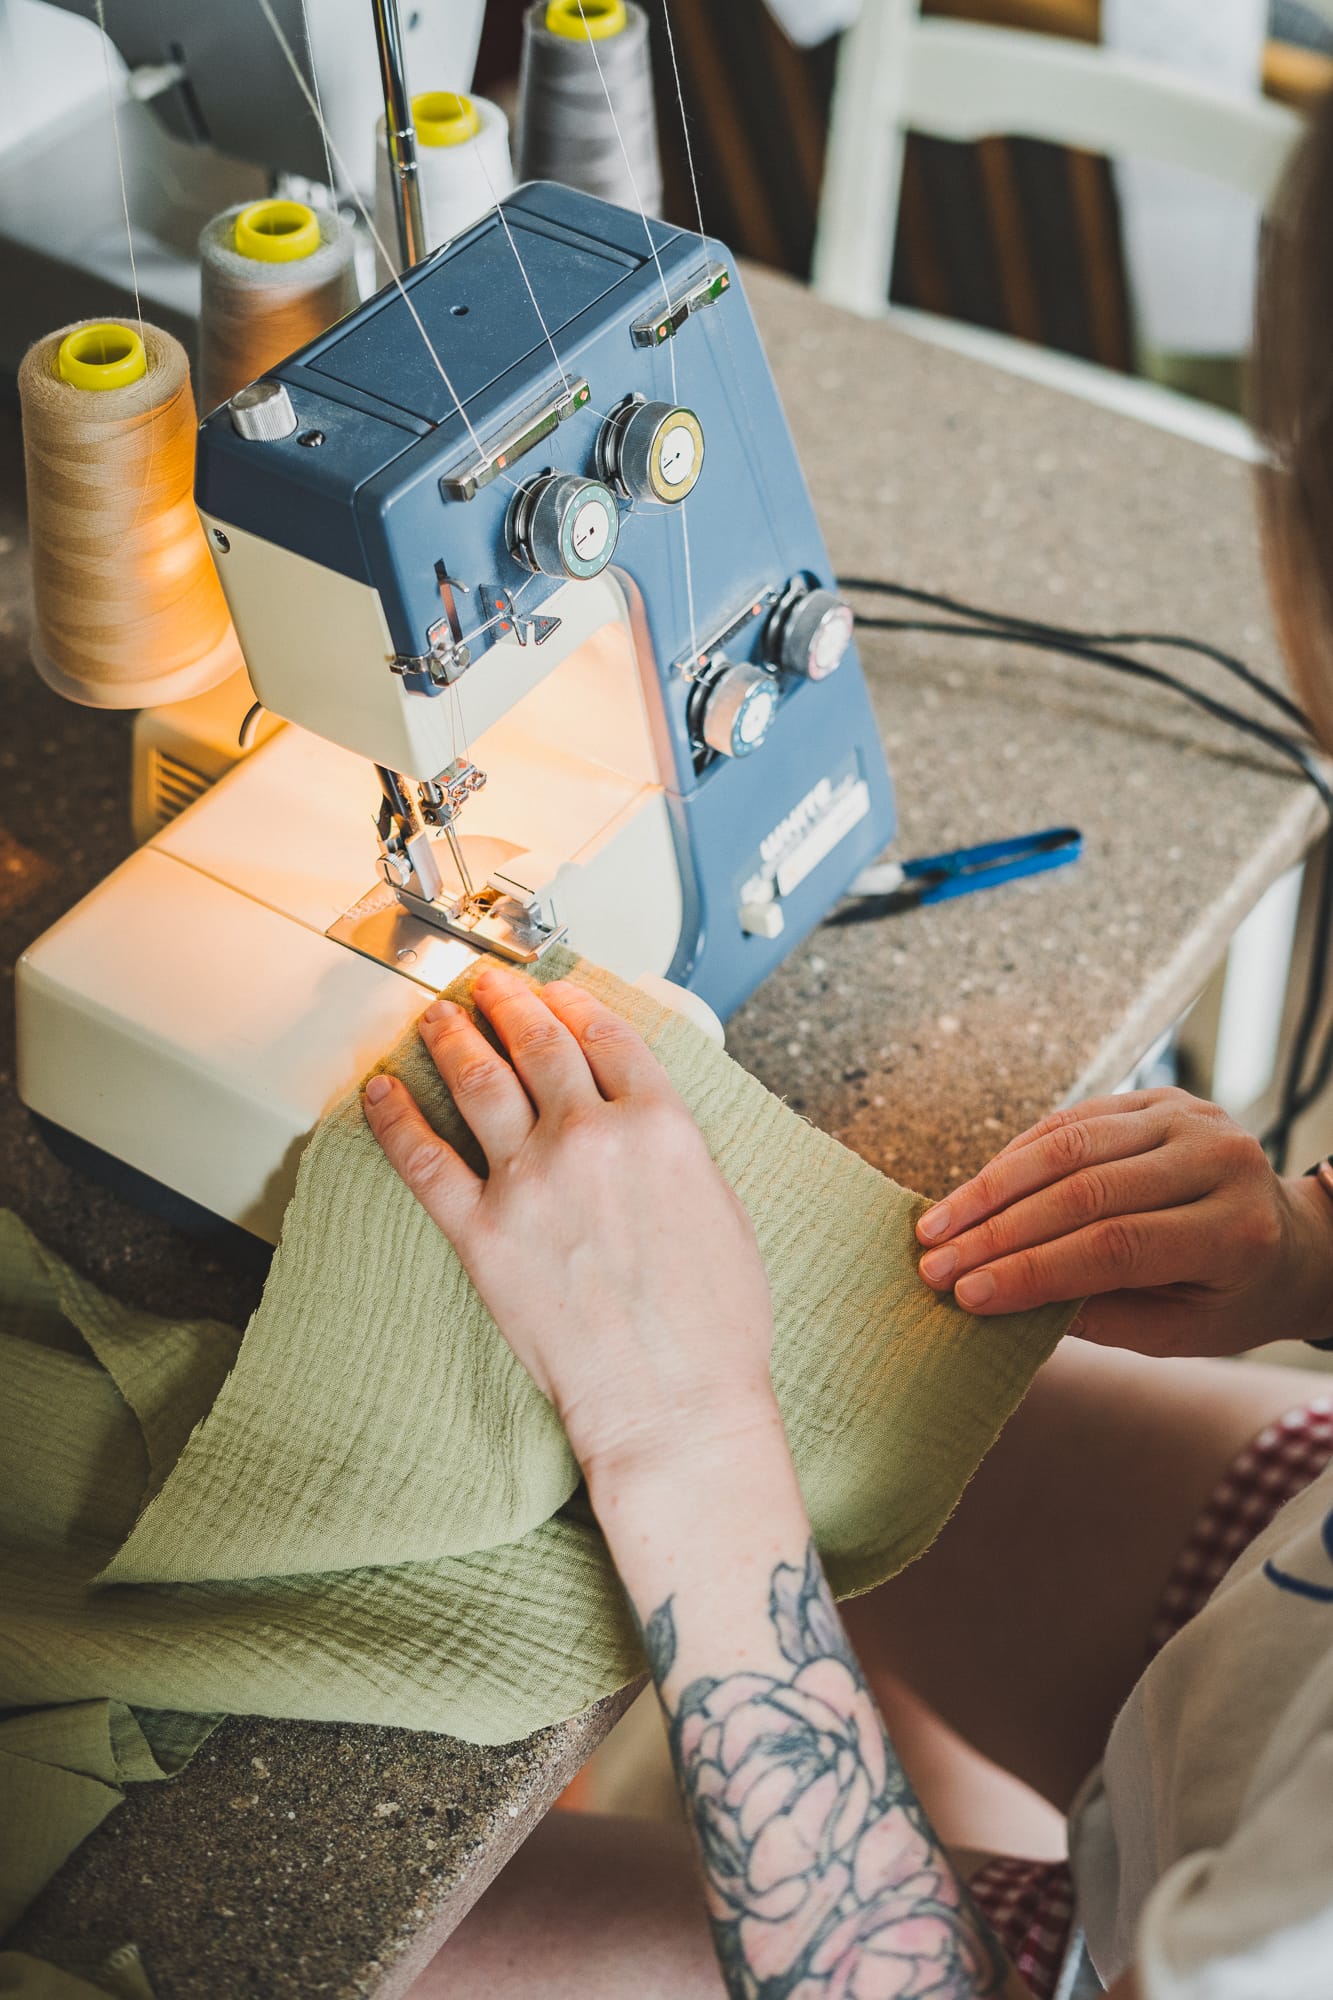
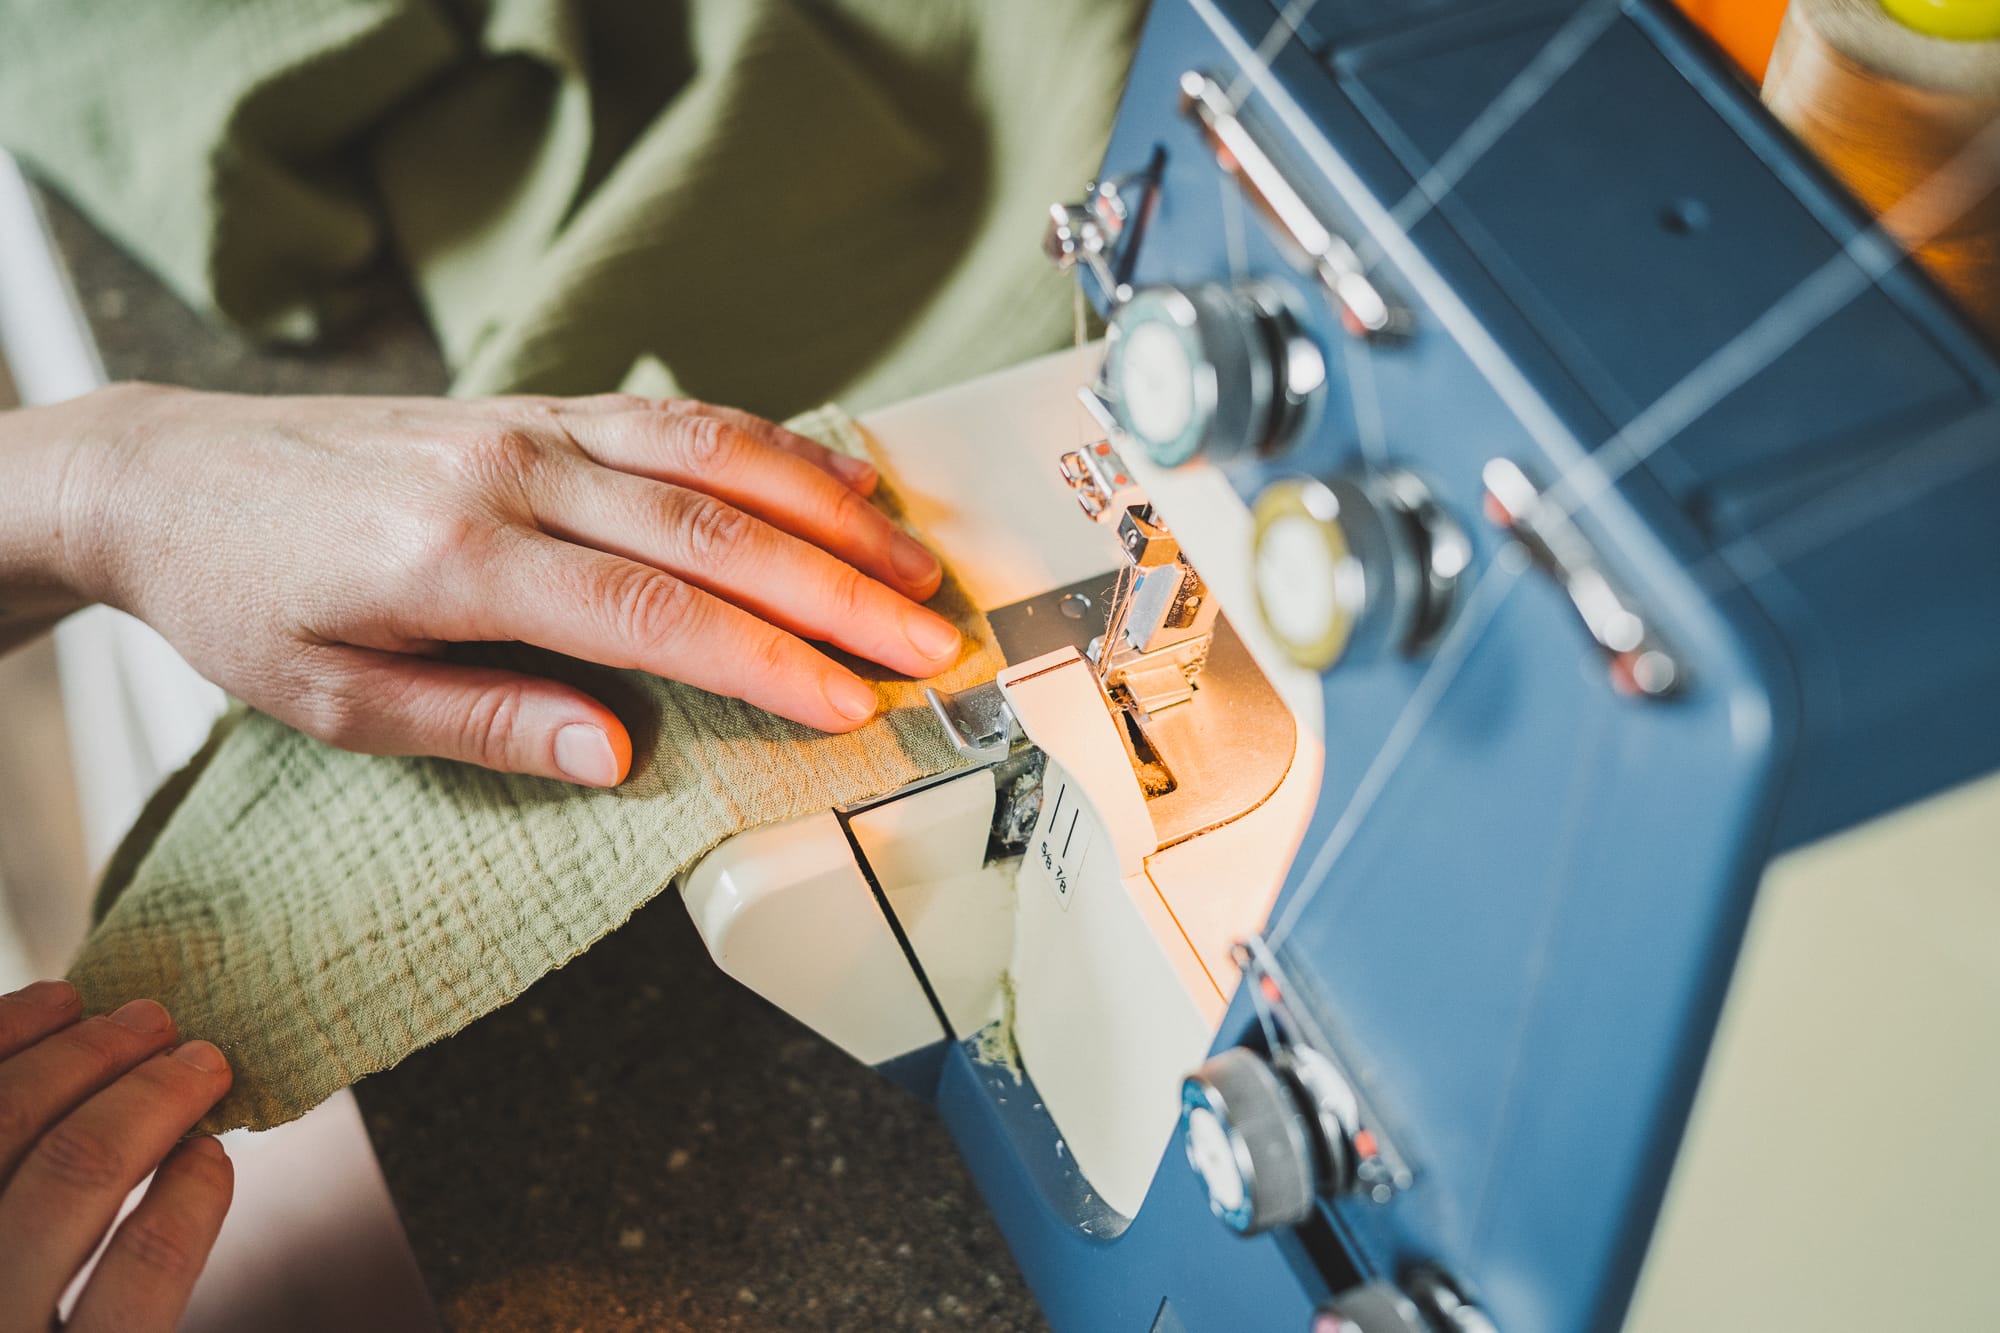
I also tend to finish seems with my serger more often than what is recommended in patterns: i.e. after securing the gathered neckline and cuffs so they're easier to encase in the bias tape, or before hemming the bottom hem.
Also, the bias binding instructions aren't very clear. I ended up hand sewing the inside of the cuffs and neckline.
Here's how I'll do this part next time I make a Photinia Blouse (and there will be many!)
Biais Tape and Stitch in the Ditch Trick
- Wrong sides together, fold the strip in half lengthwise.
- Press to create a center crease.
- Open the strip and press both raw edges toward the center crease.
But here’s the trick:
- Fold one edge to stop just short of the crease (about 1⁄16” away).
- Fold the other edge so it overlaps the crease slightly (about 1⁄16” past).
- This gives you one side that’s a little wider than the other.
- Refold along the center crease, enclosing the raw edges inside.
- The wider side will be the underside (back) of your tape.
- Press well with steam.
Before gathering the fabric, I highly recommend marking the quarter points of both your neckline (or cuffs) and your bias tape to keep the fabric evenly distributed all the way around.
- Sandwich your fabric edge inside the bias tape.
- Place the narrower side on top (the side you’ll see).
- Sew from the right side, stitching in the ditch (where the tape meets the fabric).
Thanks to that slightly wider back, your stitches will catch it neatly every time.
Signing your Work
I cannot commit on a cute tag design (I also am not really a fan of tags) but I got this stamp 2 years ago and now sign my makes with it. It's not screen printing ink, so it will wash off over time, but I don't mind.
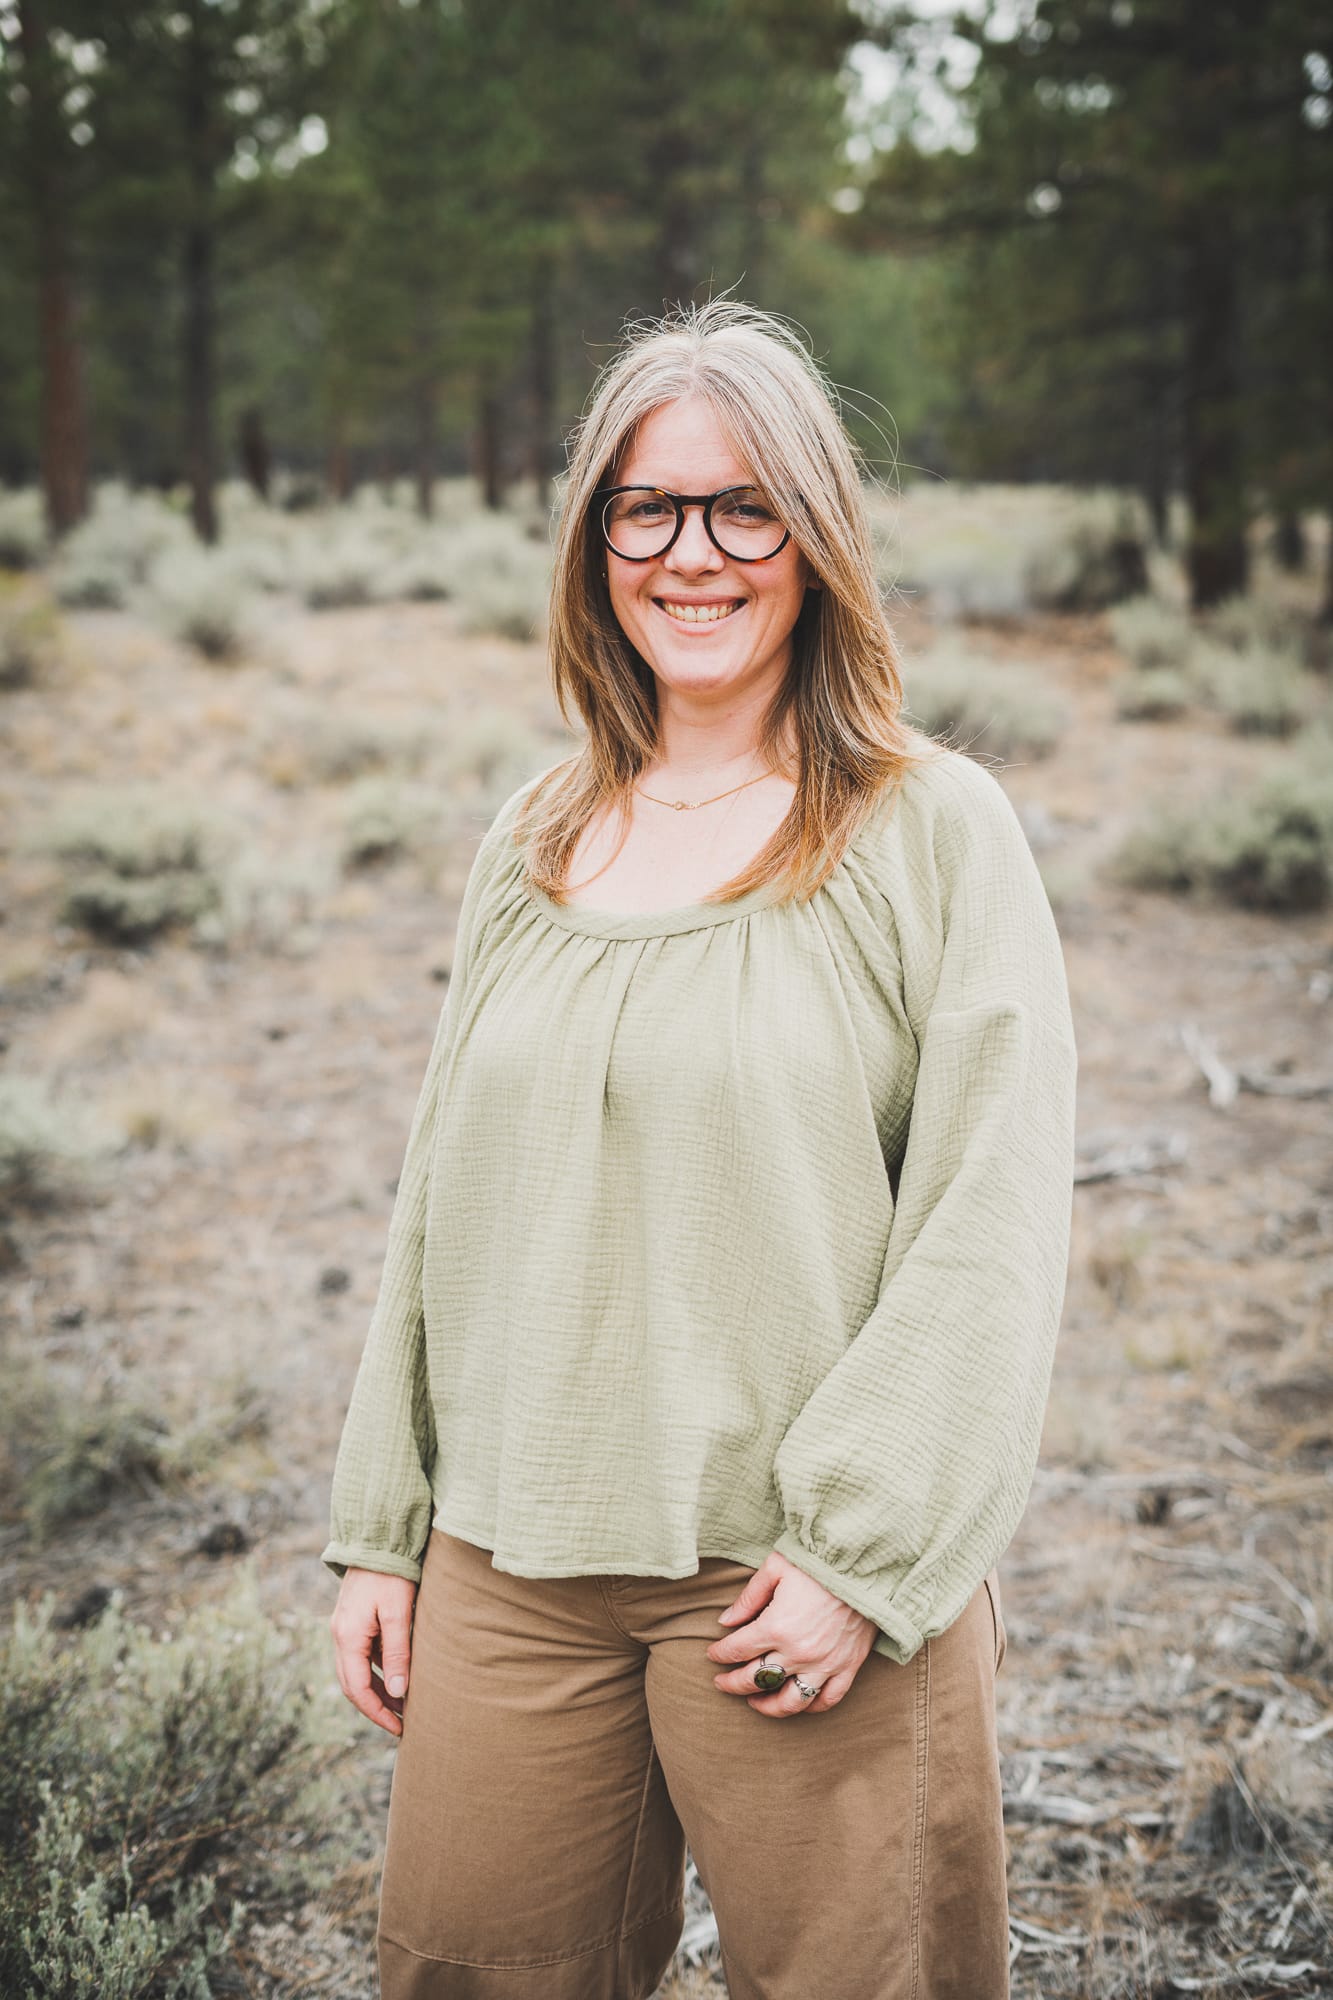
Style & Fit
The pattern is right, "If you use the full length of the binding as is for your neckline, your garment neckline may be too large in fit around the shoulders."
According to my measurements, the opening would be wider than most examples I had seen online and this was the result I wanted, but I could have shortened the sleeves to compensate. I still like it very much, it reminds me of the neckline of a blouse I liked.
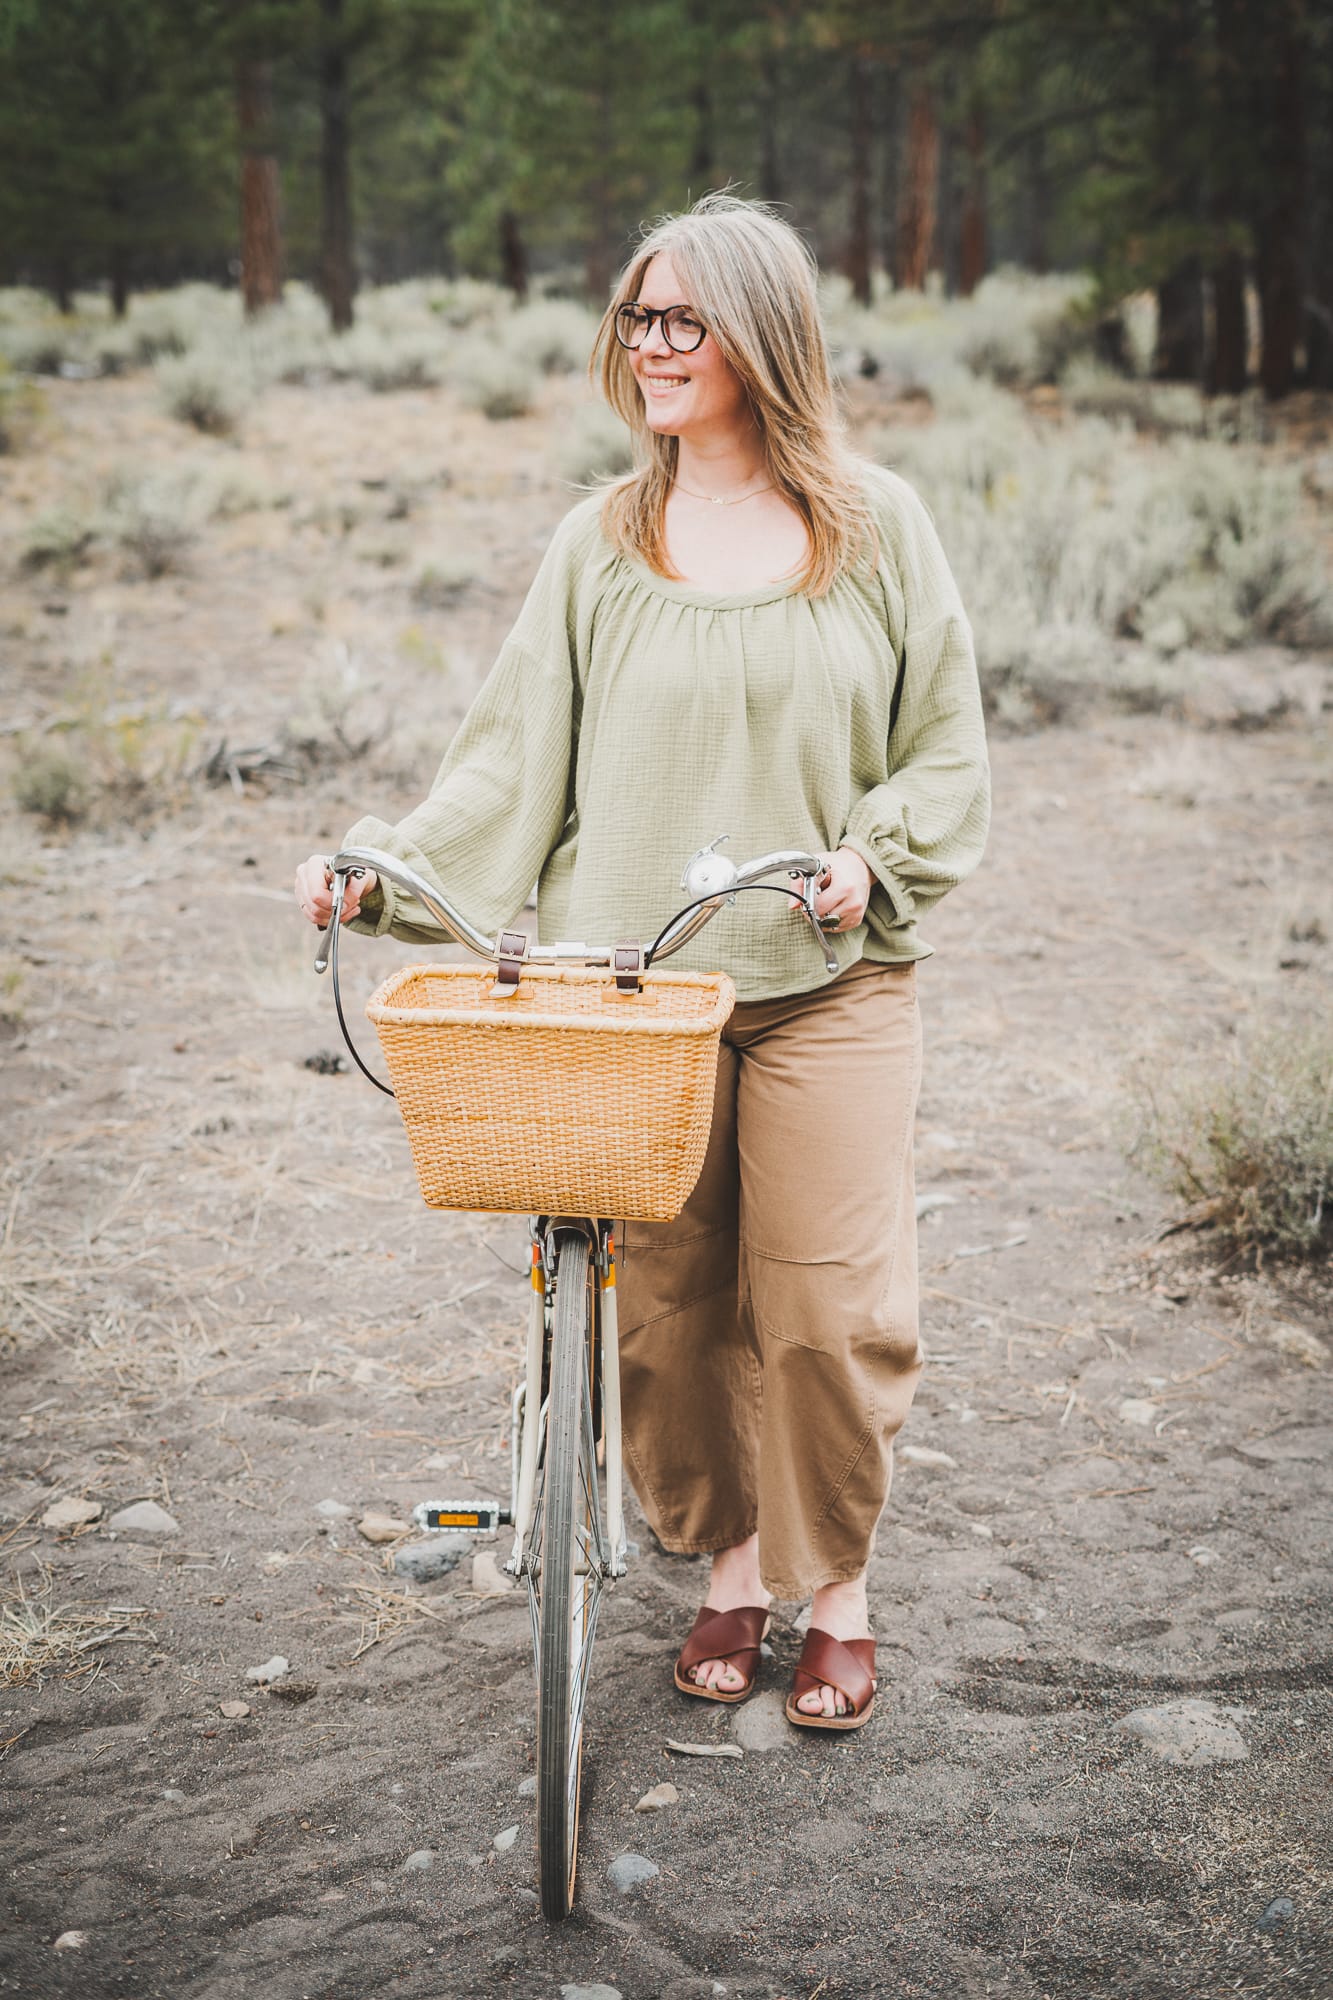
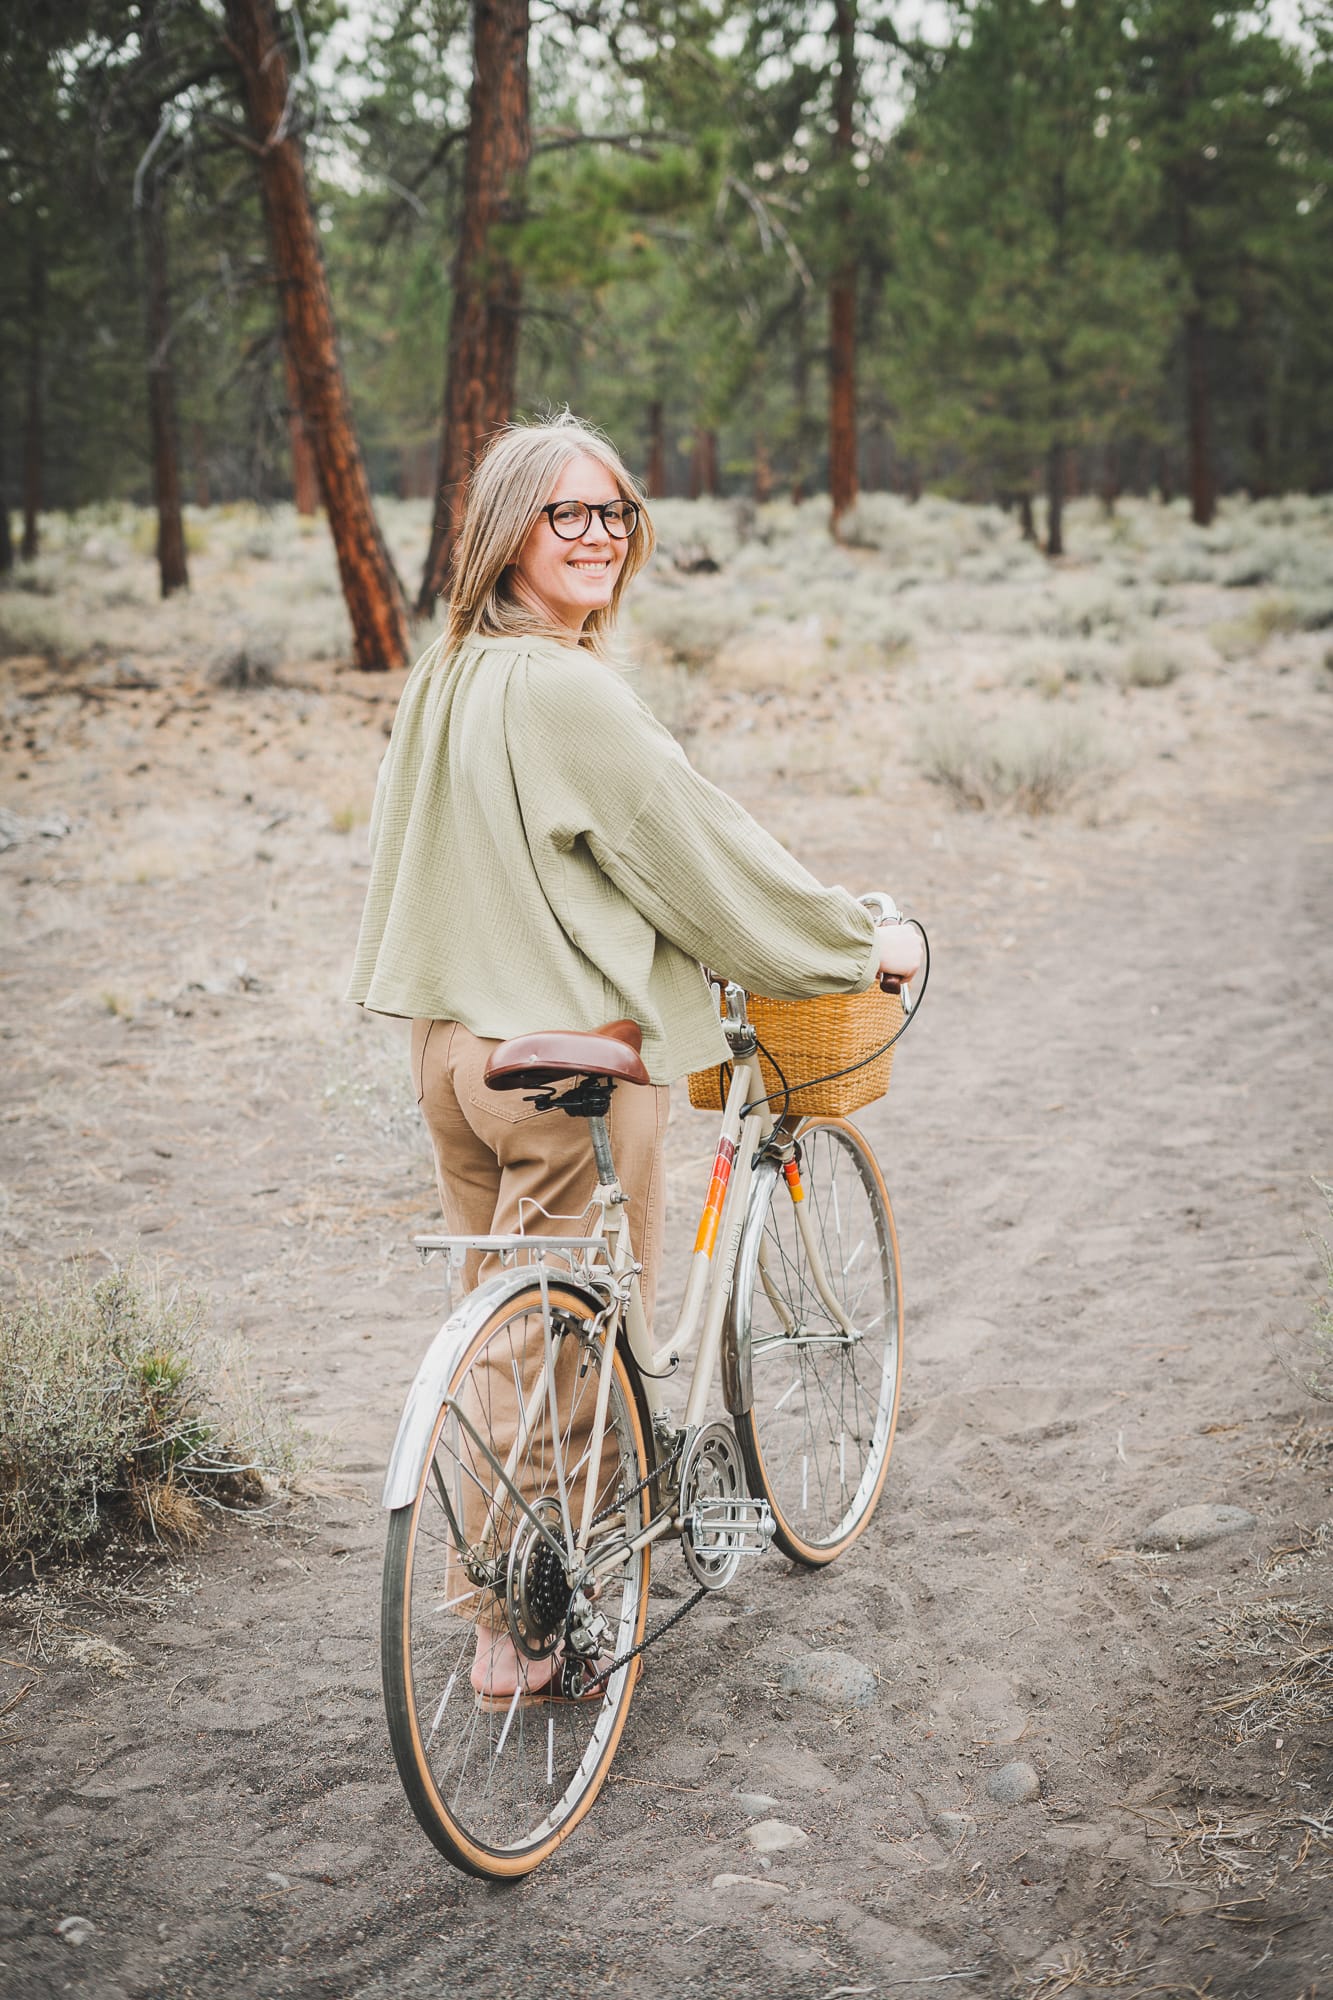
Outfit details
- Photinia Top - Made by me
- Jeans
- Leather Slides - Made by me
Have you tried the Photinia Top or something similar? Share your go-to patterns below—I’m always looking for inspiration!
This post is not sponsored but contains affiliate links. If you make a purchase through one of my links, I may earn a commission at no extra cost to you. Thank you for your support!

