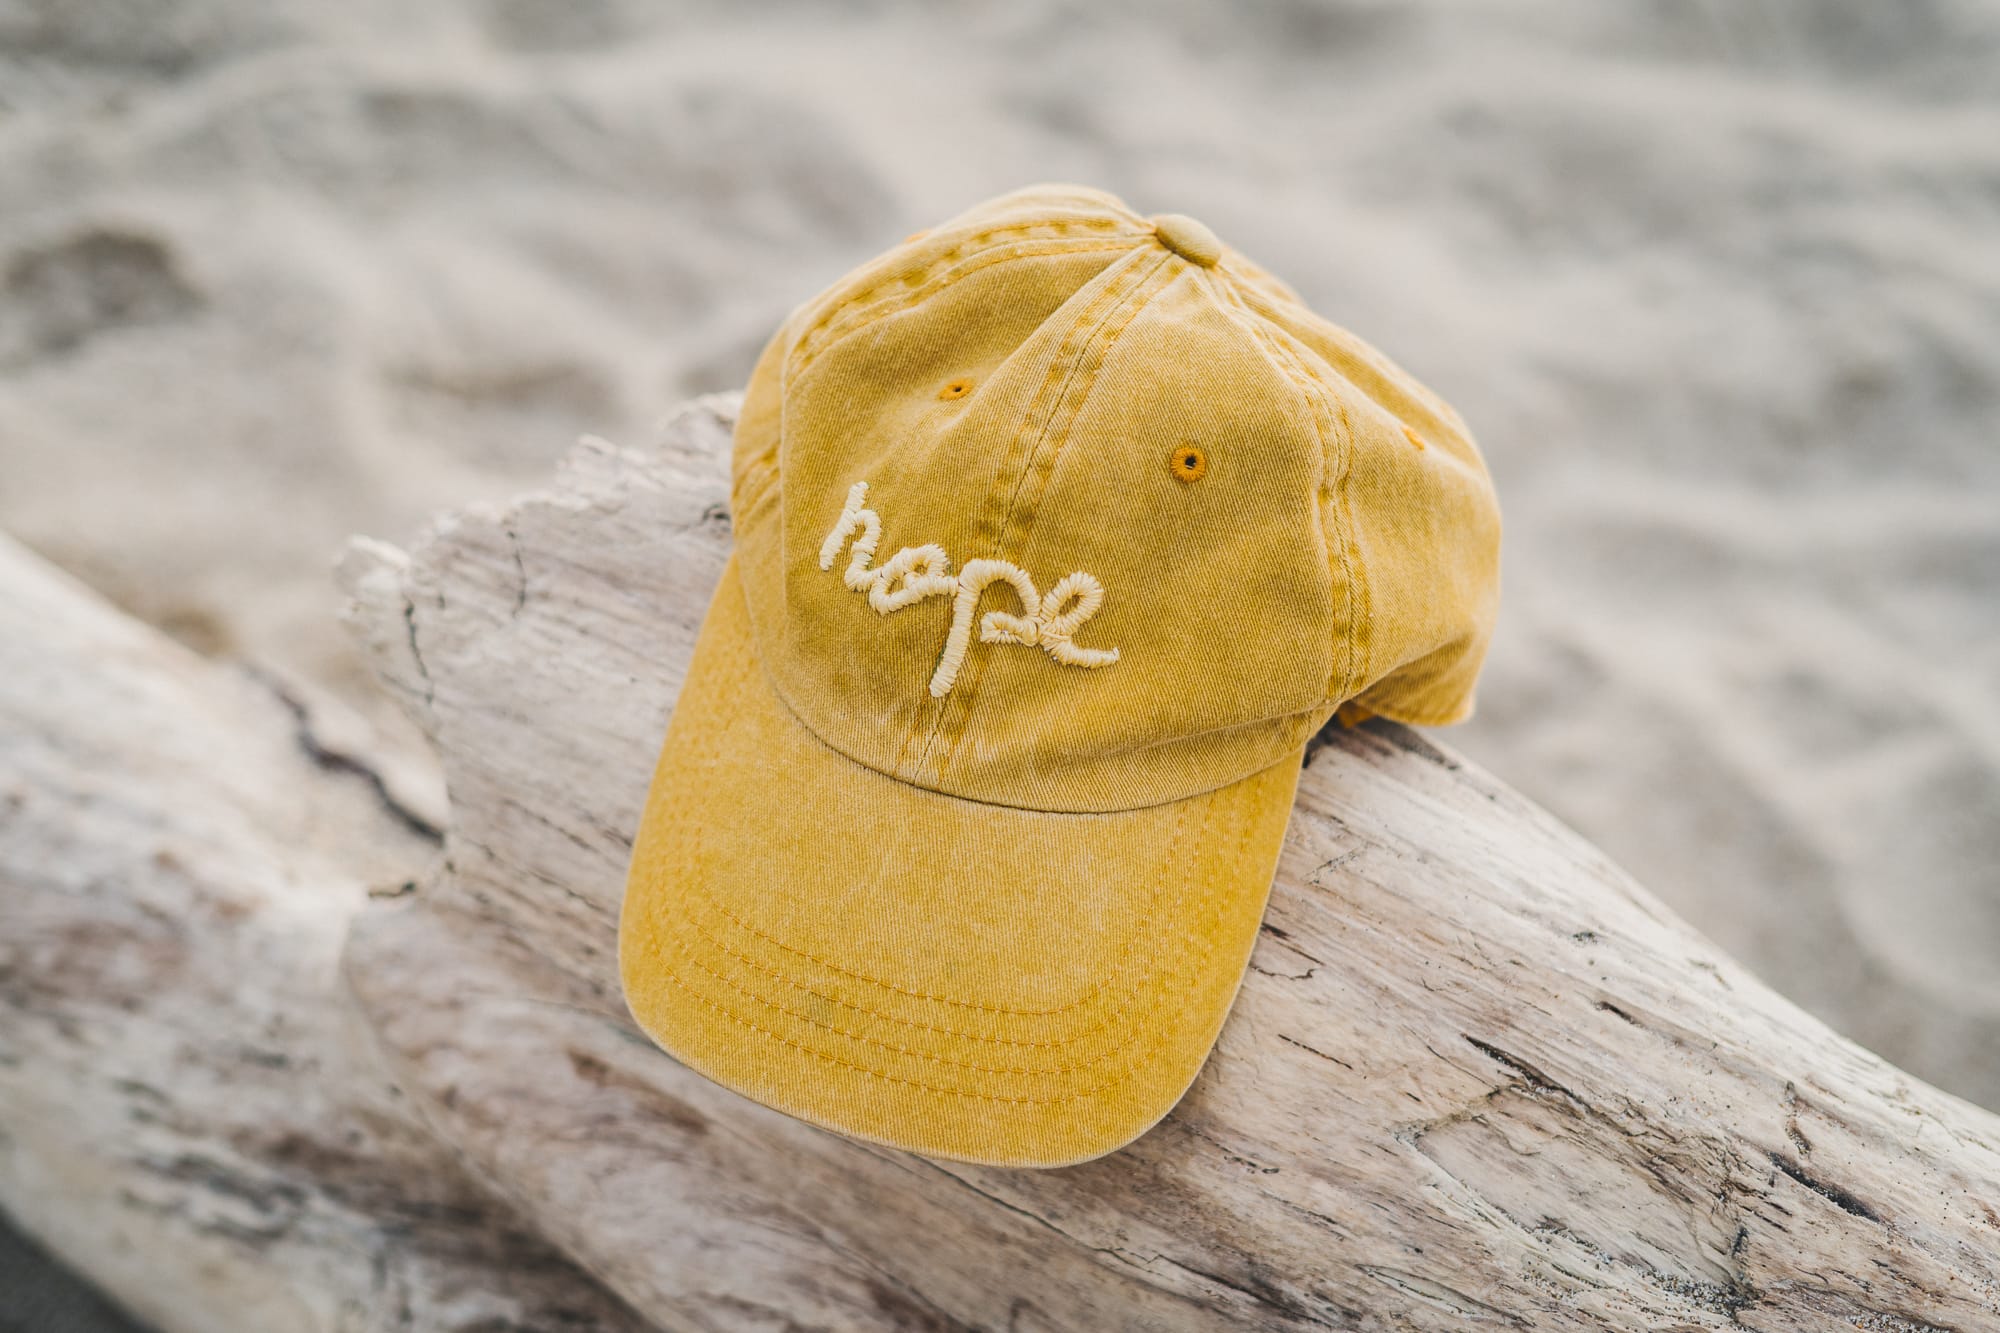
Transforming a Hat with a Glue Gun and Embroidery Thread
I’ve had a love–hate relationship with this hat for a few years. I bought it on a trip to SoCal, while biking around town to visit a friend, and realized I needed to protect my face from the harsh California sun.
I wore it quite a bit, then forgot about it. While assessing my closet one day, I noticed I hadn’t worn it in such a long time that I considered finding it a new home. I ultimately decided to dye it black along with a bunch of other accessories, but it didn’t quite work — the yellow was still showing. So I undyed it, and back to the unworn pile it went.
Then one day, I had a sudden burst of inspiration and decided to embellish it. It turns out I already had all the supplies to give it a new life.
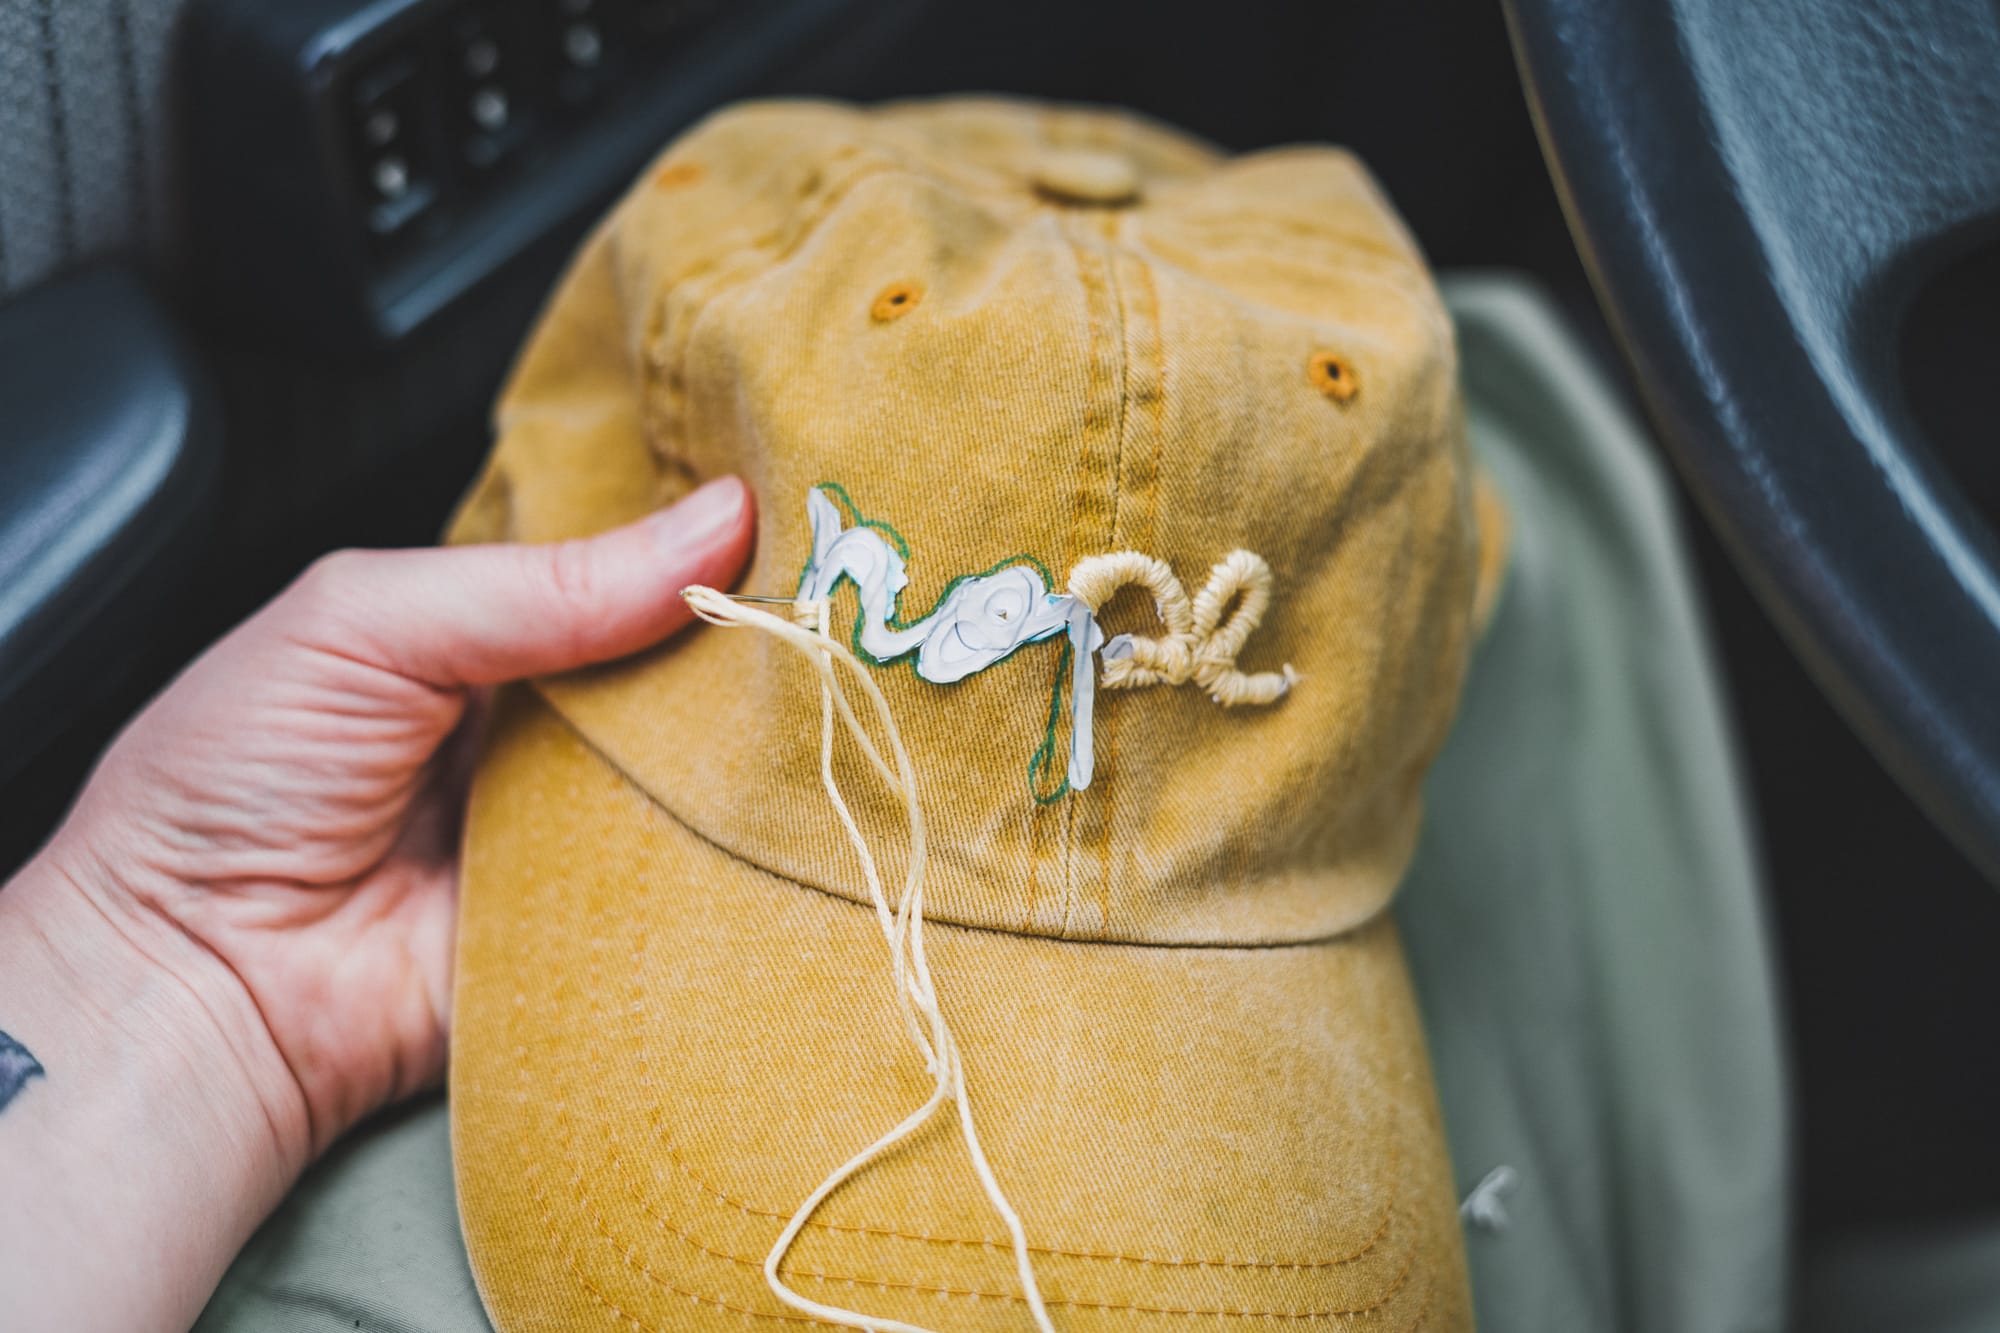
I remembered seeing someone use hot glue to create a 3D effect in embroidery. Considering my glue gun was a $1 thrift-store find without a trigger (you have to push the glue stick from the back!), I decided to test out my calligraphy skills on a piece of paper rather than go straight onto the hat fabric.

In hindsight, I could have used interfacing or stabilizer on both sides… but it was a spur-of-the-moment idea, and I honestly didn’t do any research before diving in.
As you’ll notice, I prefer short phrases and words for my embroidery projects. I like a quick DIY — though I wouldn’t exactly call embroidery a quick craft! I ended up finishing this project on a rainy morning at the Oregon Coast, while Octave was out fishing on the ocean.
Supplies
- Blank hat (cotton or canvas works best)
- Embroidery floss (any color, 6-strand cotton recommended)
- Embroidery needle (size 5–7, sharp tip)
- Small scissors (for thread trimming)
- Stabilizer (optional) — tear-away or cut-away, to prevent puckering
- Pins (to hold your template in place)
- Hot glue gun + glue sticks (low-temp preferred)
- Water-erasable marking pen (optional) — to mark placement or add guide lines
Steps
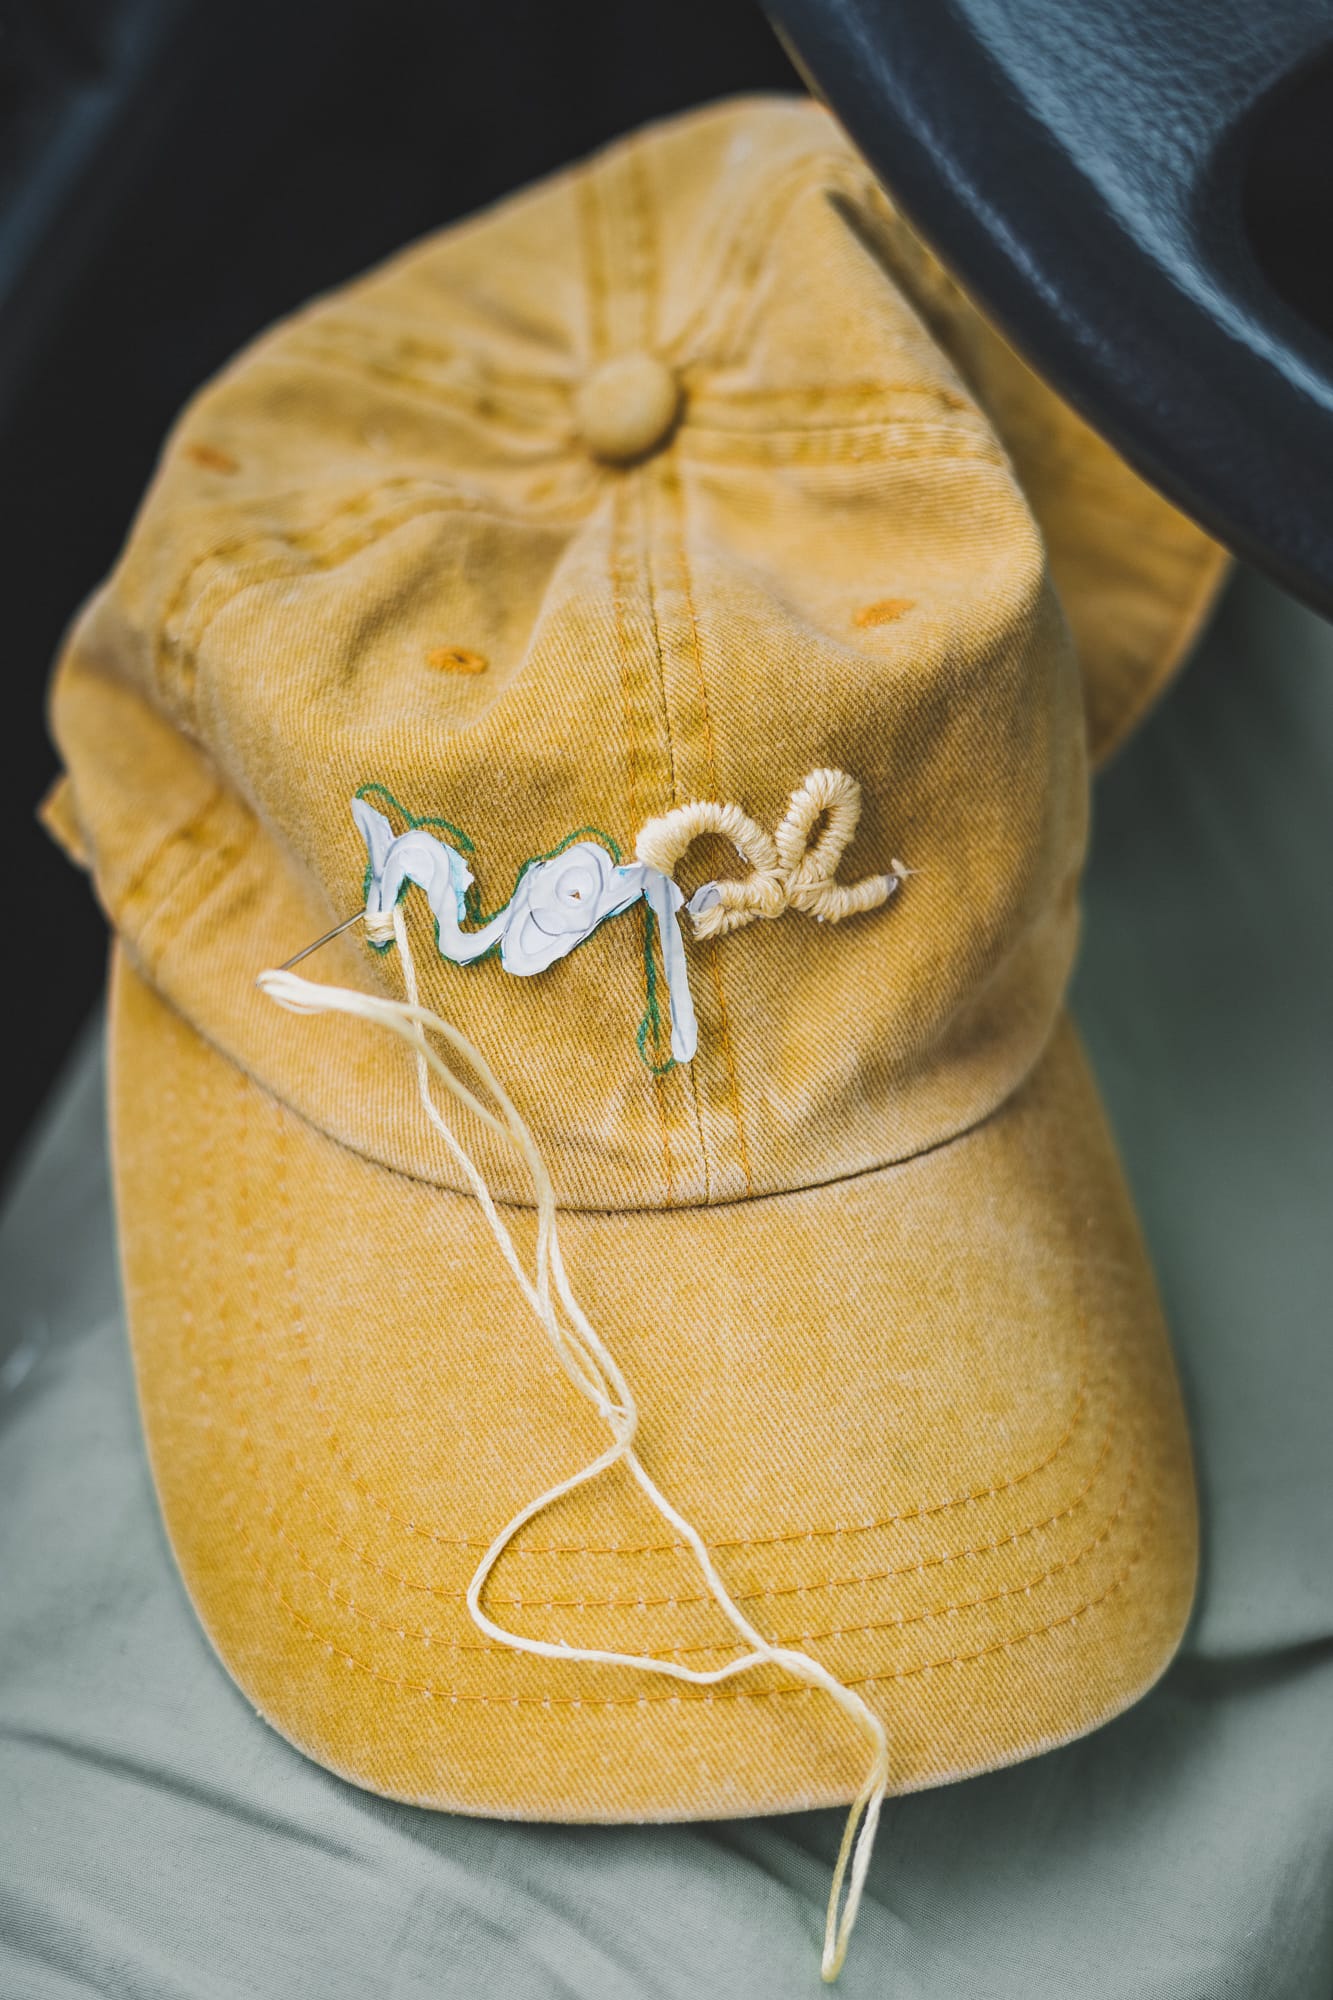
- Sketch your word on paper or directly on stabilizer.
- Trace the letters with hot glue and let the glue cool completely.
- Trim and position the glue template on your hat. Pin it in place, or trace around it with a water-erasable pen once you’ve chosen the final placement.
- Embroider over the raised glue lines until the word is fully outlined.


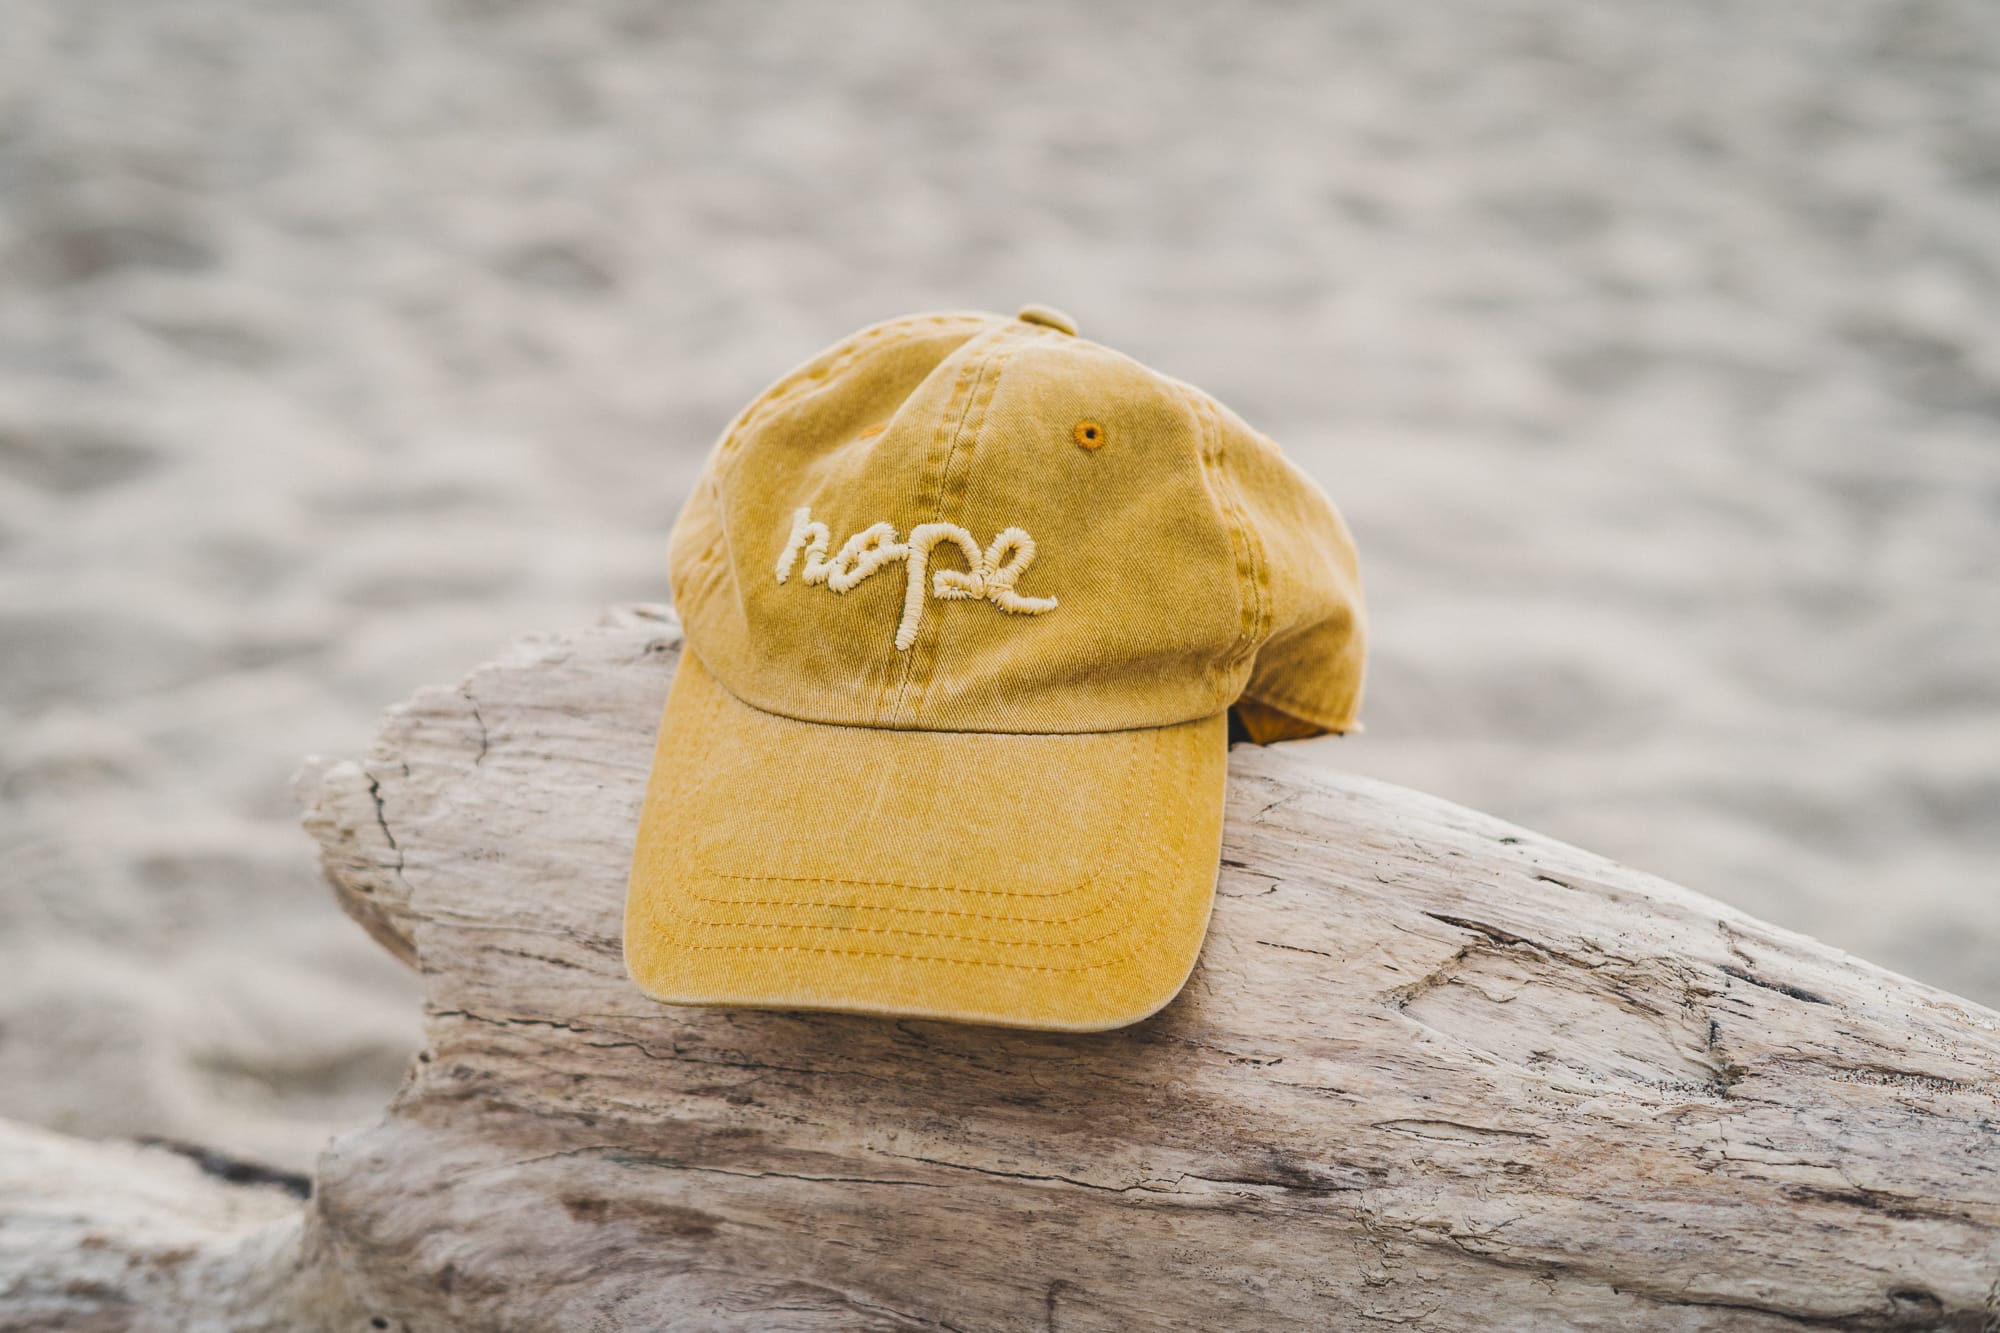
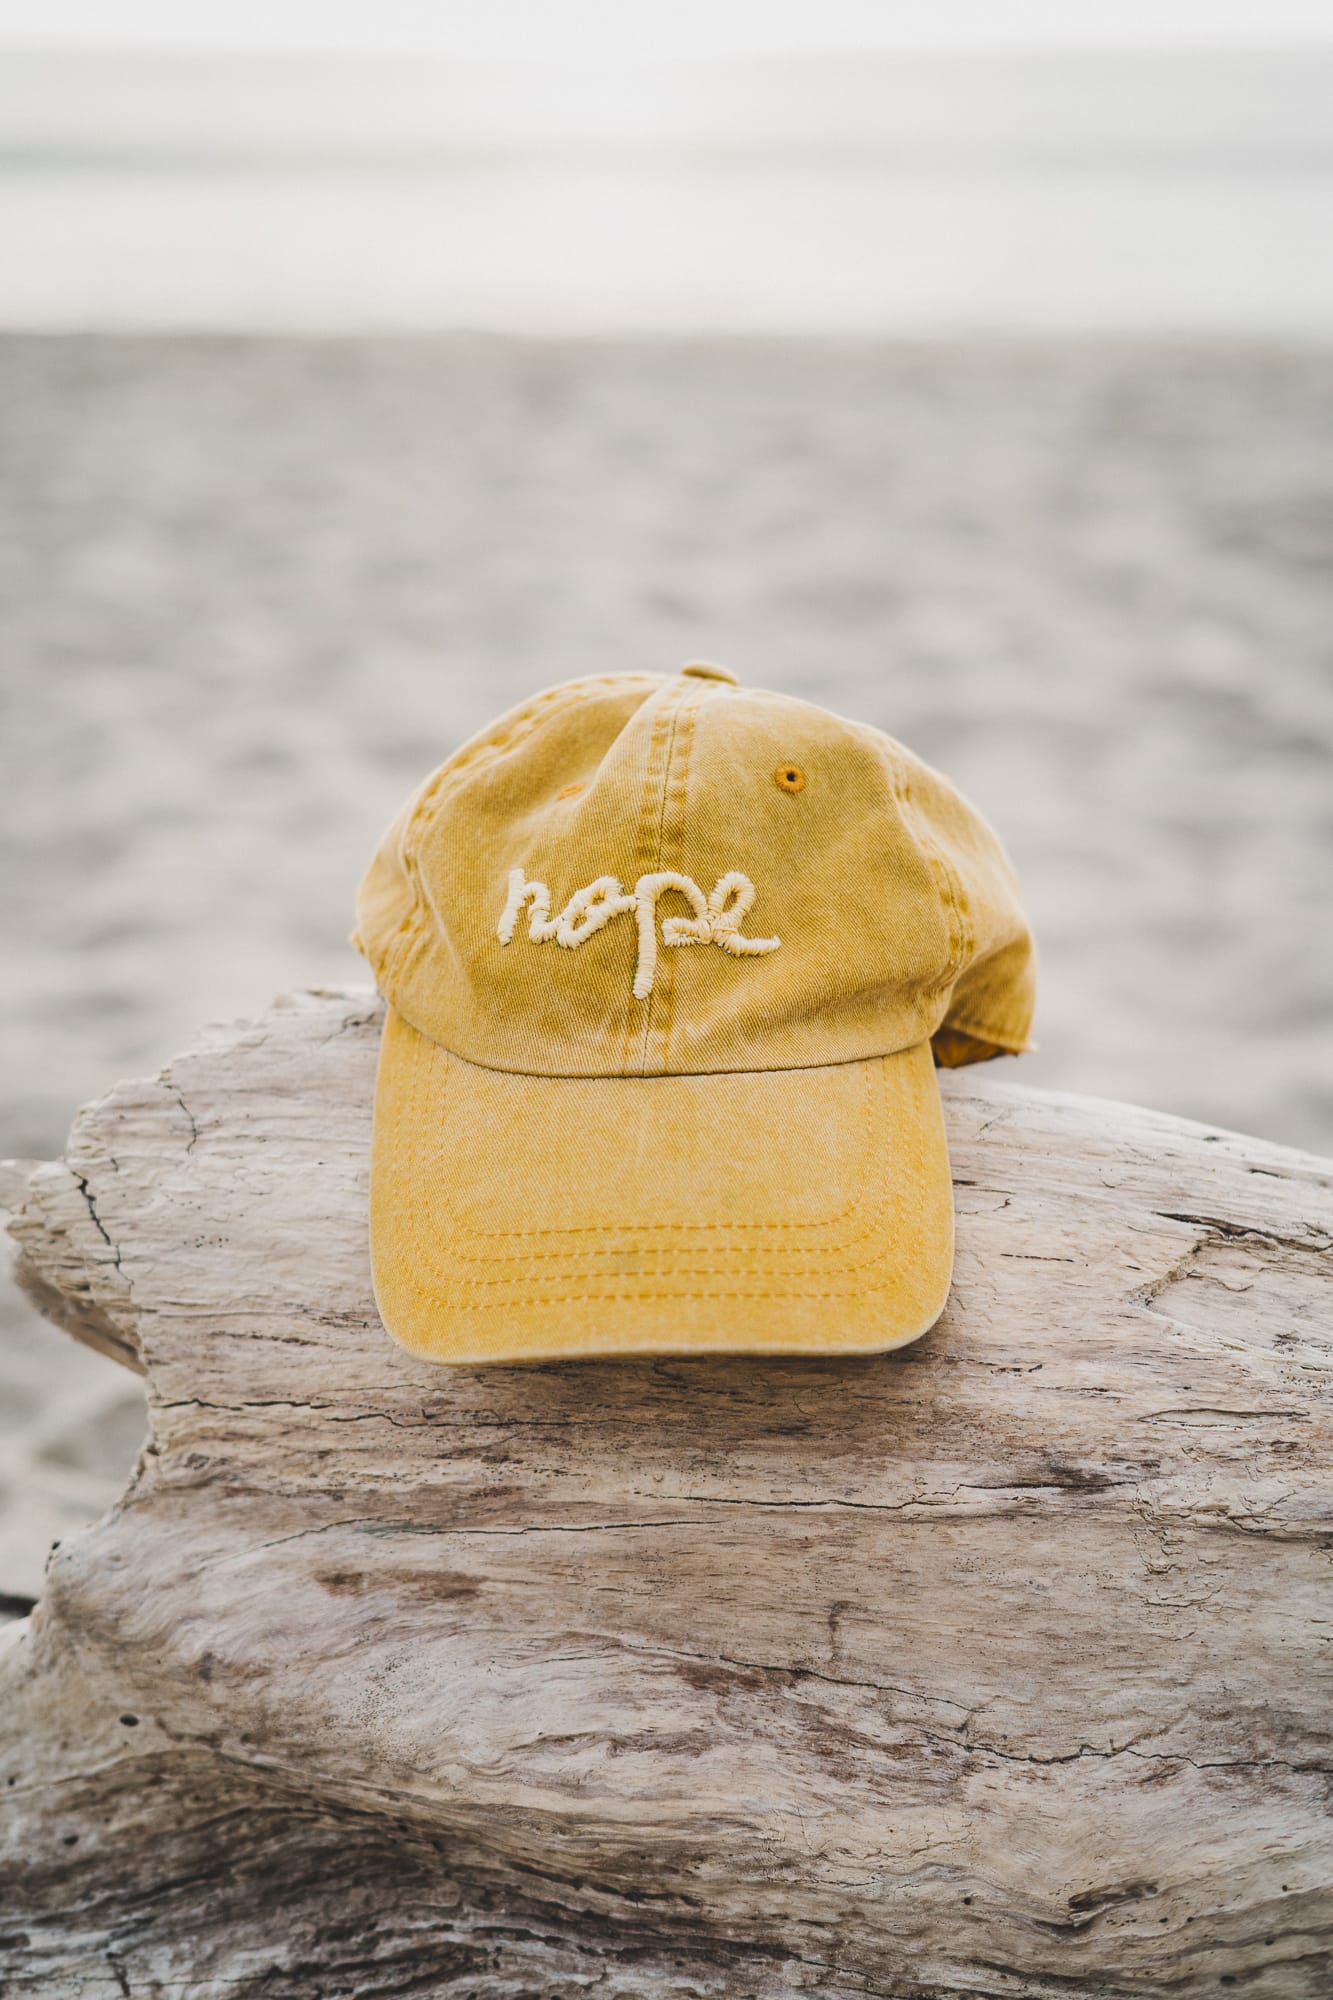
I’ve been wearing this hat non-stop ever since, and I’m now gathering words and phrases I could embroider on rescued hats.
Now I have two questions for you:
What do you read — Hope or Nope?
And what fun phrase would you embroider on a hat?