My Splitboarding Packing List for Backcountry Touring

I've decided that the fact that the snow took its sweet time to land in Central Oregon was nature's sign telling me to be patient and be well prepared.
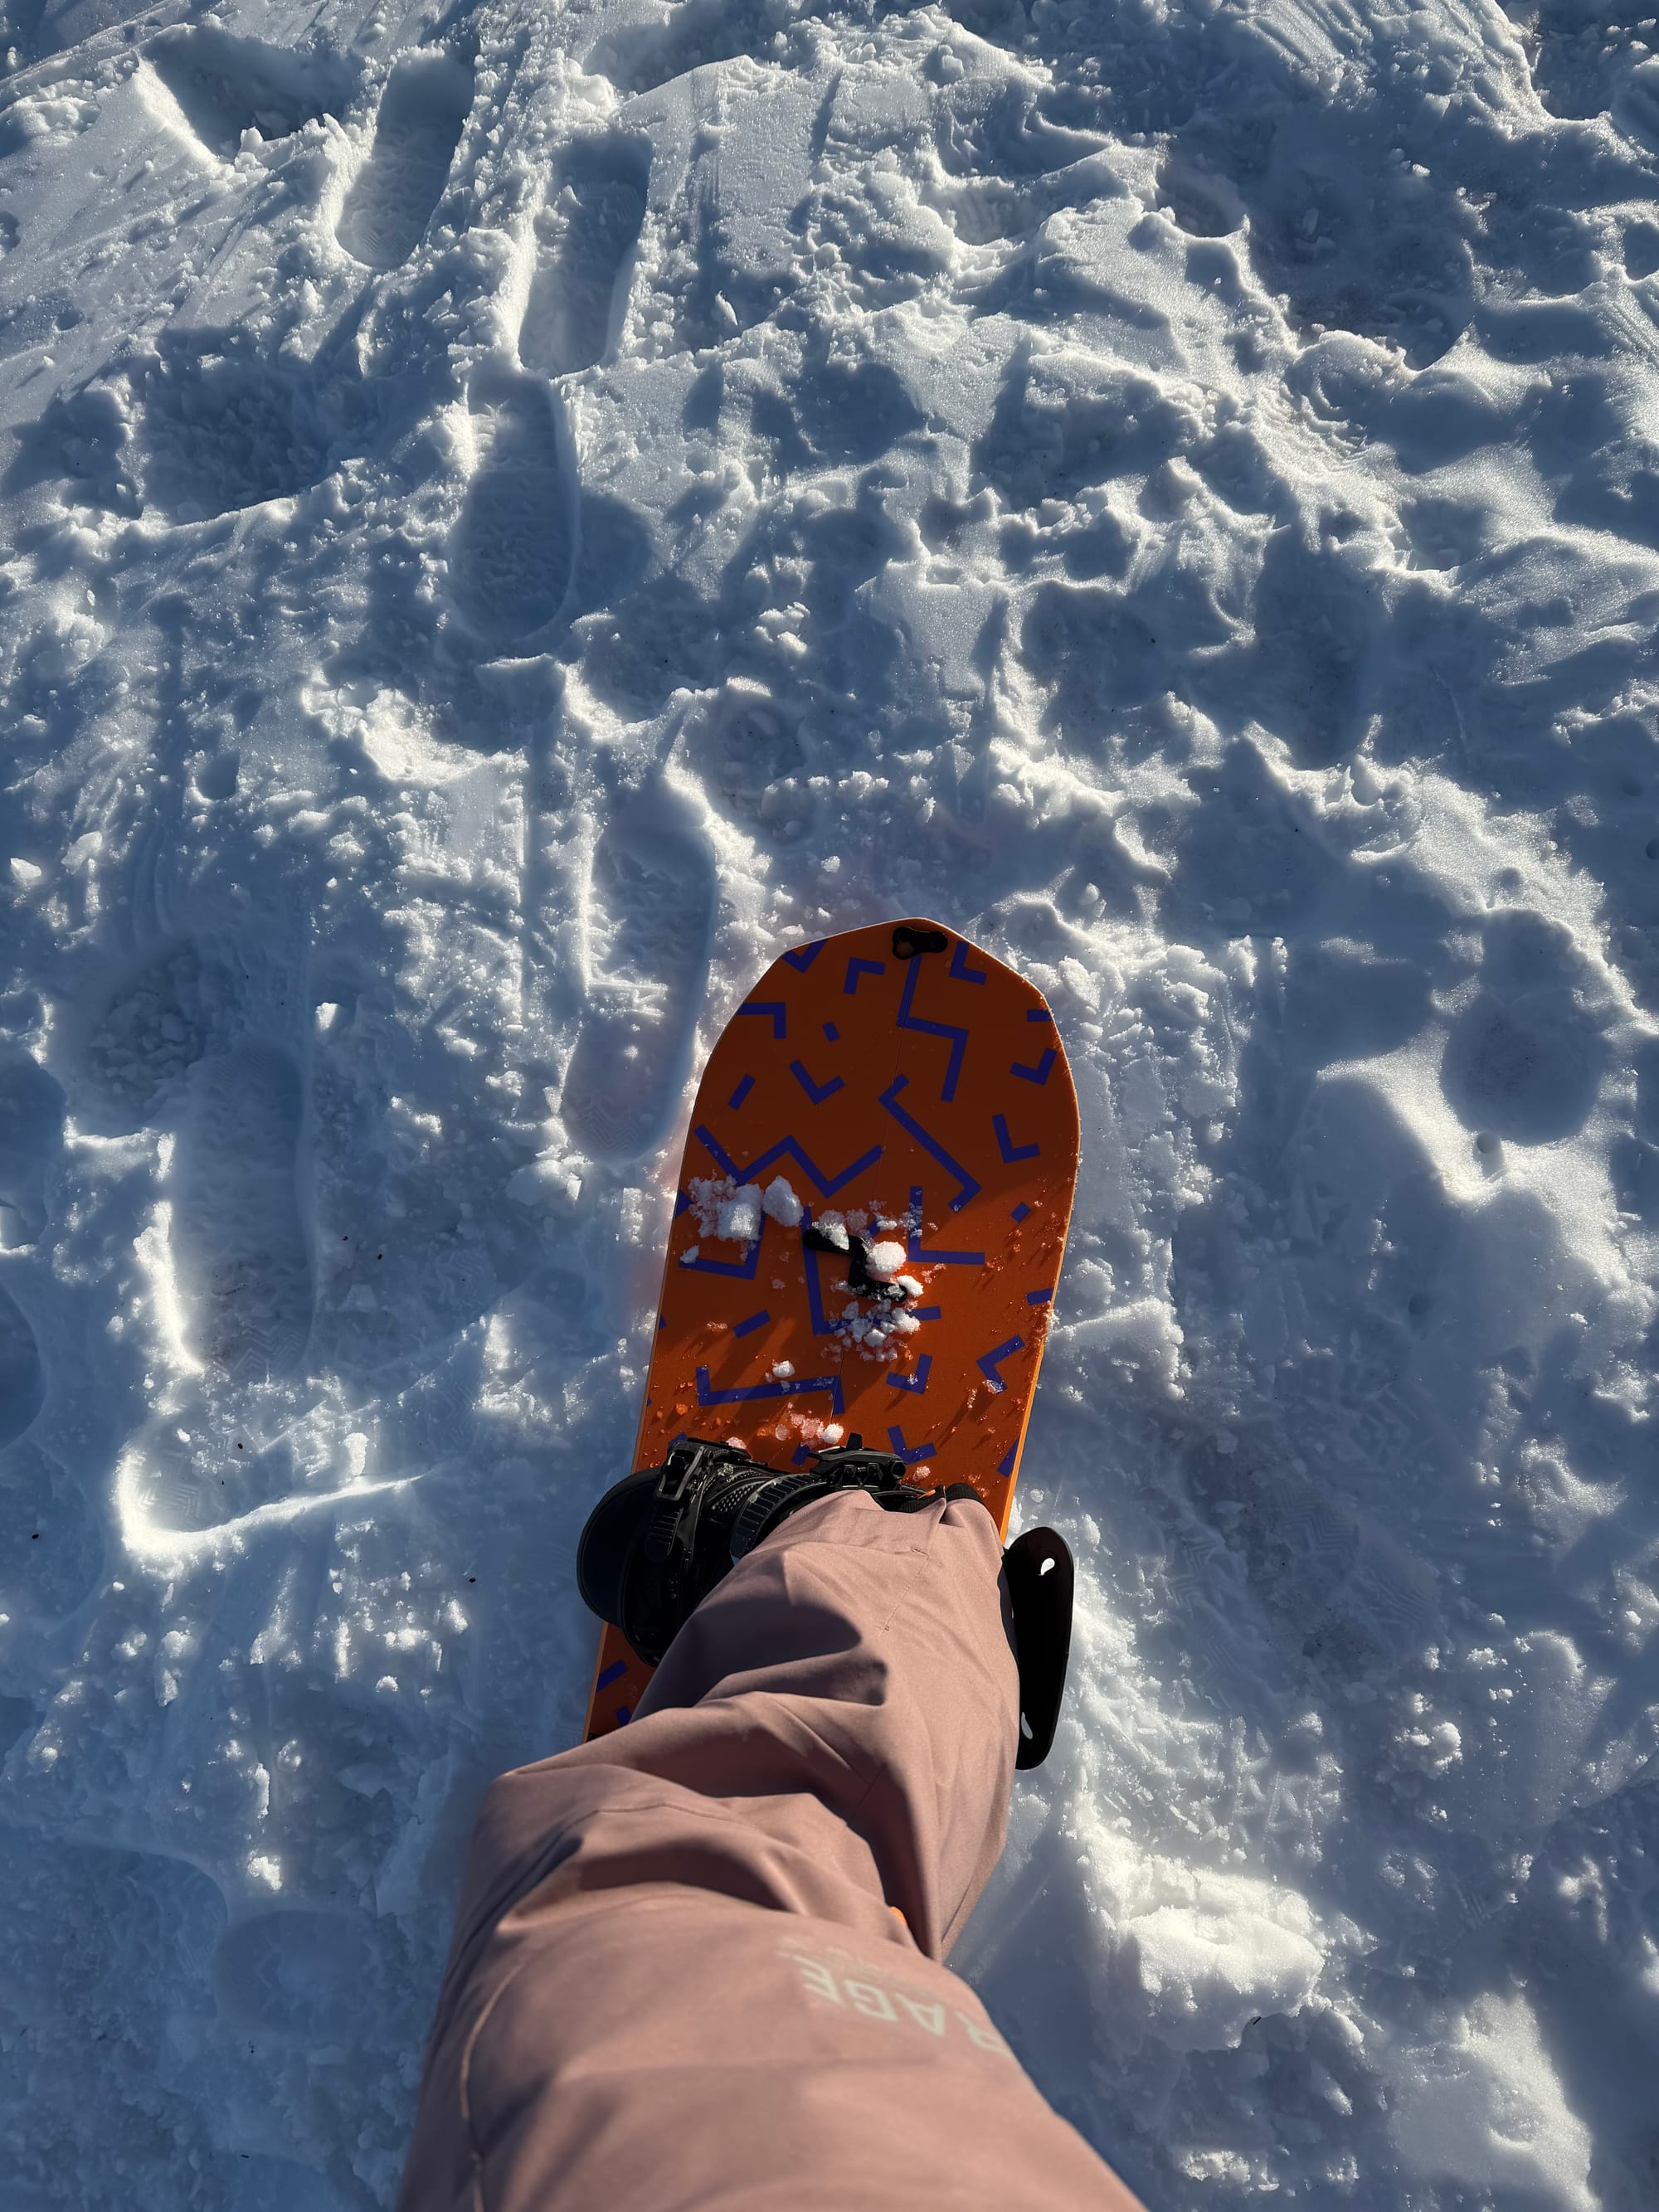
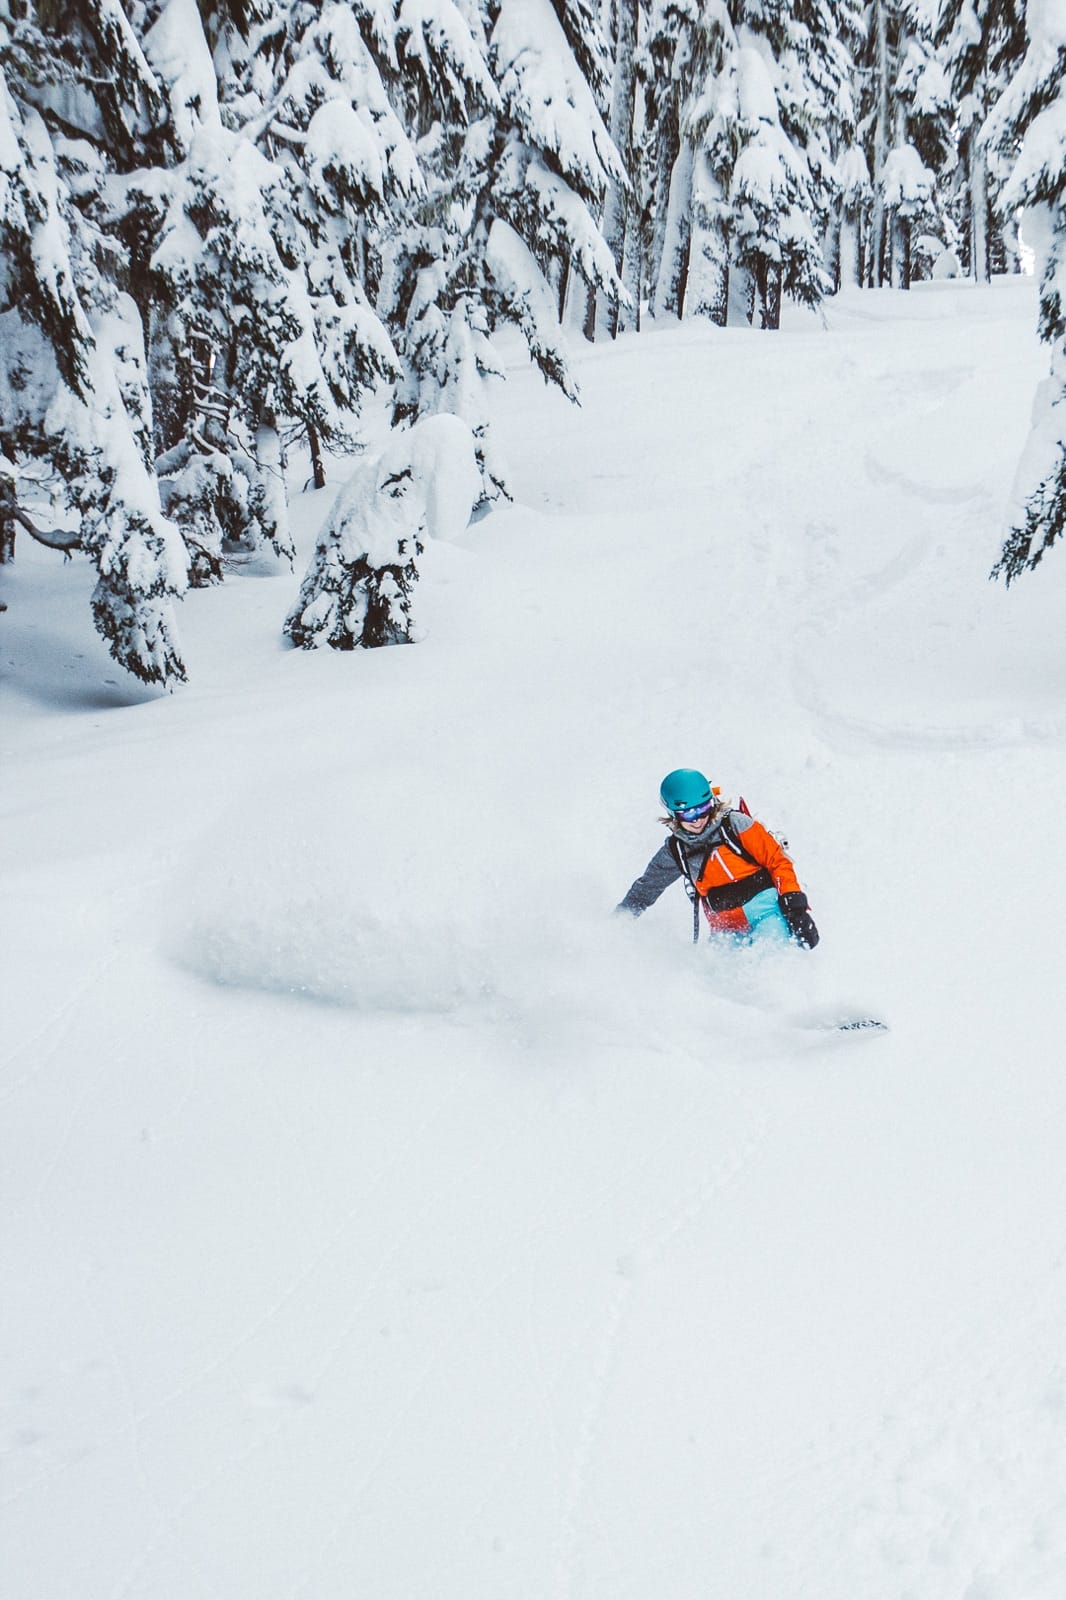
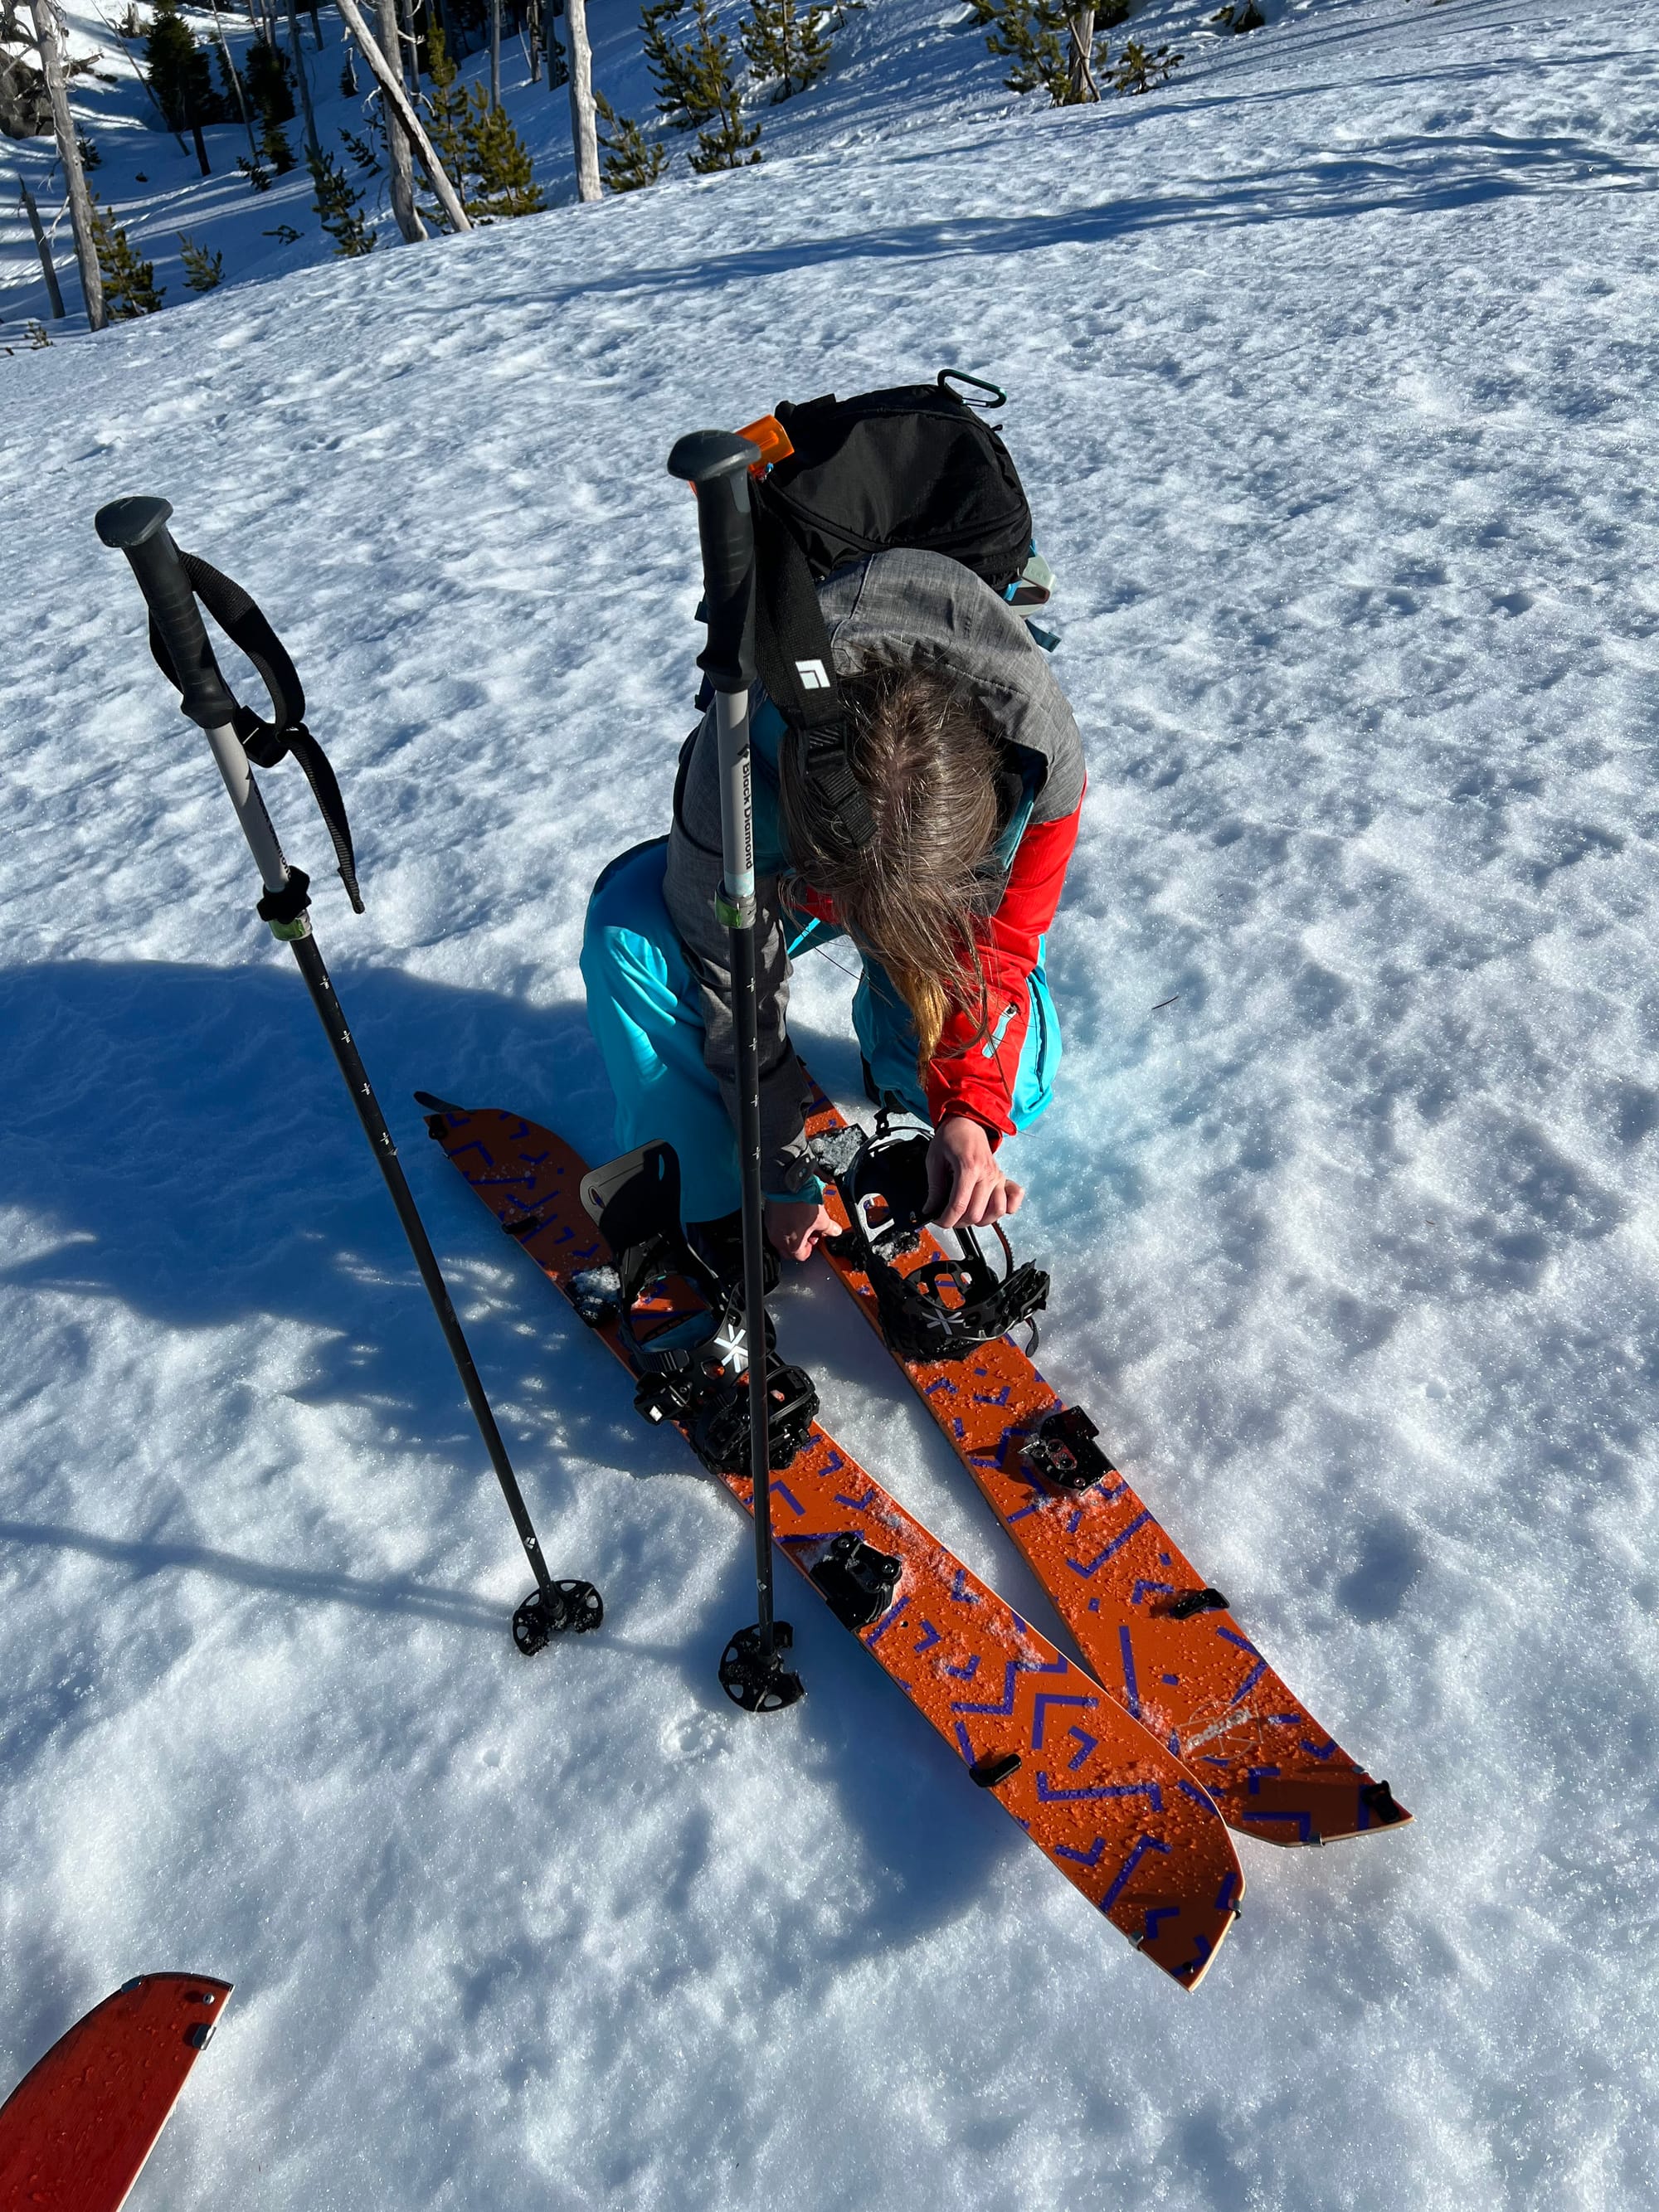
So, as I usually do, I've decided to compile a checklist for my sport of choice for this winter: splitboarding (i.e., skiing up a mountain and snowboarding down).

I was lucky to have been gifted a splitboard a few years ago, but quickly realized that the rest of my setup needed an upgrade—like my outdated 2-antenna beacon (!).
Thankfully, I was recently accepted into the Cascades Slaydies mentorship program, spearheaded by Hannah Matranga. And even though we've only met twice, I have already gathered a lot of useful information.
I have also attended a Know Before You Go — Avalanche Awareness event with a Central Oregon Avalanche Center Forecaster to review the basics.
This is what my checklist looks like so far, and I'd love to hear what else is in your pack!
Gear
- Splitboard + skins (+ skin savers and a storage bag)
- Long-grip poles + baskets
These are great for adapting your grip in uneven terrain.
On your Body
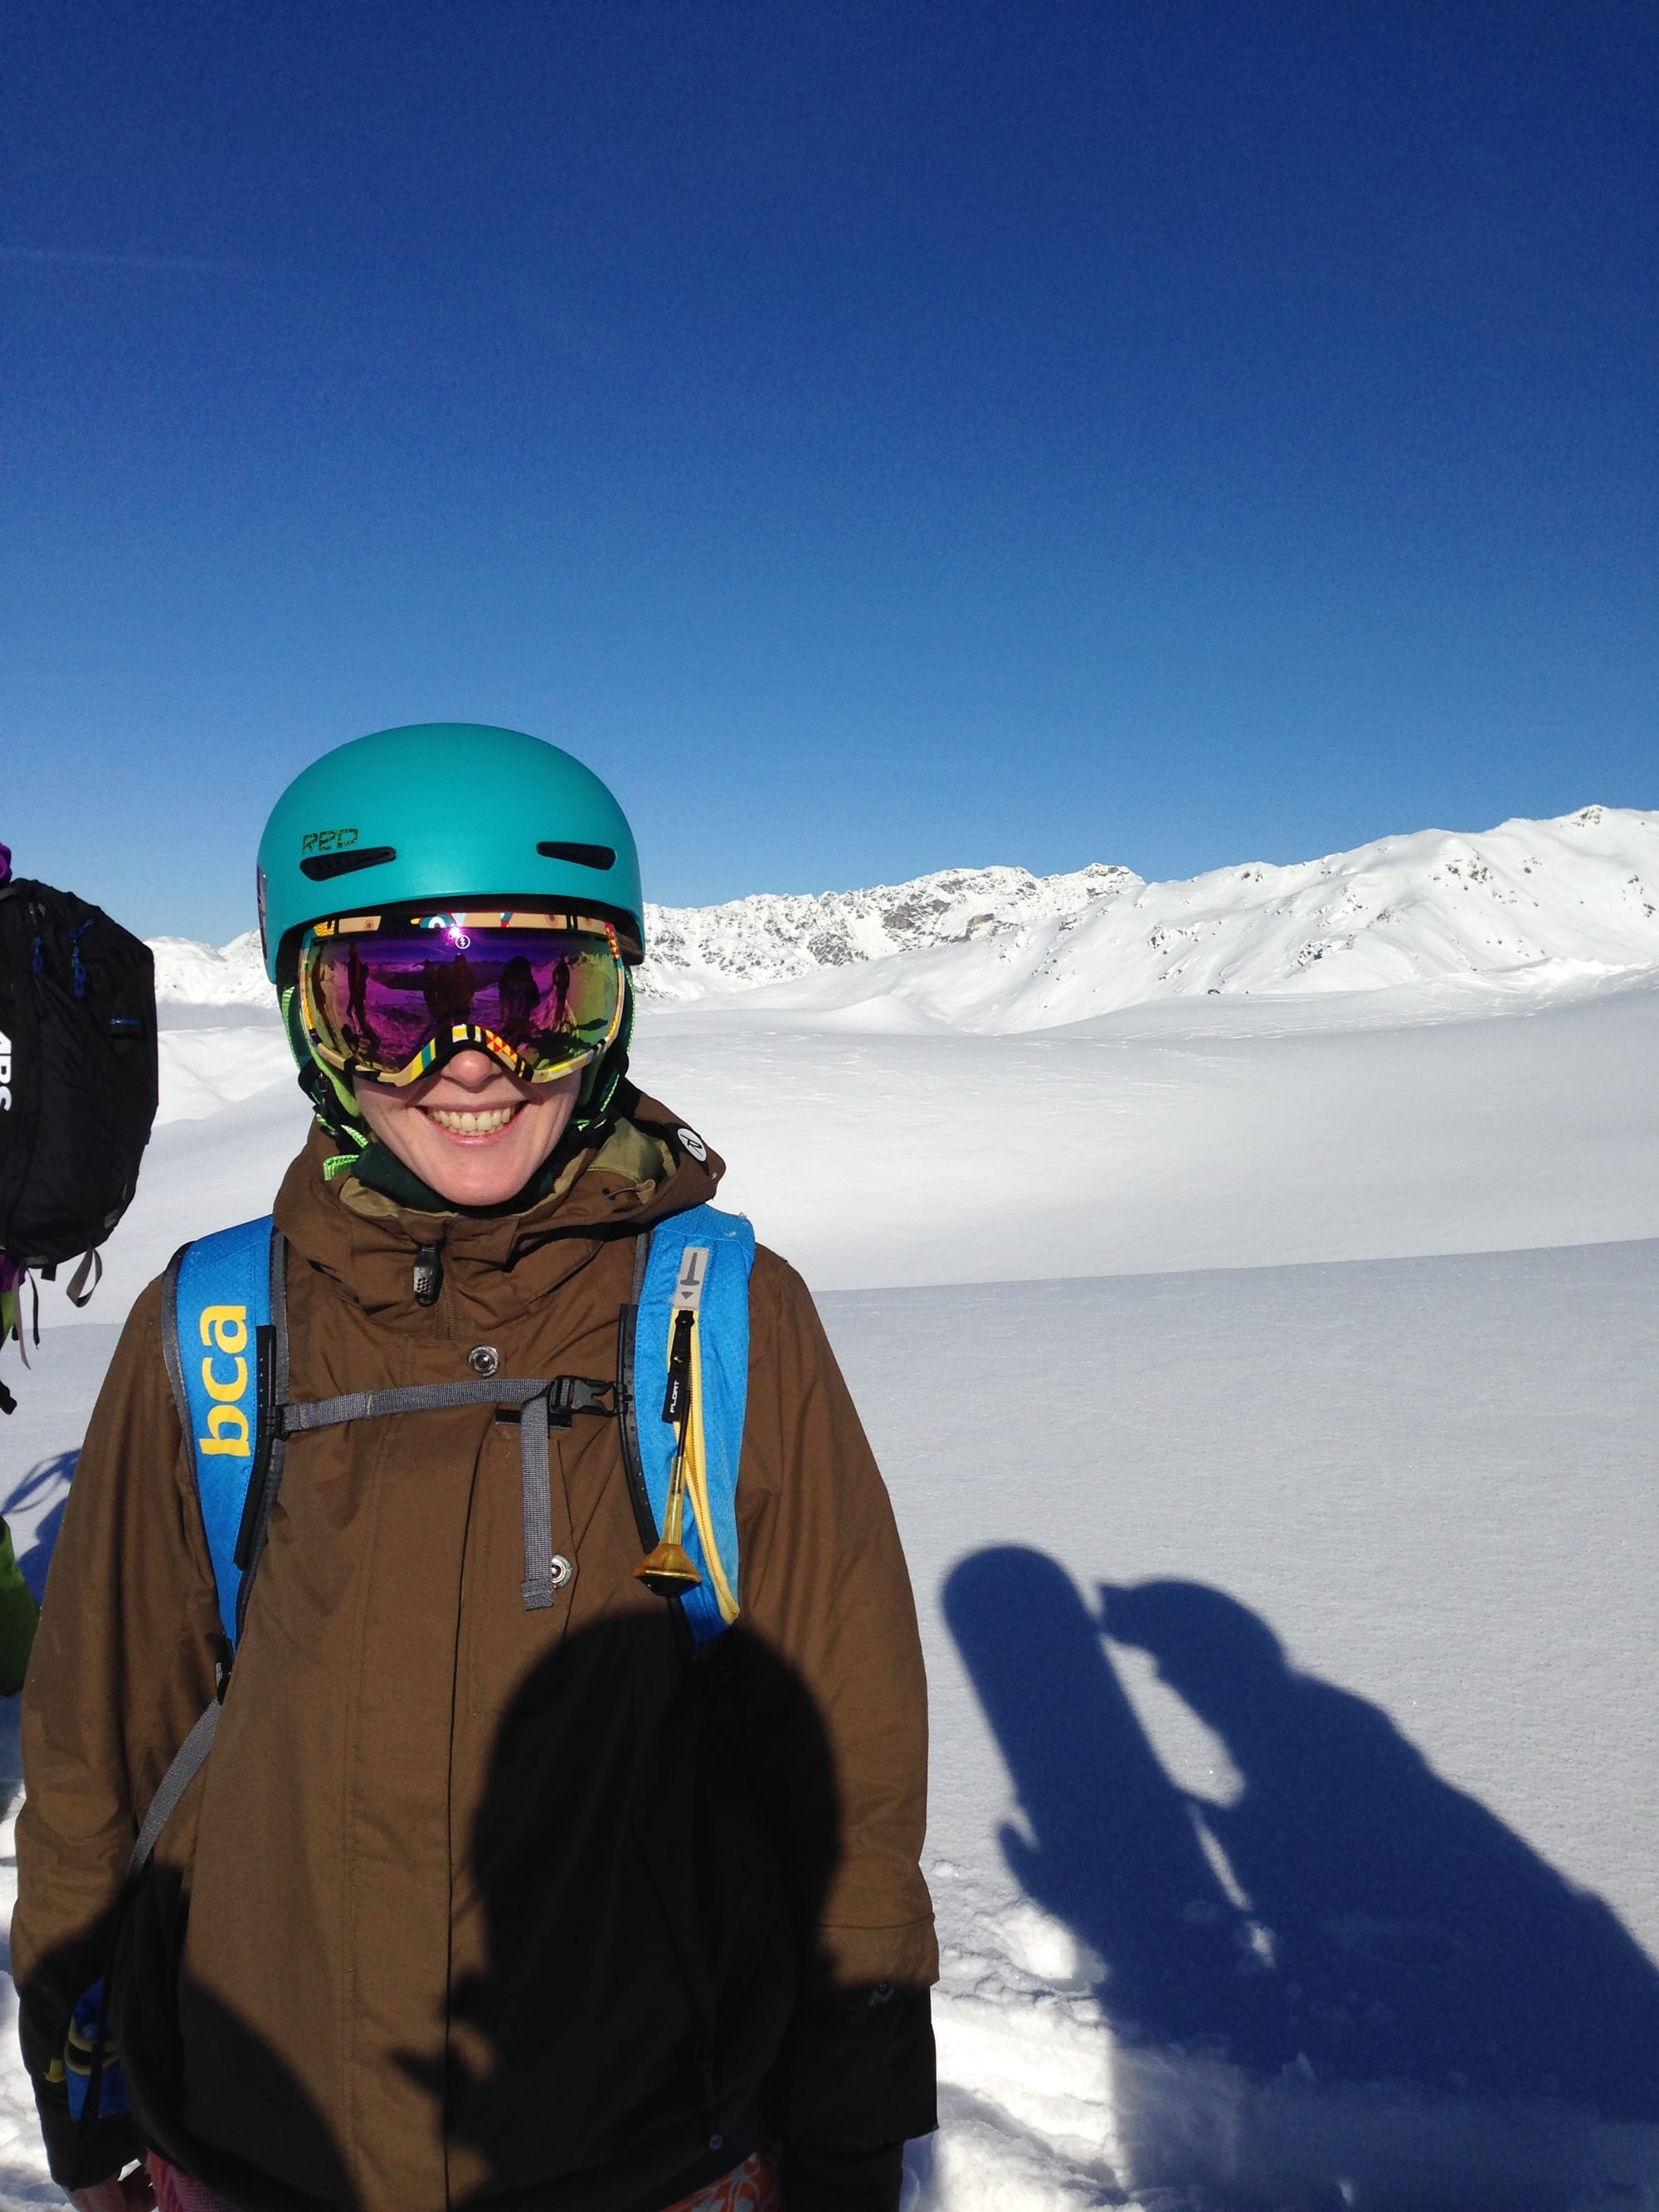
- Beacon (avalanche transceiver) + fresh batteries
Check that yours has three antennas, has been professionally checked within the past five years, and has at least 70% battery.
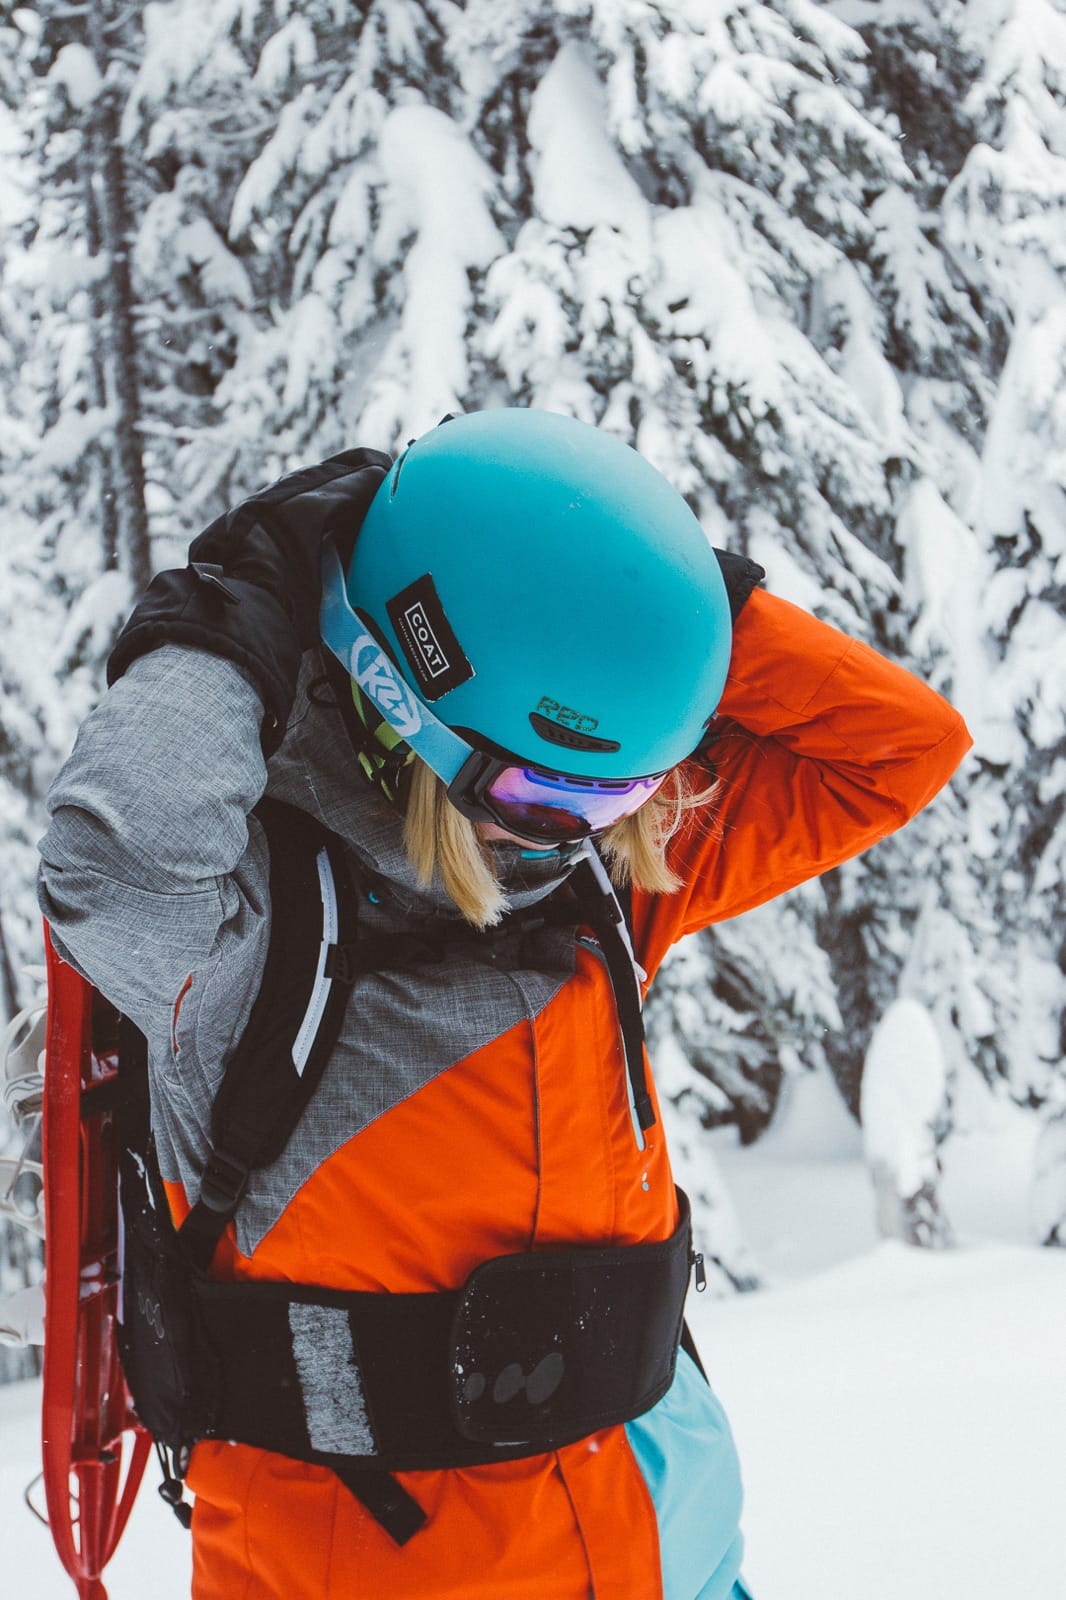
- Helmet
- Glacier glasses (+ straps) and/or goggles
I like to wear glasses on the ascent and goggles on the descent. I've seen prescription inserts for goggles but I'm not convinced. I sometimes remove my goggles to check the terrain, and would not be able to see without contacts.
- Hat, beanie, or cap
- Balaclava, or skull cap and neck gaiter
I like to wear a hat or beanie on the ascent and a balaclava or skull cap under my helmet on the descent. Balaclavas now feature slits for braids and ponytails!
- Bra
I finally found a wool bra that does not feature an annoying elastic band that stays wet after effort. This one is not only breathable and fast-drying, but also has thick straps that do not slice up my shoulders.
- Base layers (top and bottom)
Check this one out featuring a hairstyle-accommodating hood!
- Middle layer (puffer jacket)
- Gloves
Gloves are preferable to mittens for snow study tests (fist, 4 fingers, 1 finger). I wear a pair of liners for the ascent, and sturdier gloves for the descent
- Snow bibs (top layer)
I like a bib with a drop seat for nature breaks
- Snow jacket (top layer)
- Ski socks
- Snowboarding boots
I tried on many pairs over the past few weeks and settled on this one, as they were the most comfortable for the shape of my feet. This strap is pretty nifty for transporting gear.
In your Pack
Choose a backpack with a rapid response avy tool pocket (dedicated to your probe and shovel).
Warmth
- Extra layers
- Extra gloves
These Japanese fishing gloves are easy to slip on, even when your hands are cold and wet.
- Hand warmers (rechargeable or disposable)
- Foam pad
Or you can cut up the extra panels of an extra long sleeping pad
Avalanche Safety & Navigation
As mentioned above, it should be worn on your body, under your outer layer — not in or on your pack. The 20/50 rule means keeping your beacon 20 cm (8 in) away from other electronics while transmitting and 50 cm (20 in) away from electronics while searching (phones, electronic watches or smart rings, car key fobs, etc.), and properly tethered (via a harness or a clipped pocket).
- Probe (280 cm min for PNW snow pack)
- Shovel
- Headlamp (+ extra batteries)
Additional
- Snow study kit (snow saw, slope meter, loupe, etc)
- Field notebook (AIARE) + pencil
- Compass
- Laminated map in waterproof bag
Communication
Make sure that at least a few people in your crew have one.
This is really high on my wish list, I have an uncontrollable fear of tree wells and I get anxious when I lose sight of my fellow riders.
- Whistle
This is the next best thing.
Repair Kit / Tool Kit
- Extra binding hardware
- Straps / velcro straps
- Paracord
- Superglue (also useful for first-aid)
- Multi / hex tool
- Knife
- Sharpie
- Zip ties
- Safety pins
- Needle + thread
- Duct tape
Don't take a whole roll—wrap some around a Sharpie
- Battery bank + cable
- Extra batteries (check which kind)
First Aid
- Sunscreen + lip balm
- First aid kit
- Splint
- Emergency blanket or bivvy
- Backcountry rescue sled
Check out these handmade ones!
- Tea light candles
- Lighter
- Contact lenses (if applicable)
Food & Water
- Water / Nalgene
- Tea / thermos
- Snacks, gels, clementines
- Sandwich
Car Kit / Base Camp
To Store your Gear
What I really use
- Blanket
- Snow brush
- Board bag or board sleeve
- 12 Gallon Storage Bin (or IKEA bag)
To Stay Warm
- After-ride shoes or snow boots
- Change of clothes, socks
- Camp poncho
- Beanie
- Gloves
- Hot beverage dispenser + reusable mugs
For the vibes
- Boombox
- Fairy lights
- Camp chairs
- Stove
Resources
On your phone
- coavalanche.org, avalanche.org or The Avy app (avalanche and weather reports)
- OnX (navigation)
- Weather
- SnowApp (snow study)
- Backcountry Skiing in Oregon (destinations)
I use this lanyard to make sure I don't lose my phone in the snow and heard that people use an insulated sleeve to save their battery.
Reading
- The Avalanche Review
- The Darkest White (chosen for the Cascade Slaydies book club)
- A conceptual model of avalanche hazard
- YIN, YANG, AND YOU
Training
- Avalanche Aware Course (1 hour, online, free)
- AIARE 1 - Level 1 Avalanche Training, etc.
I've signed up for the AIARE 1 - Level 1 Avalanche Training through our friends at Three Sisters Backcountry and I'm so excited! I will soon be able to check this item off my list.
I think I'll keep updating this list over time, but really wanted to put it out there to share with friends and to have a list to refer back to often.
Again, a big thank you to Hannah and the Cascade Slaydies for their support and knowledge. I cannot wait for our next adventure!
Please share your tips and recommendations in the comments below, I love to talk about gear!
This post is not sponsored but contains affiliate links. If you make a purchase through one of my links, I may earn a commission at no extra cost to you. Thank you for your support!

